How to install Modded OS?
Installing Modded OS is a straightforward process. Here's how to get started quickly-
That information aside, we can begin installing the distro now. Follow the steps below-
1. Preparation 🚀
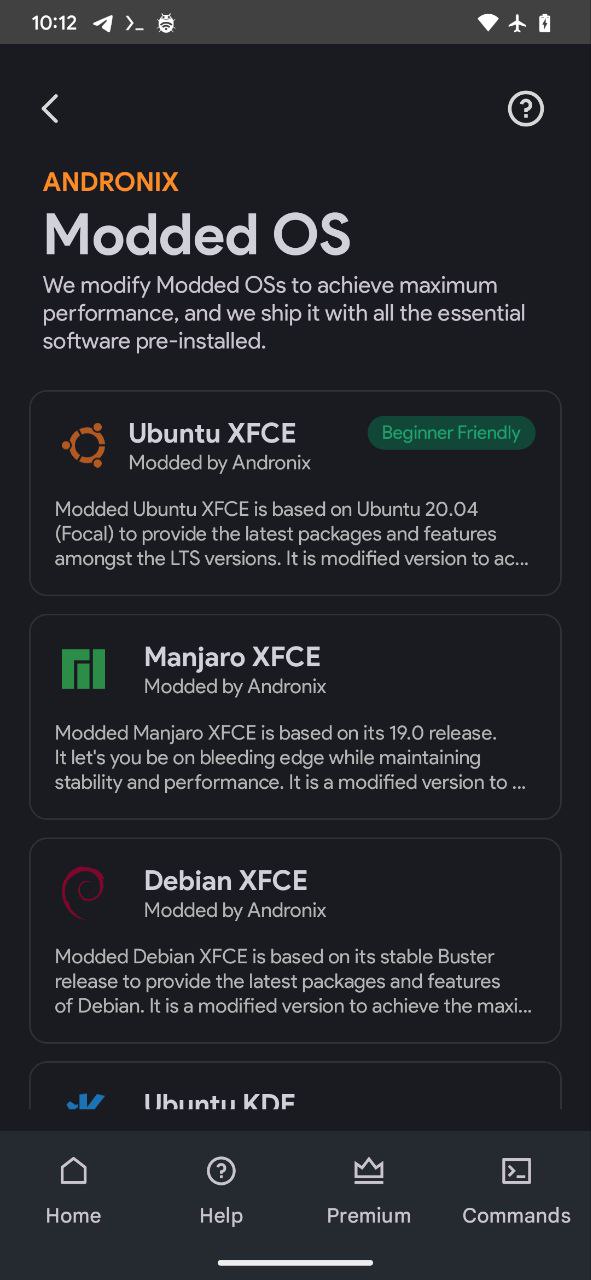
Open the app
Open the app and click on the Modded OS button on the dashboard. After you get into the Modded OS section, you'll see the various distros that you can install.
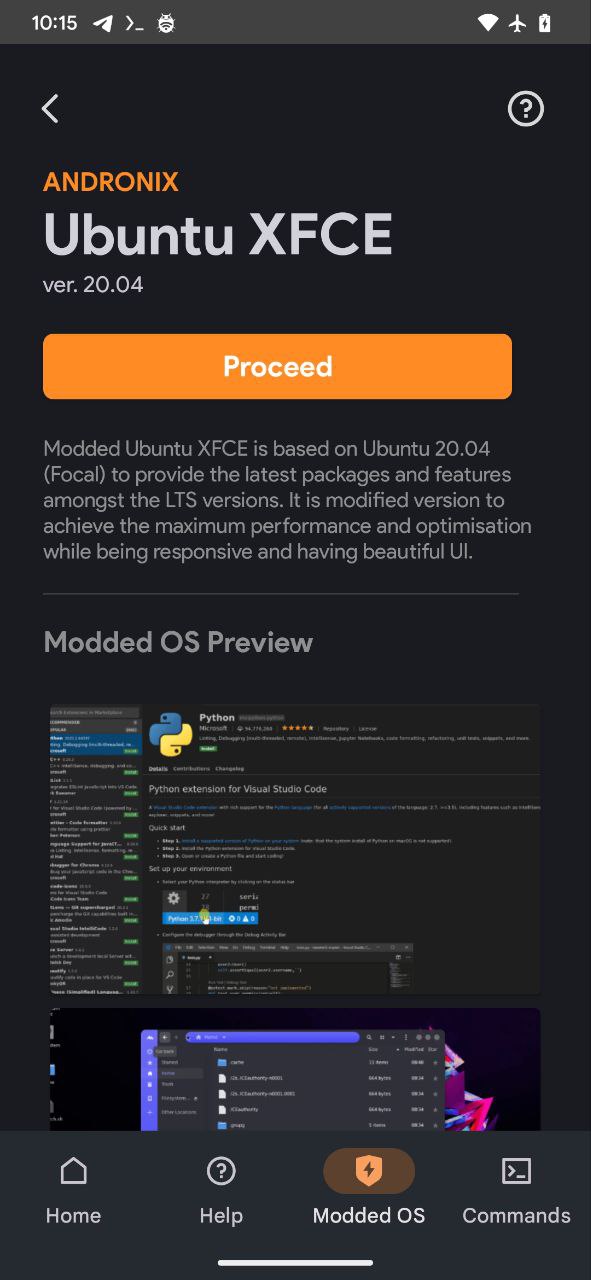
Select the distro
Click the distro that you already own or are willing to buy. If you haven't already paid for it in the past, the app will show you the price and other information that you can refer and make the purchase. As soon as you complete the purchase, you can follow the next set of instructions.
Unpaid Screen
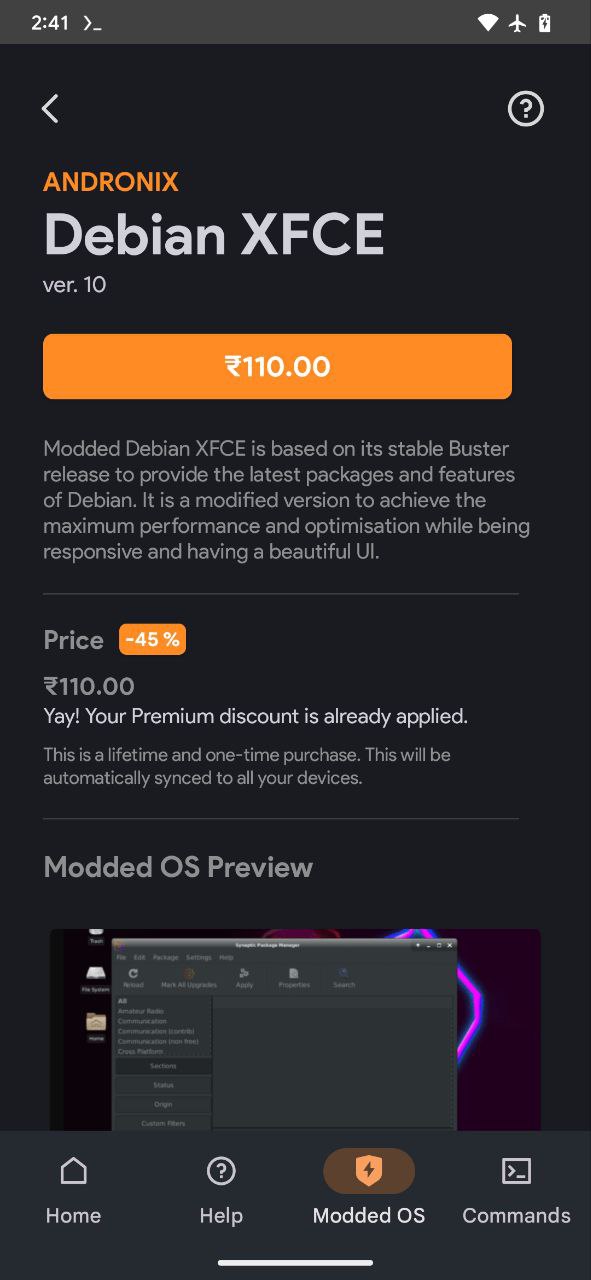
Paid Screen
Now
Now that we have the distro linked to our profile, we can continue.
2. Selection ⭐️
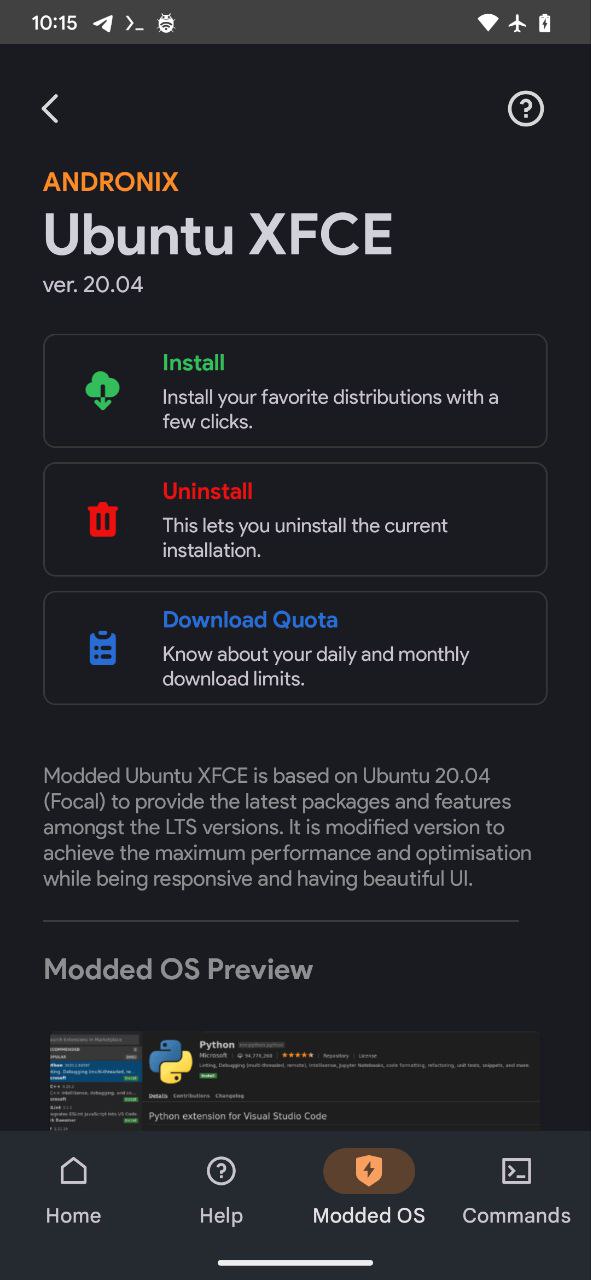
Install
You would see three buttons, one labeled Install, Uninstall, and Download Quota.
Finalize
As we are installing the distro, we will click on Install.
3. Termux Execution 📥
Now comes the part where the actual installation of your Linux distribution begins.
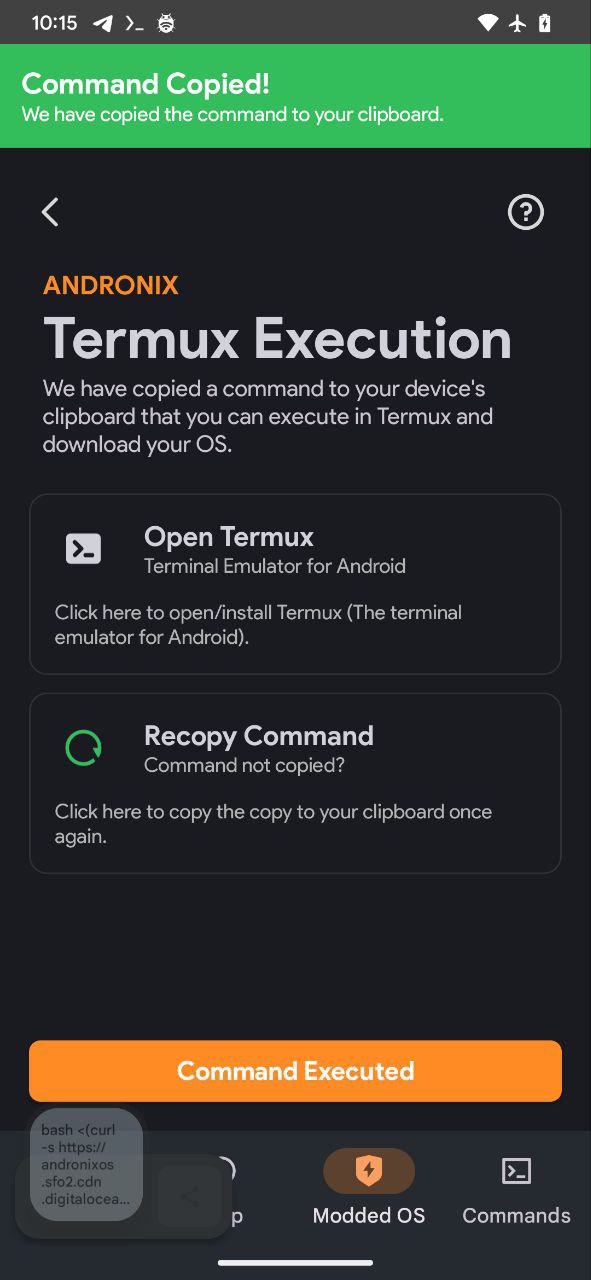
Termux
You will need to run/execute this command in Termux.
Paste
Open the Termux app and long press to paste the copied command and then hit enter to run it.
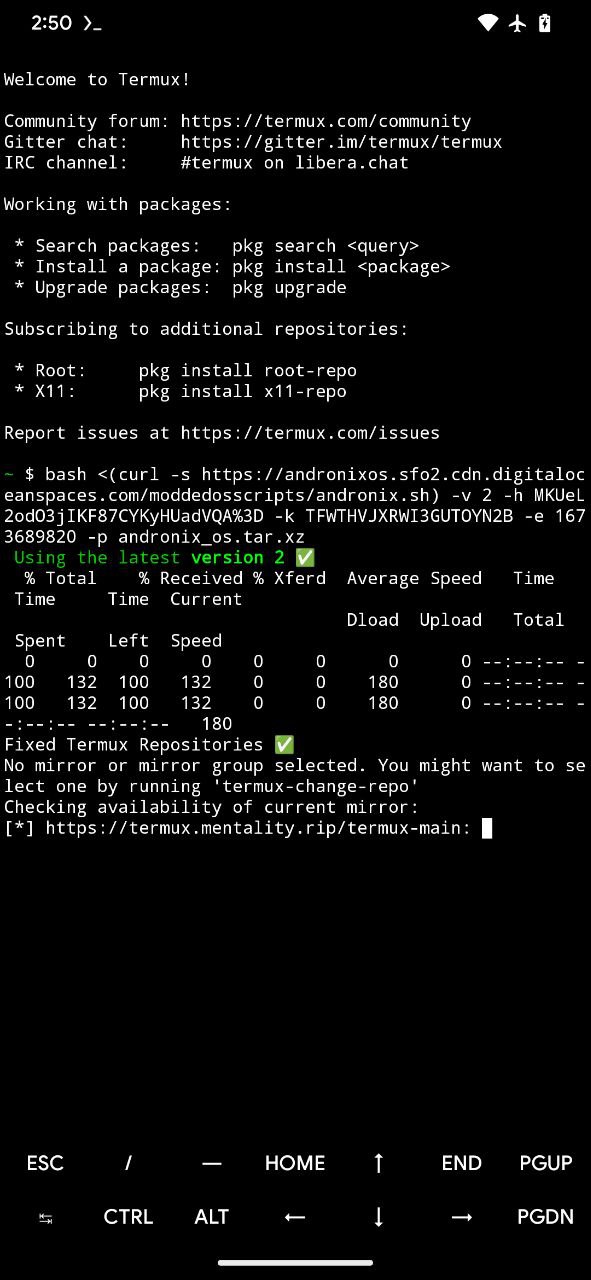
Wait
The installation/downloading will take some time. Please leave the Termux app running.
Wait
Now, click the Command Executed button at the bottom of the screen.
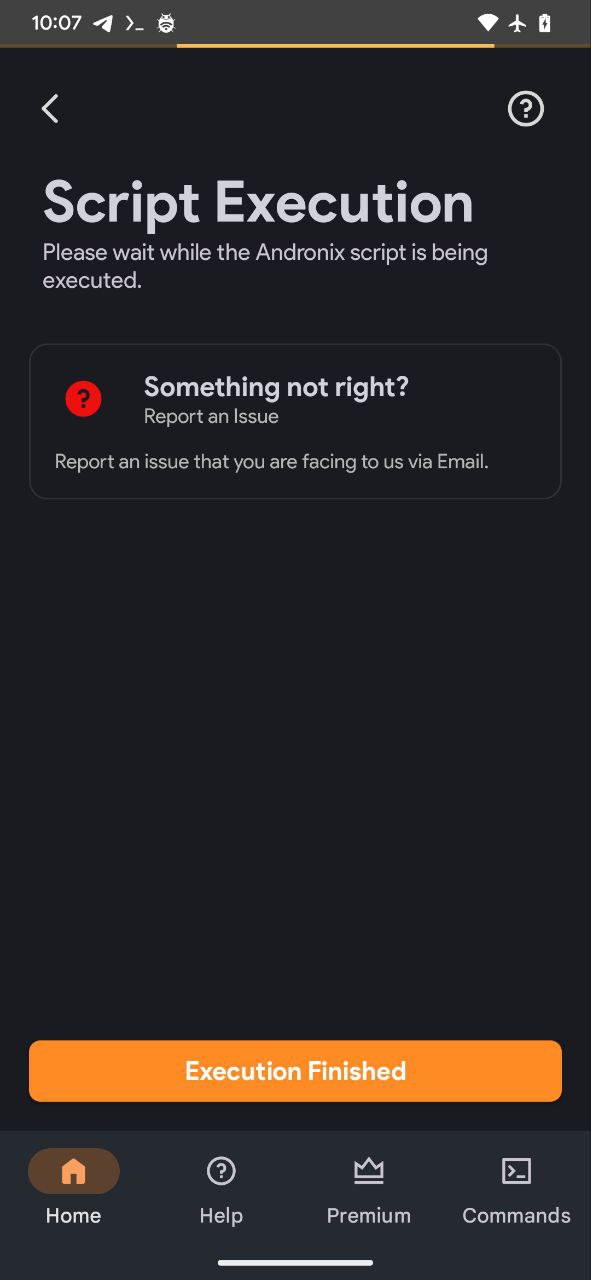
Finish
After the script has been executed successfully, Click the Execution Finished button at the bottom.
4. Starting Distribution ⚡️
After the installation has been completed, and you don't see any errors at the end, we've made it to the last part,
configuring your installed distro! Now you need to start the distro.
Start Command
You can start the distro by typing the following command in termux (Please choose your distro and execute the
respective command)-
- Ubuntu XFCE
./start-andronix.sh- Ubuntu KDE
./start-androkde.sh- Debian XFCE
./start-androdebian.sh- Manjaro XFCE
./start-androjaro.shThis will start the post-installation process i.e., setting up the essential packages. You will need to wait until this finishes.
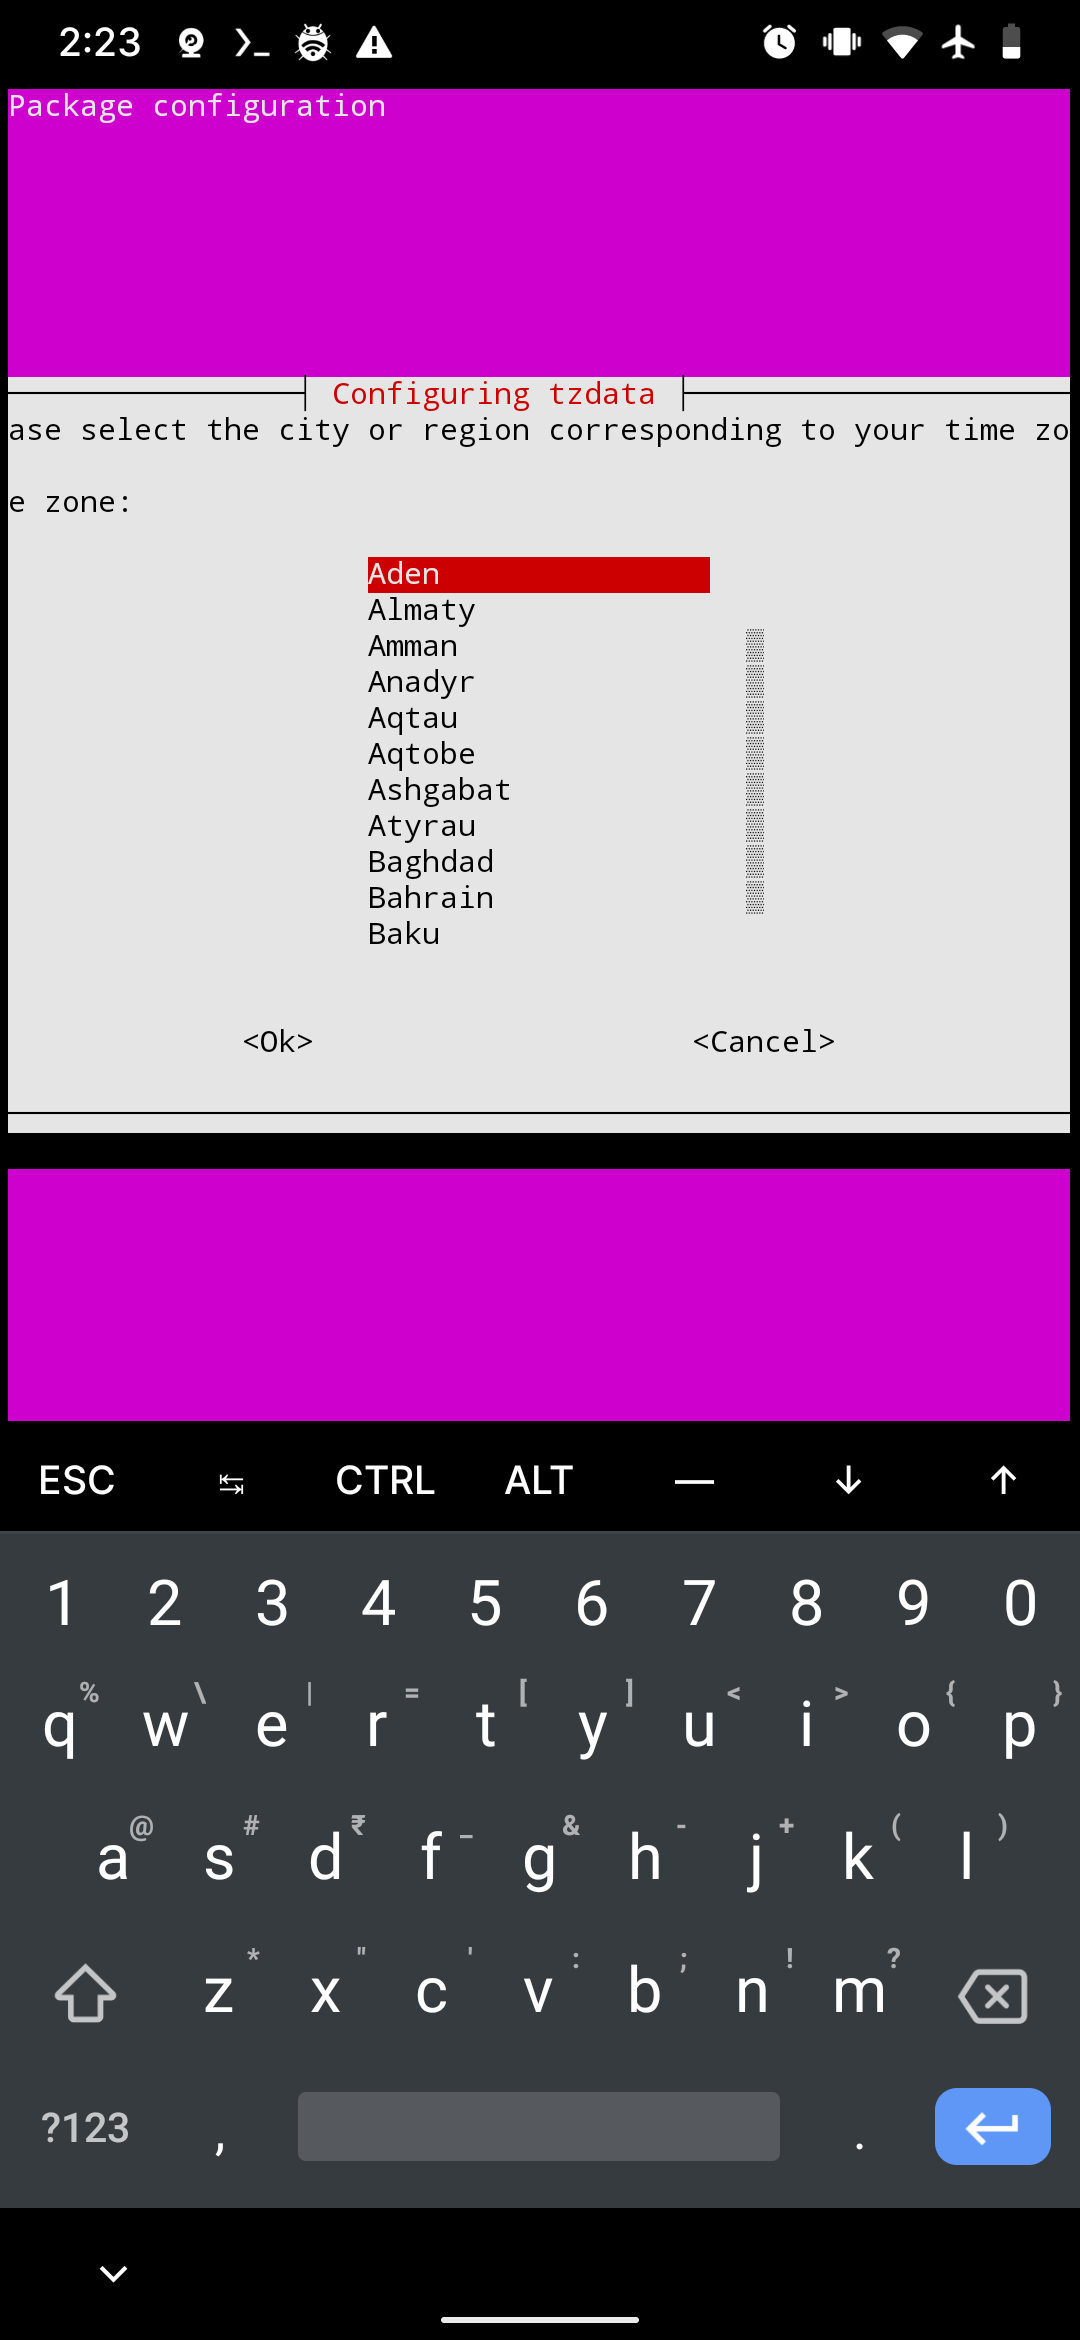
Select Region
If the post-installation setup is successful, you will see a menu to select the region. You can use the arrow keys as shown in the screenshot below to move the selection and hit ENTER to proceed forward.
Select City
Once you have selected the region, you can choose your City in the following menu and proceed forward.
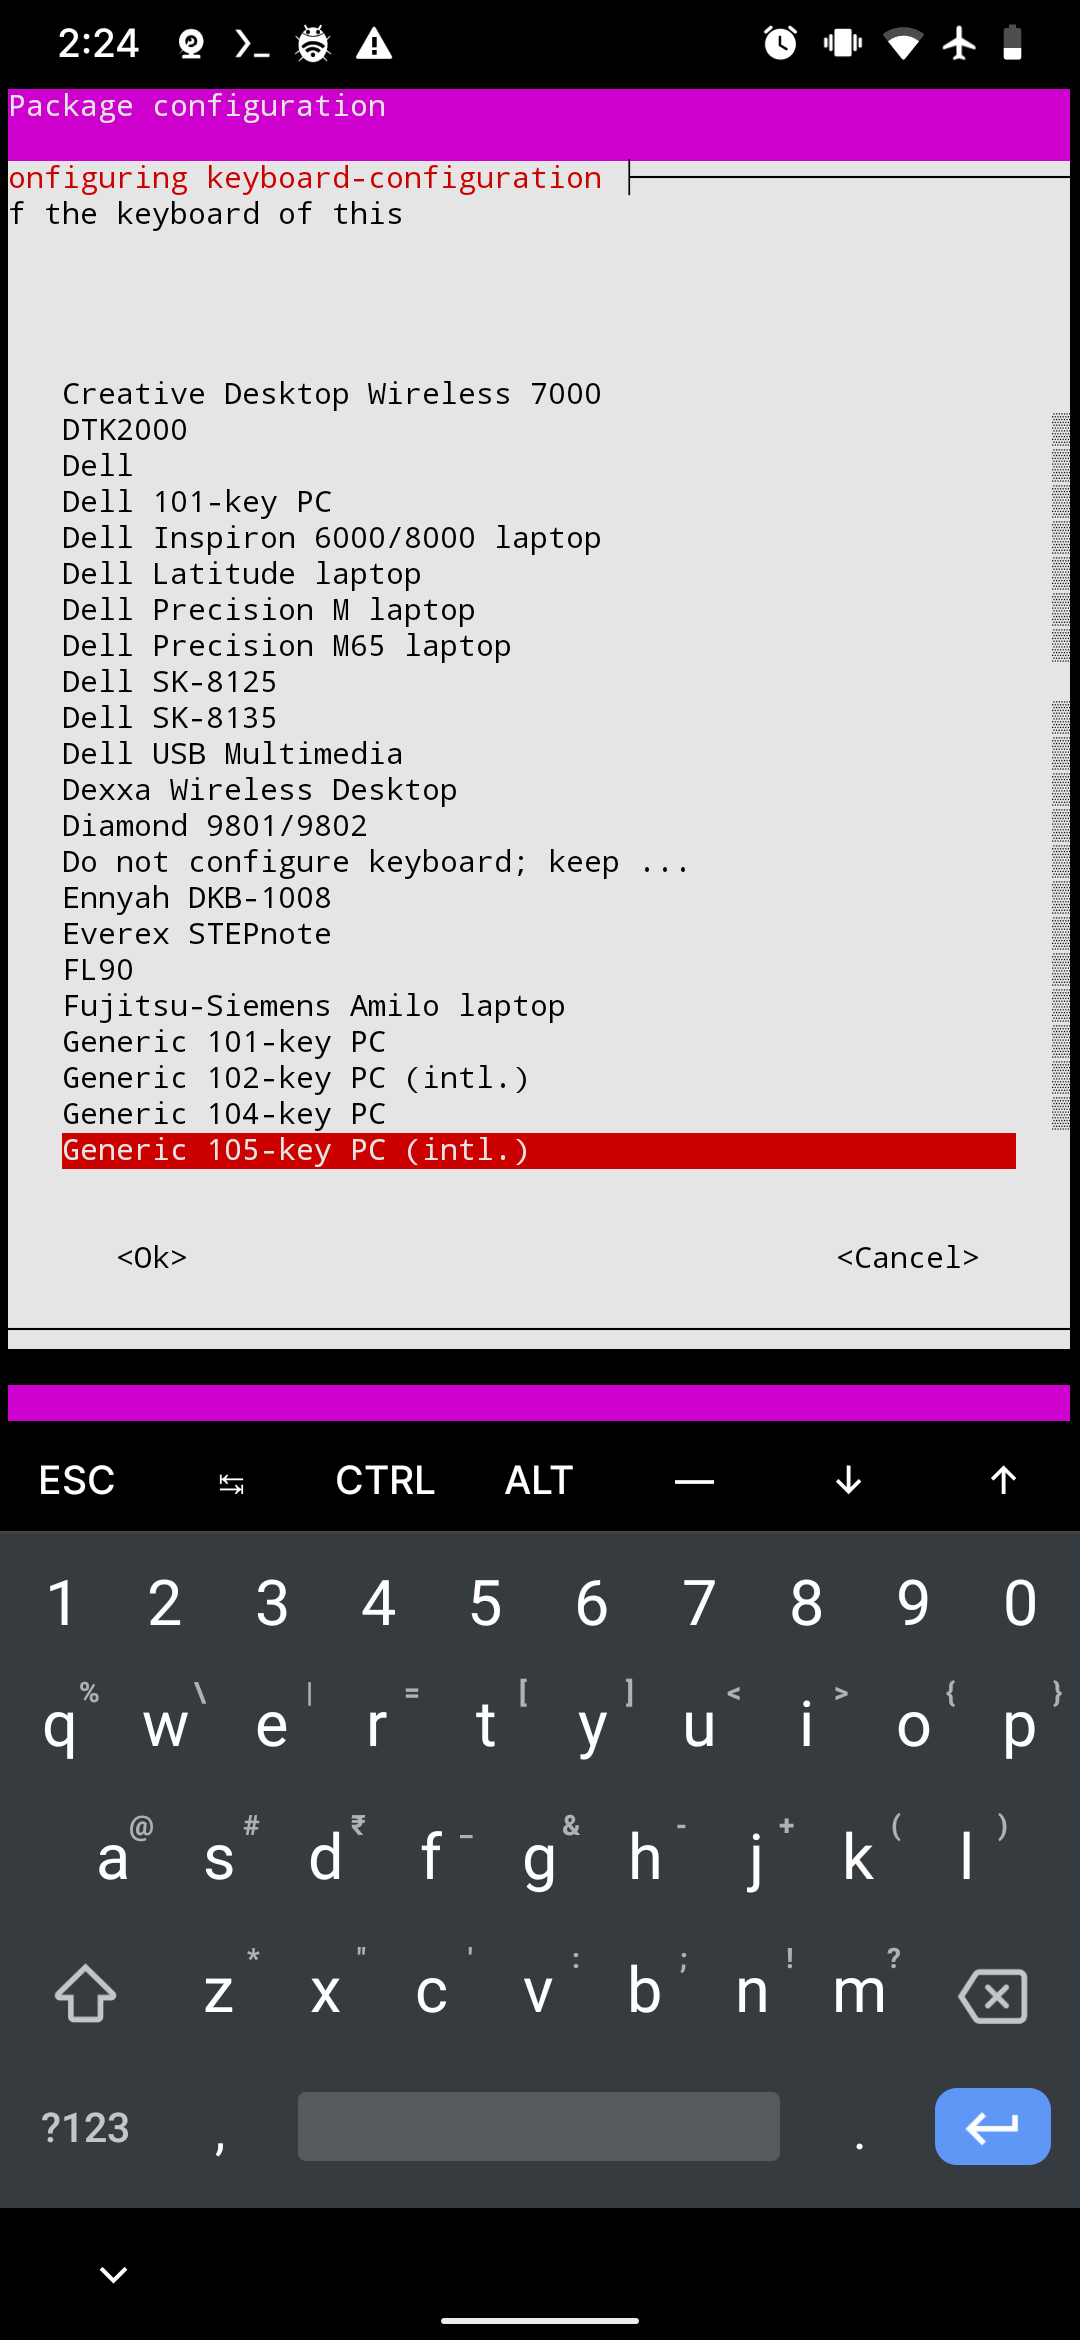
Select Keyboard
Now you can select the keyboard layout if you have any specific layout other than the default English keyboard. We will go ahead with the English keyboard layout, so press Enter and proceed forward.
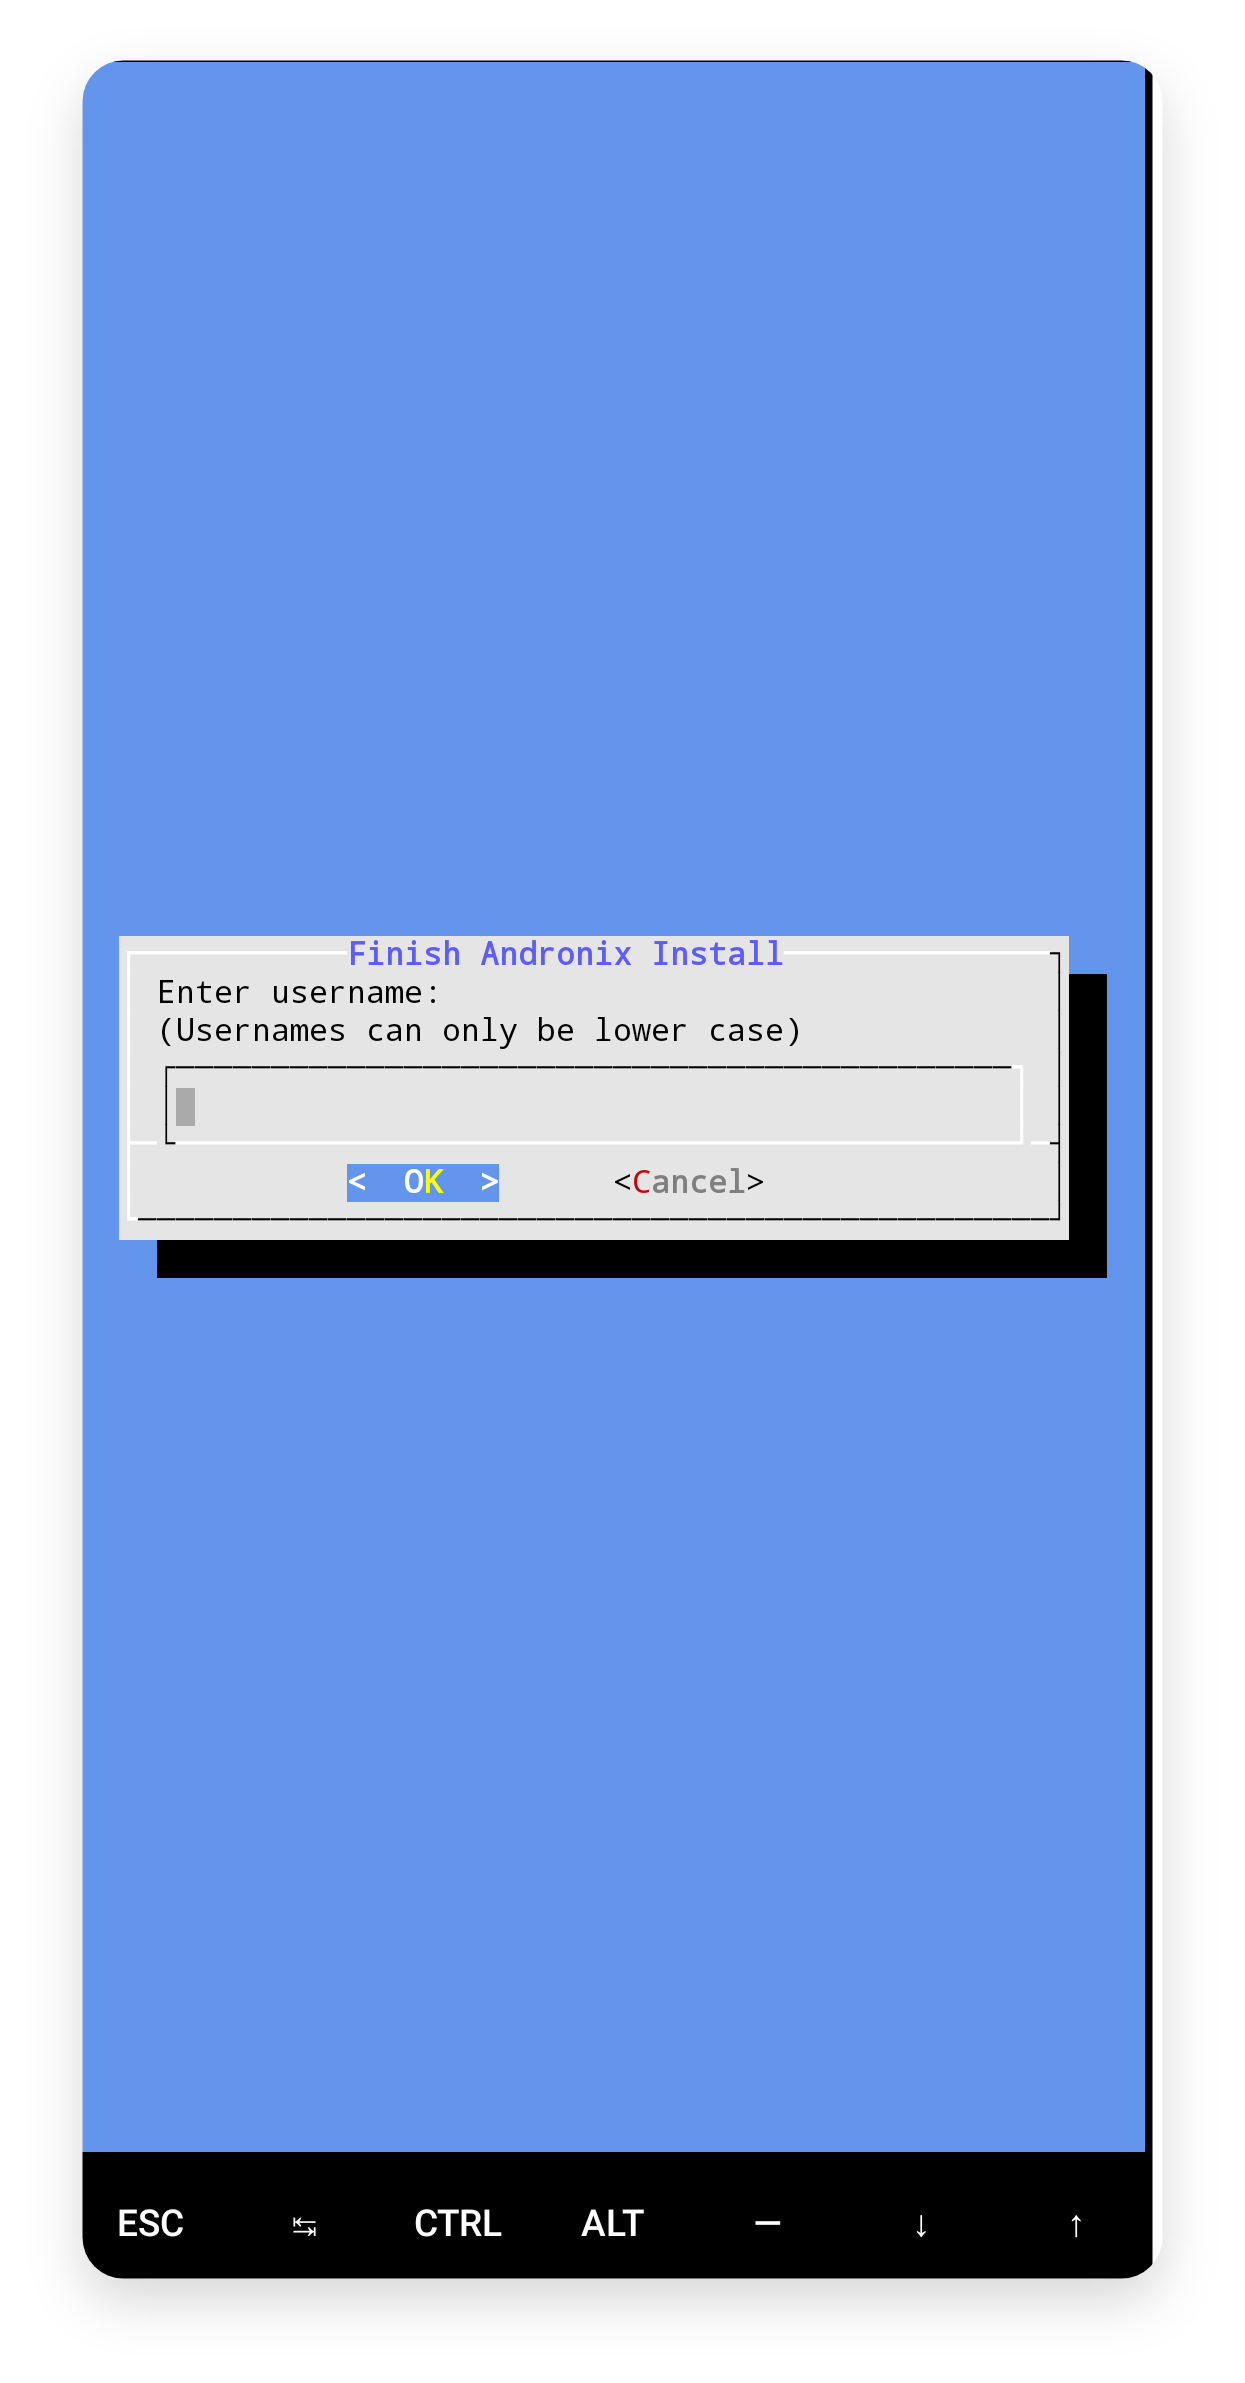
Username
If everything goes perfectly, you will see a blue screen asking for a username. You can choose any username unless that's a reserved keyword like admin, root, etc. (your name works fine). Press Enter to proceed.
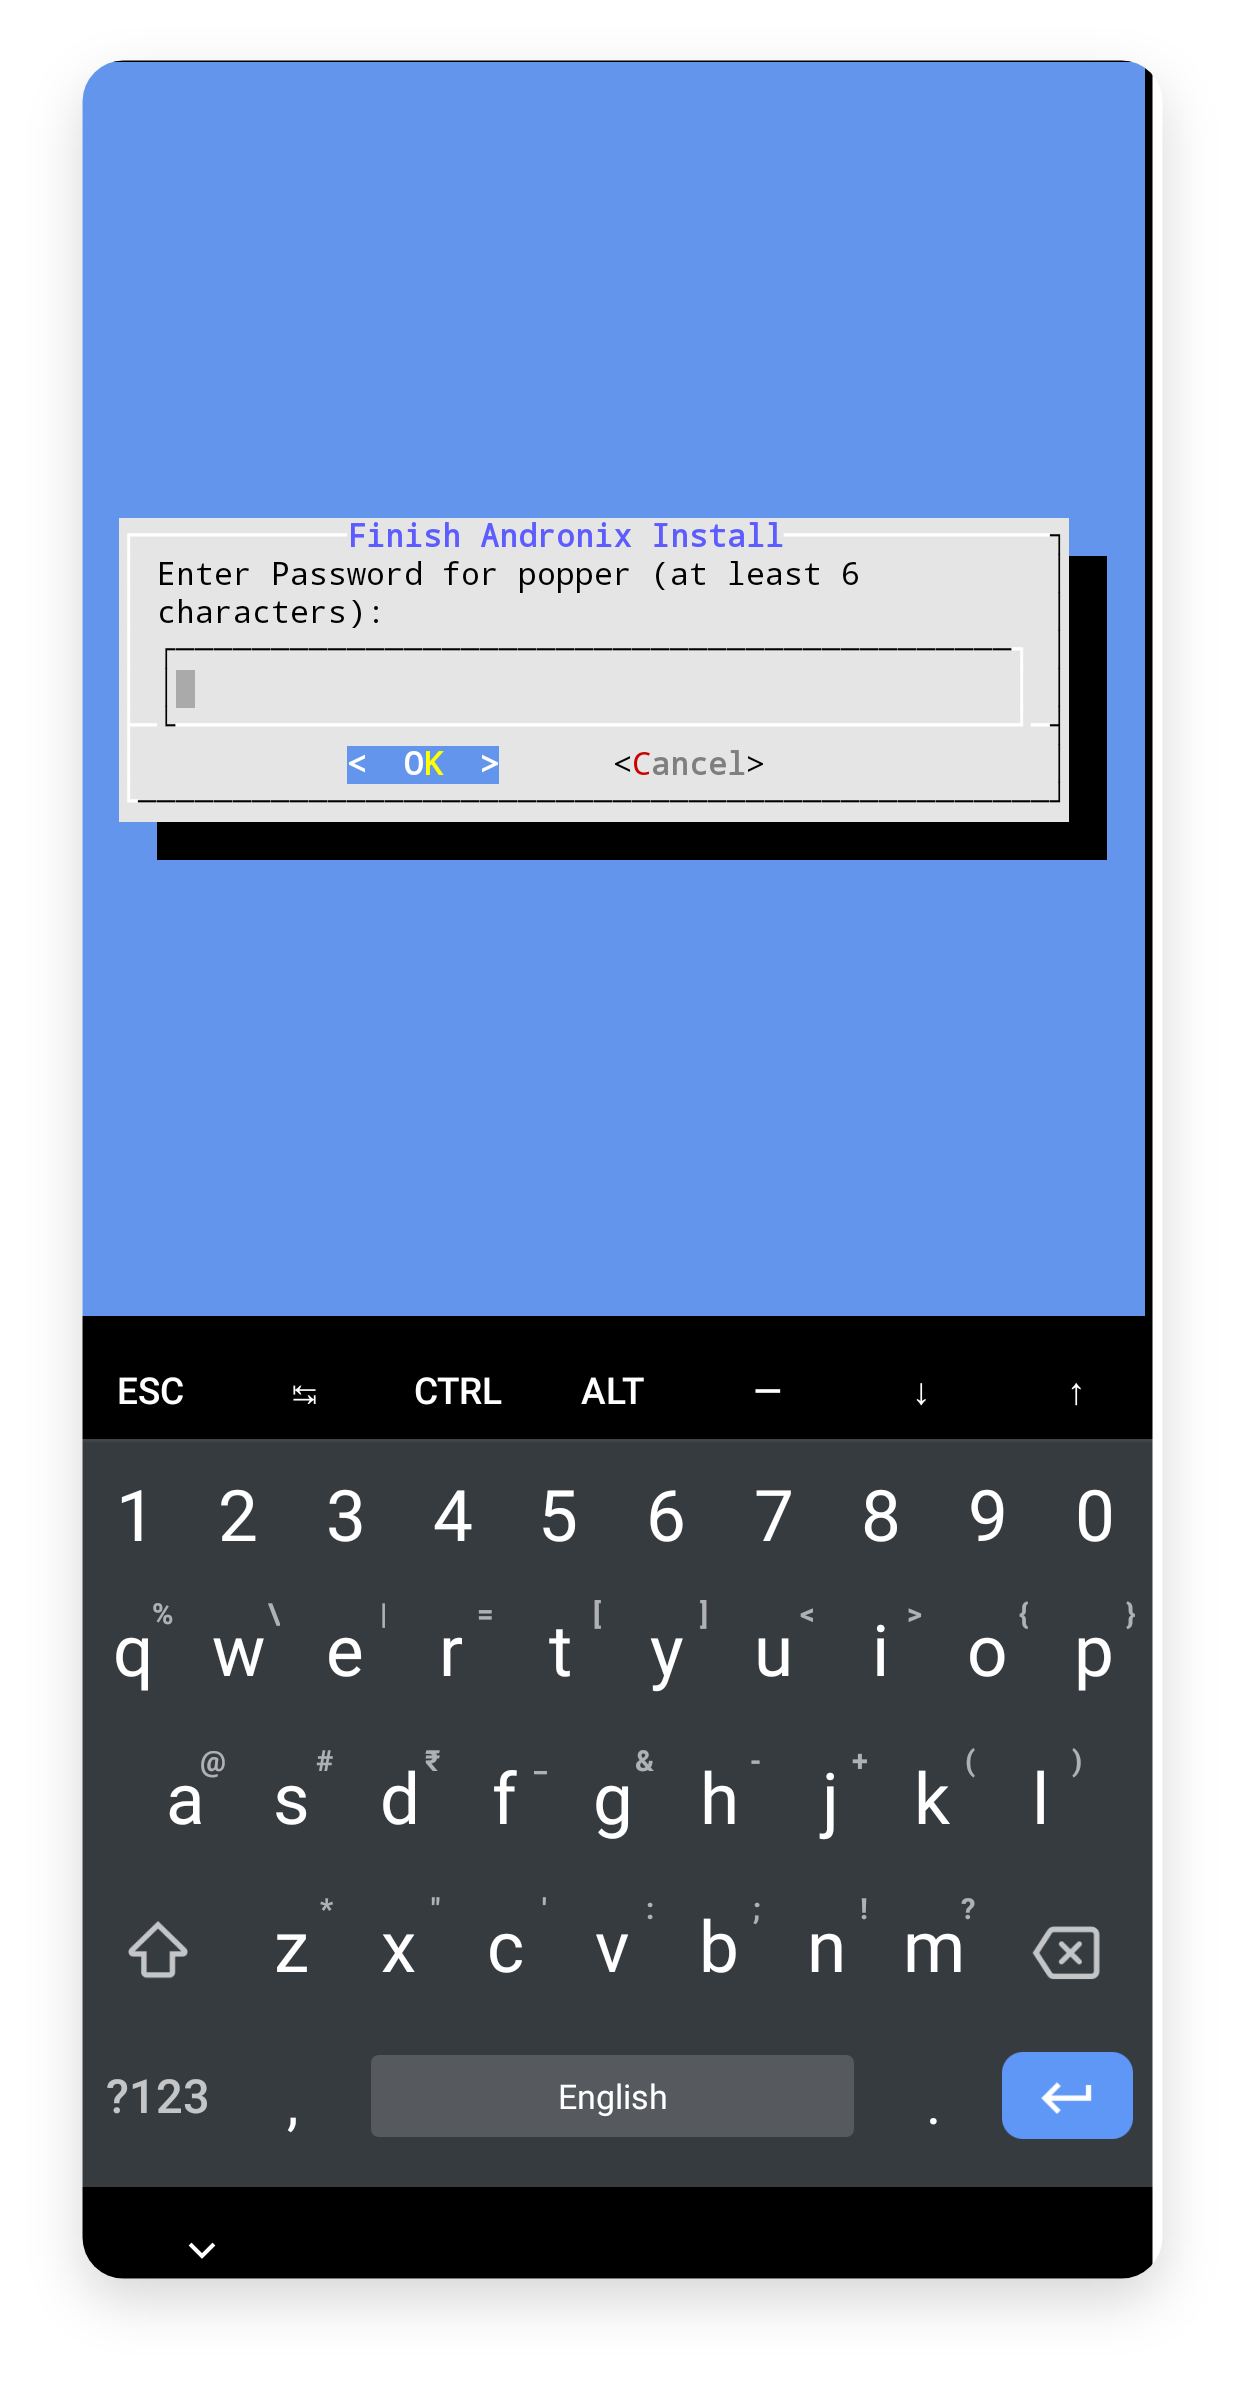
Password
After the username, it's time to set up a password. You can choose any password as long as it is longer than 6 characters. Press Enter to proceed. Confirm the password by re-entering it and press Enter to continue.
Root Password
Now you need a Root Password. You can choose any password as long as it is longer than six characters. Press Enter to proceed. Confirm the root password by re-entering it and press Enter to continue.
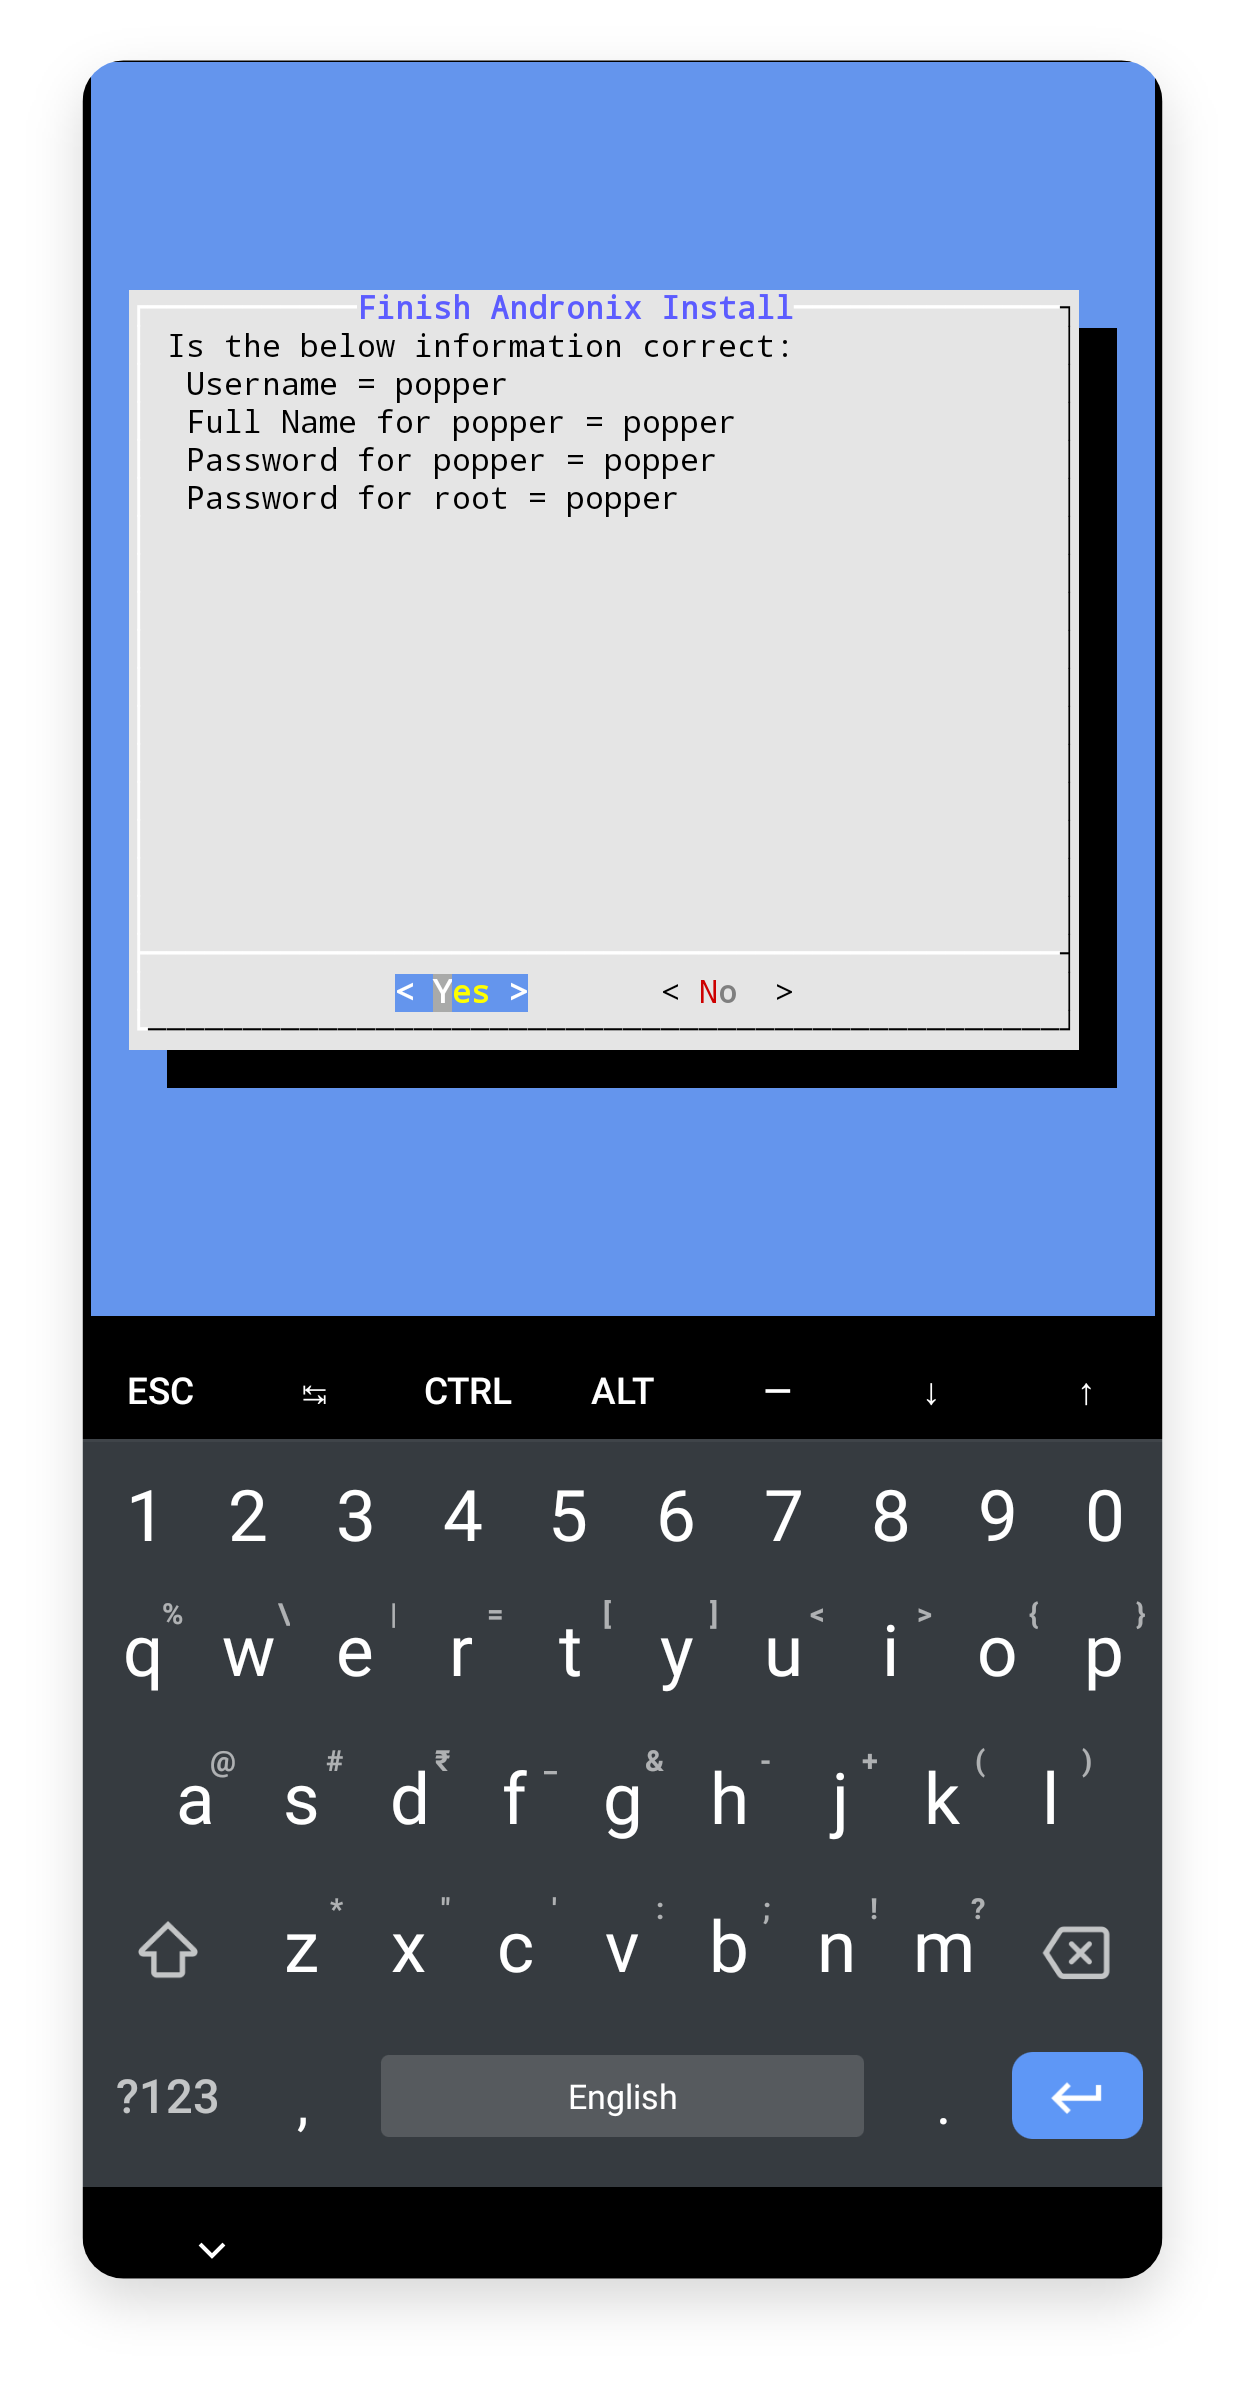
Confirm
The next screen will show all the information entered. Check if those are the correct passwords and the username (if not, press the ESC or back button to restart the script). Press Enter to proceed.
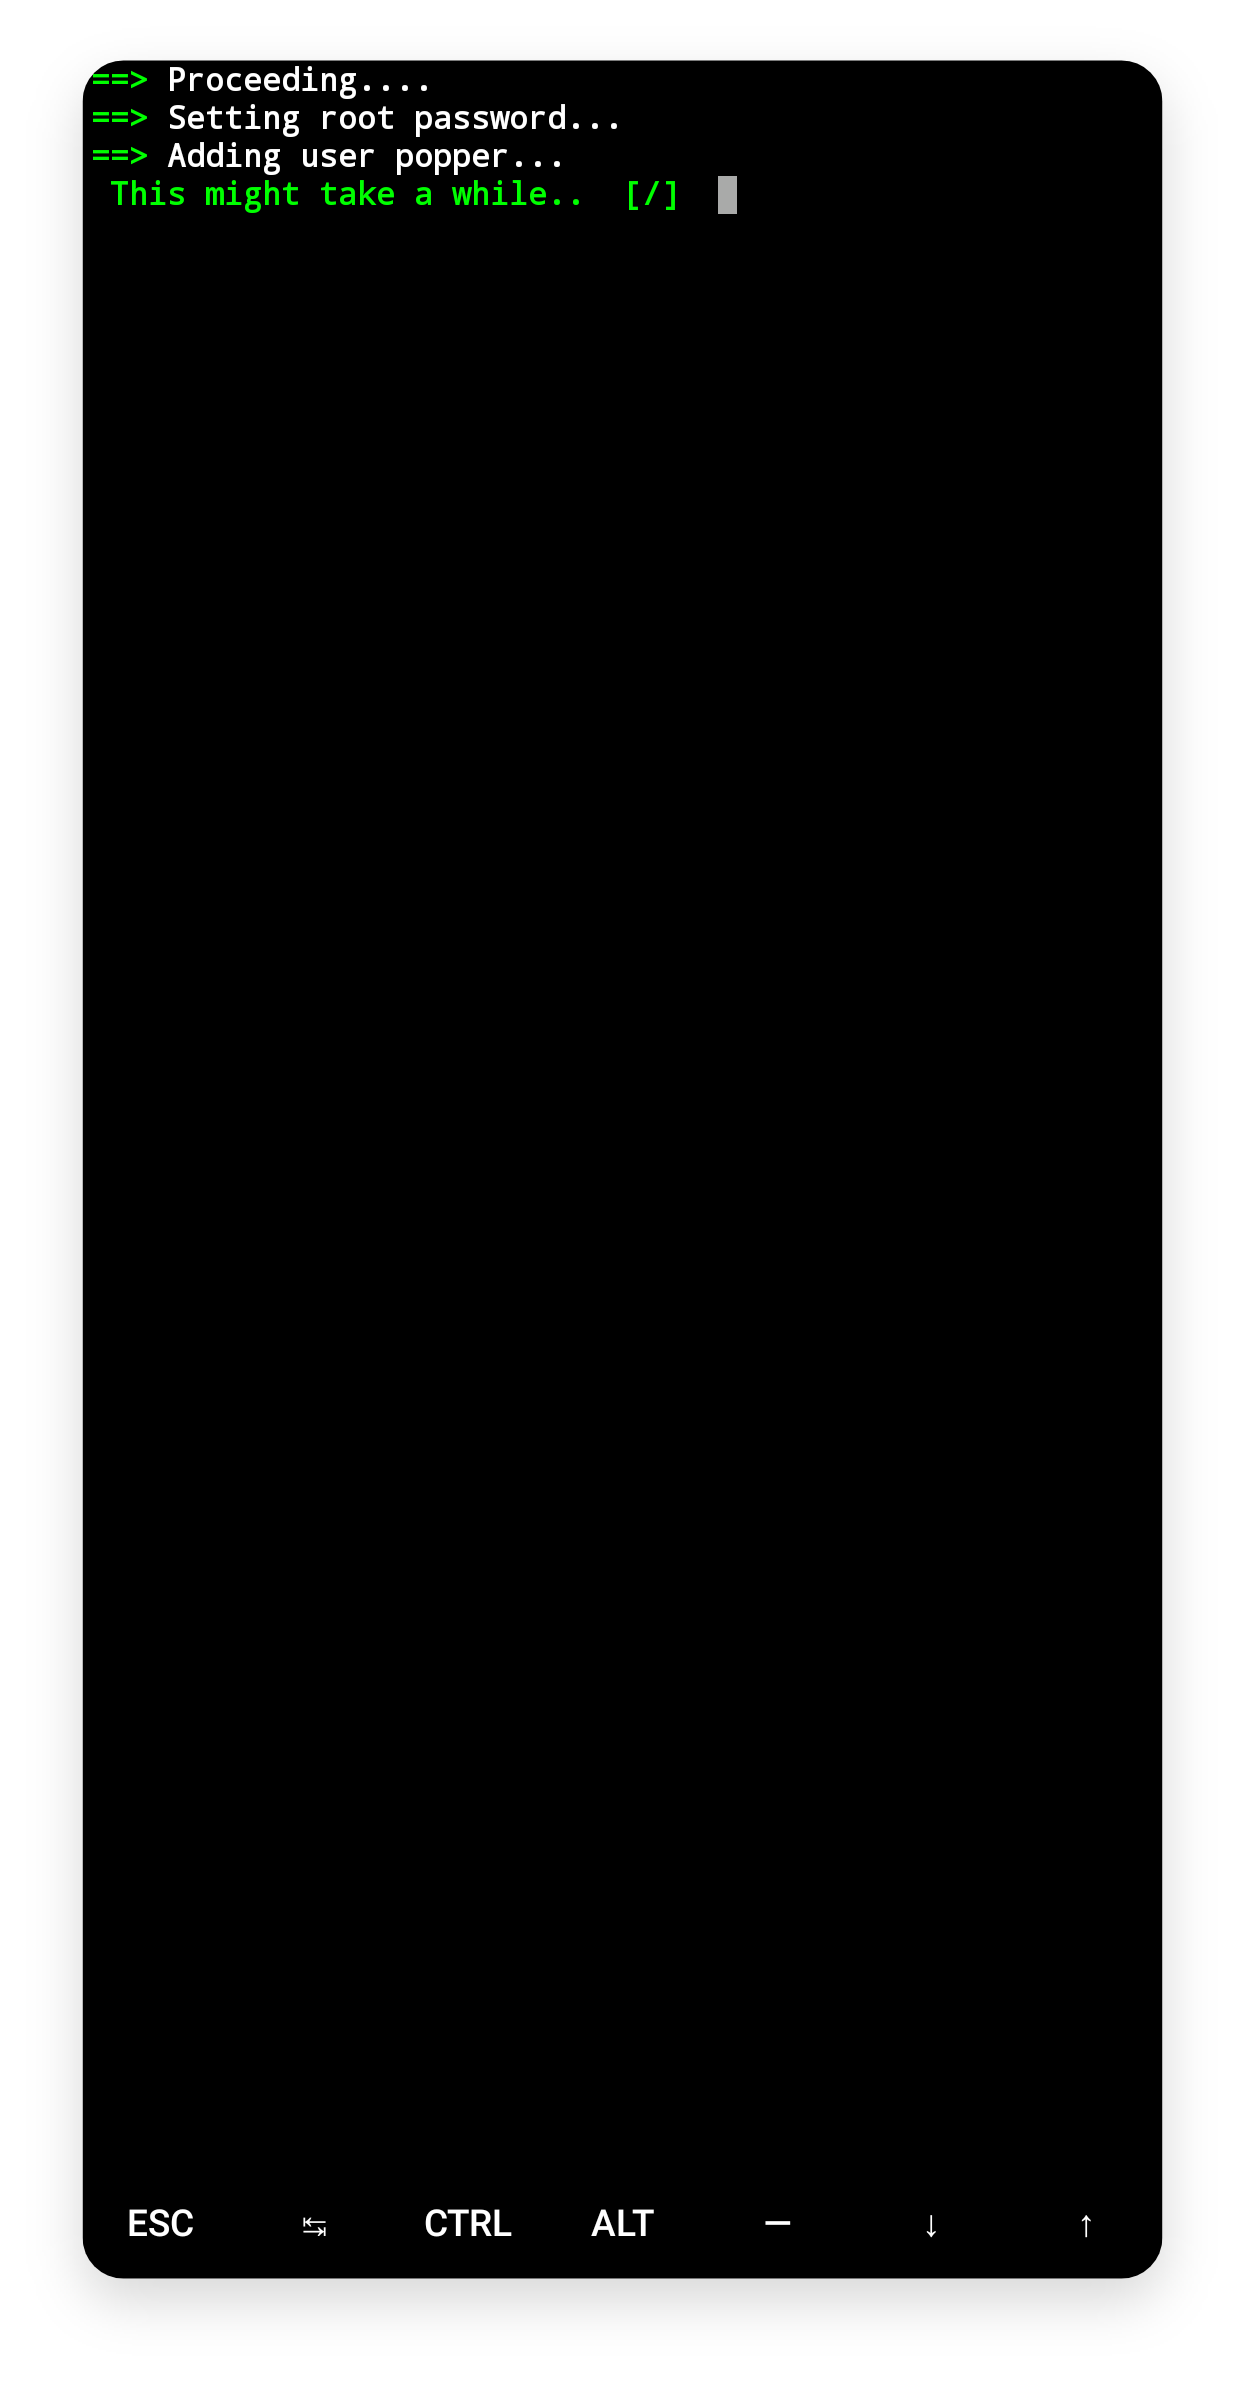
Wait
Now, wait until the system is creating the user. You should see something like this while the system is setting-up the user.
5. VNC Configuration 📺
{your_username}@localhost:~$VNC Start
Now the Start VNC server page should have opened
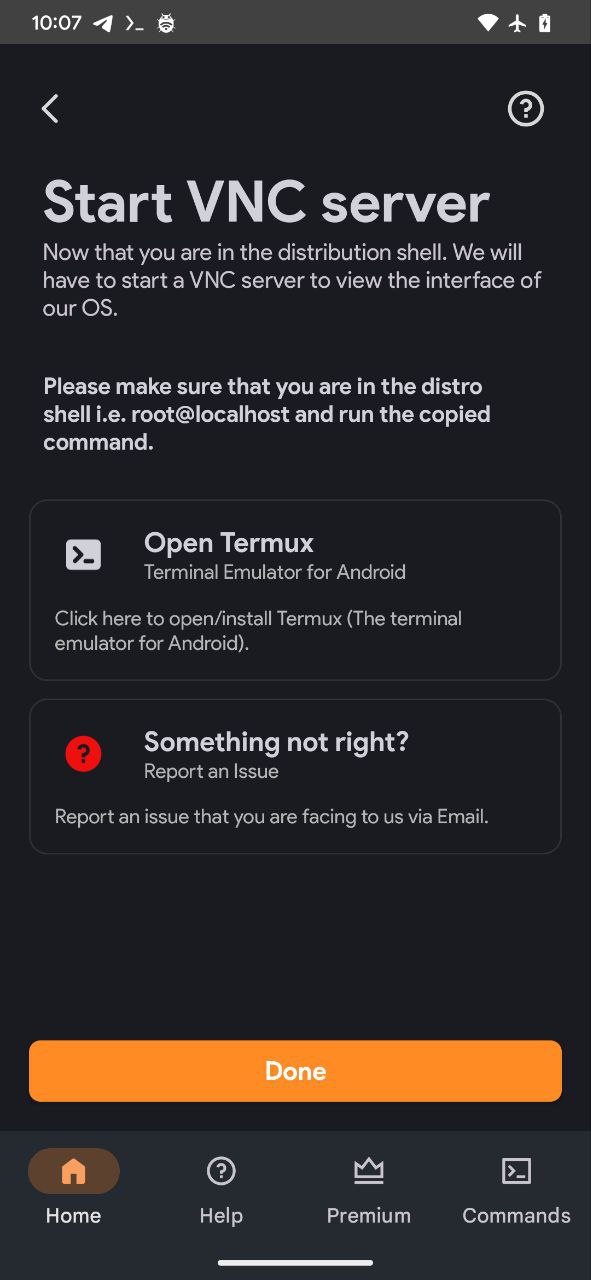
VNC Server
In order for you to actually interact with the installed distribution's GUI, we will need to set up a VNC server.
Follow this comprehensive guide to set up a VNC server and use your distro.