How to install an OS with Andronix?
Installing your favourite distro is a breeze with Andronix. Please follow these simple steps mentioned below-
1. Preparation 🚀
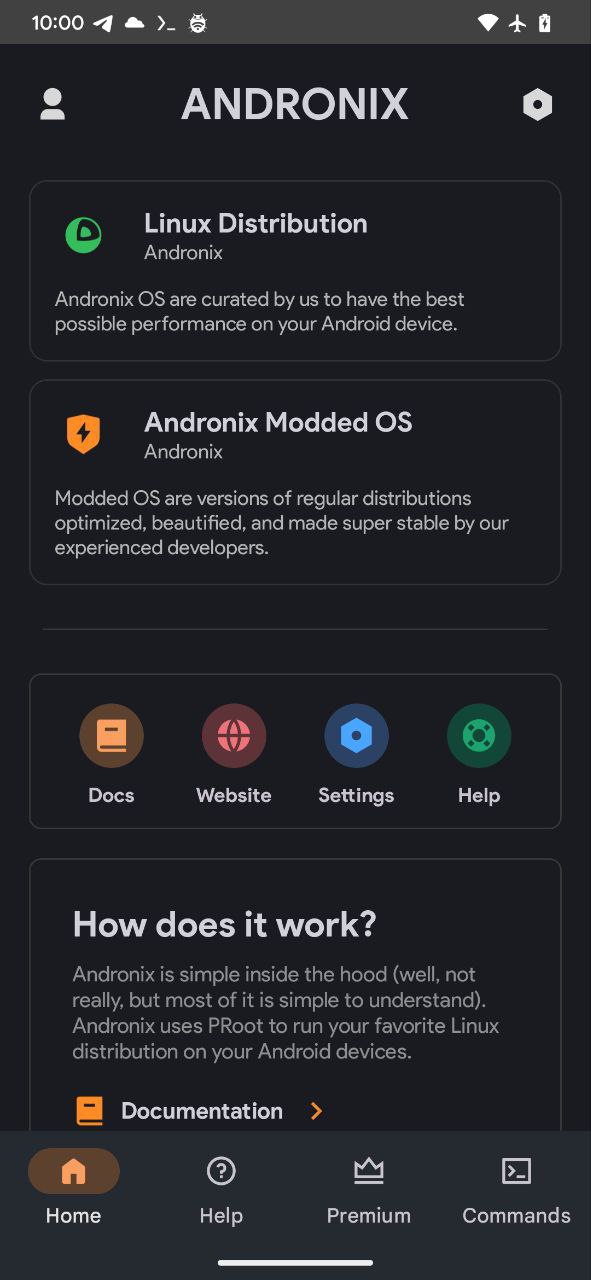
Linux Distributions
After you open the Andronix app, you will find the option to install a Linux Distribution. Click the card.
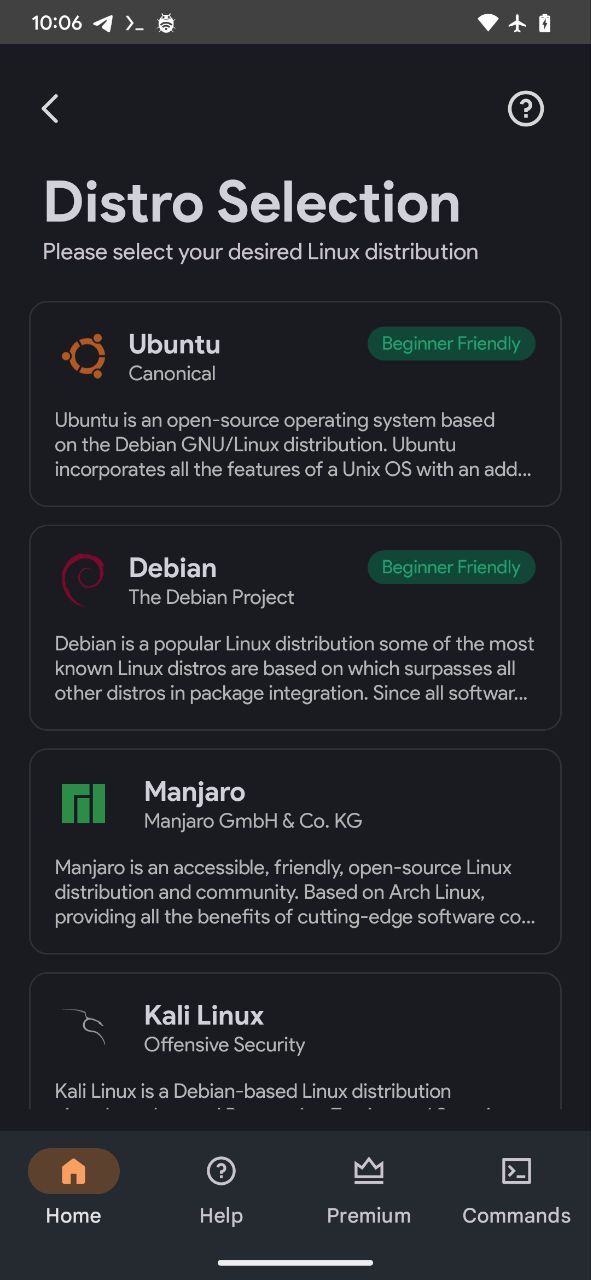
Selection
Now, you will see all the distributions that can be installed on your Android device.
2. UI Selection ⭐️
Select
Click on the distro that you would like to install.
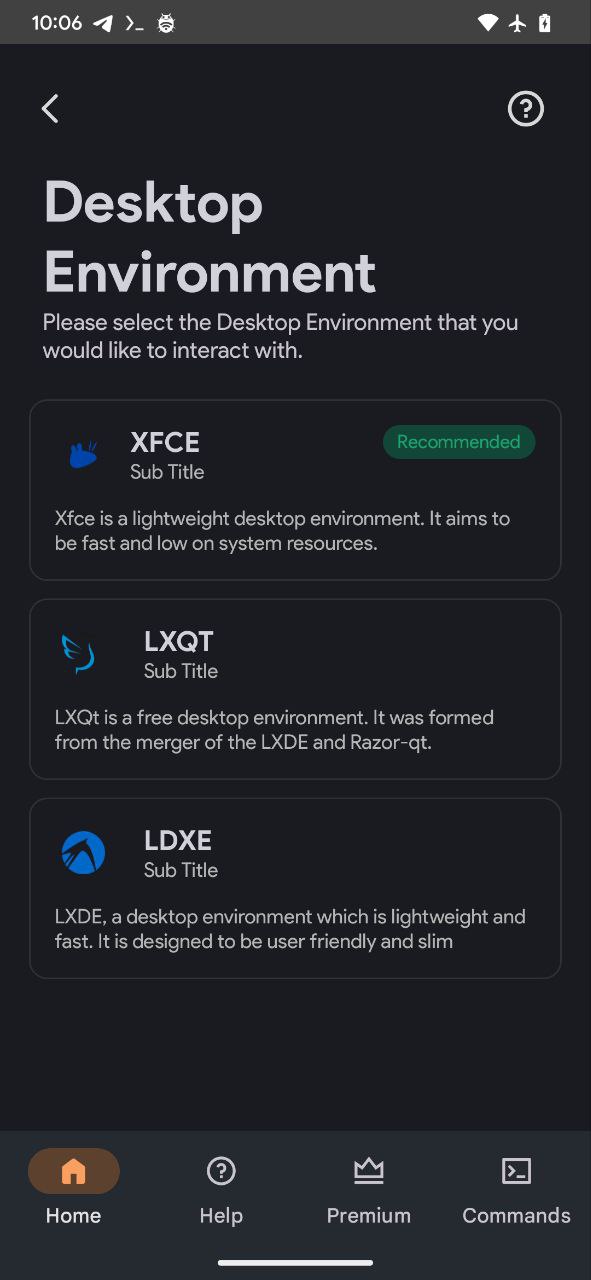
Select the UI
Here comes the UI Selection

Desktop Environment GUI
GUI
You can choose a Desktop Environment if you would like to use your mouse as well as your keyboard, or you've little or no experience with Linux. More information here.
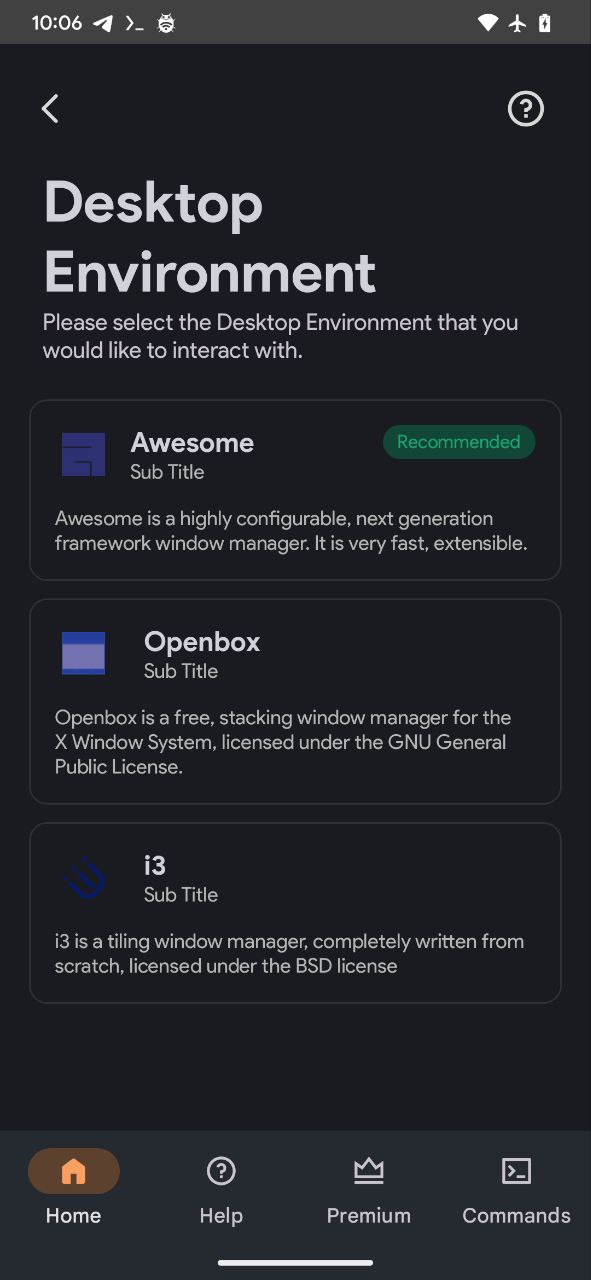
Window Manager GUI
GUI
You can choose a Window Manager if you only want to use your keyboard to manage Windows and other OS-level tasks. These are pretty light and fast, but do require some skill before getting productive. More information here
Command Line Interface CLI
CLI
If you don't want a Graphical User-interface, you can go ahead with the Command Line Interface. You'll have a terminal, which is enough if you know what you're doing in your session.
Continue
Based on your selection above, please follow the respective instructions below:
Desktop Environment
Now that you've decided to go ahead with a desktop environment, let's select what desktop environment you would like to install. You can read this page of the documentation to know more about different DE and then click on the one you would like to install.
Window Manager
Window Managers it is. Now select what Window Manager you would like to install. You can read this part of the documentation for more information on window managers.
CLI
Since you've chosen the Command Line Interface, there's no extra configuration required on your part. You may proceed to the instructions below.
3. Termux Execution 💻
Now comes the part where the actual installation of your Linux distribution begins.
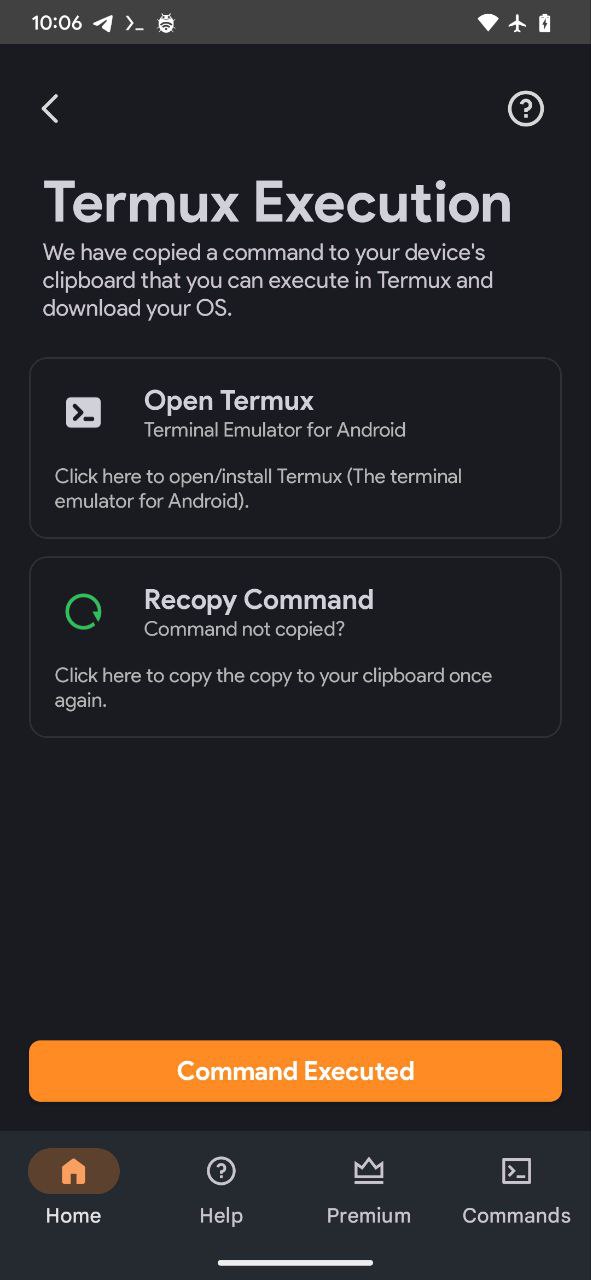
Execute
You will need to run/execute this command in Termux.
Paste
Open the Termux app and long press to paste the copied command and then hit enter to run it.
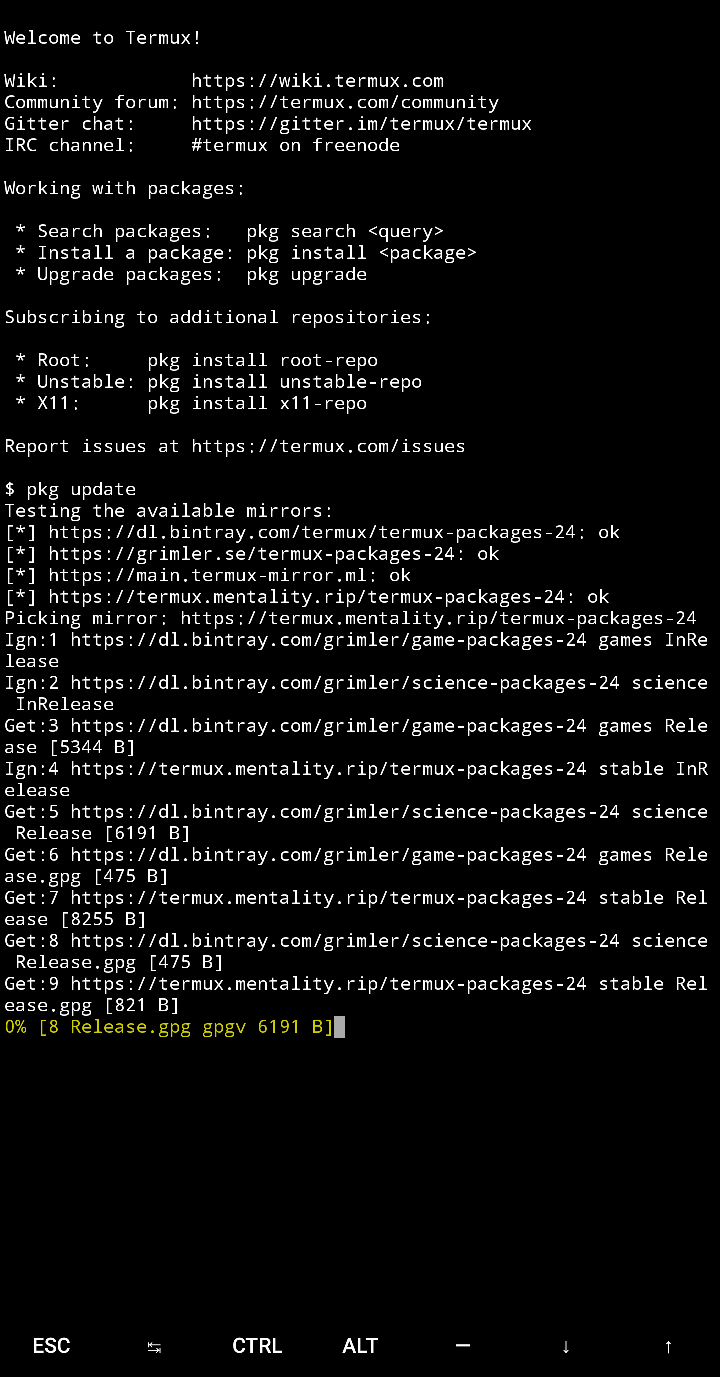
Wait
The installation/downloading will take some time. Please leave the Termux app running.
Update the Andronix app
Now, click the Command Executed button at the bottom of the screen.
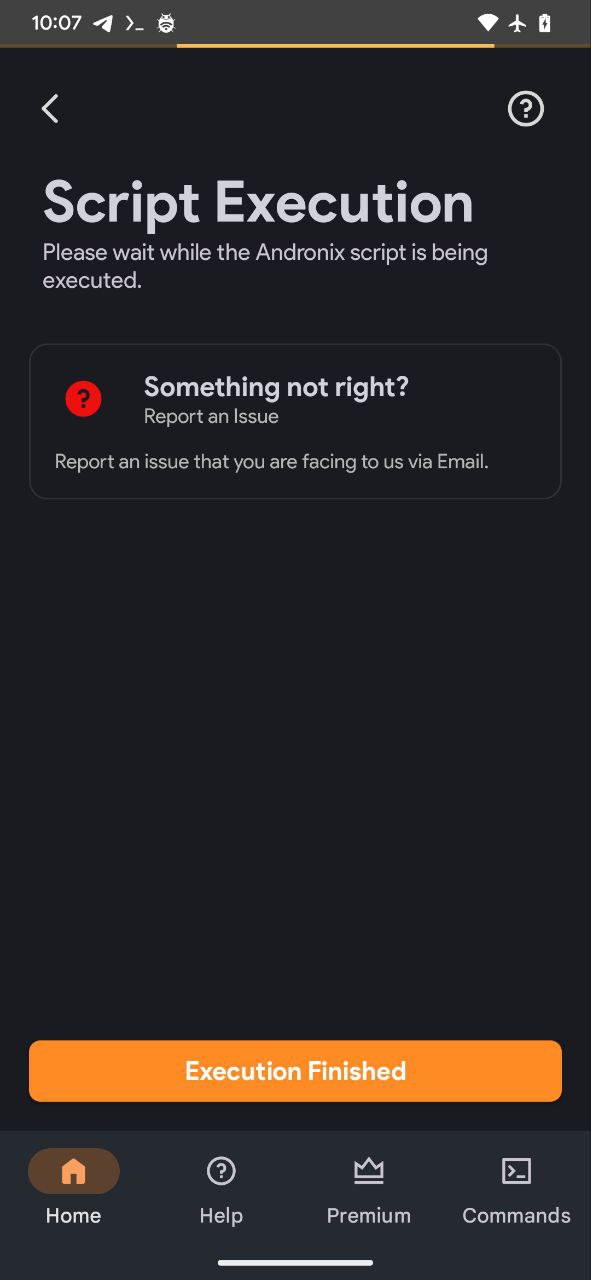
Finish the Process
After the script has been executed successfully, Click the Execution Finished button at the bottom.
4. Starting Distribution ⚡️
root@localhost mentioned on Termux. Please
skip the next section.Start the Distro
You can now start the distro by typing the following command in Termux (Please choose your distro and execute the respective command) and running it-
- Ubuntu 18
./start-ubuntu.sh - Ubuntu 20
./start-ubuntu20.sh - Debian
./start-debian.sh - Manjaro
./start-manjaro.sh - Arch Linux
./start-arch.sh - Fedora
./start-fedora.sh - Void
./start-void.sh - Alpine
./start-alpine.sh - Kali Linux
./start-kali.sh
Verify
If you see root@localhost in the shell, you have successfully started your distro.
5. VNC Configuration 📺
VNC Start
Now the Start VNC server page should have opened
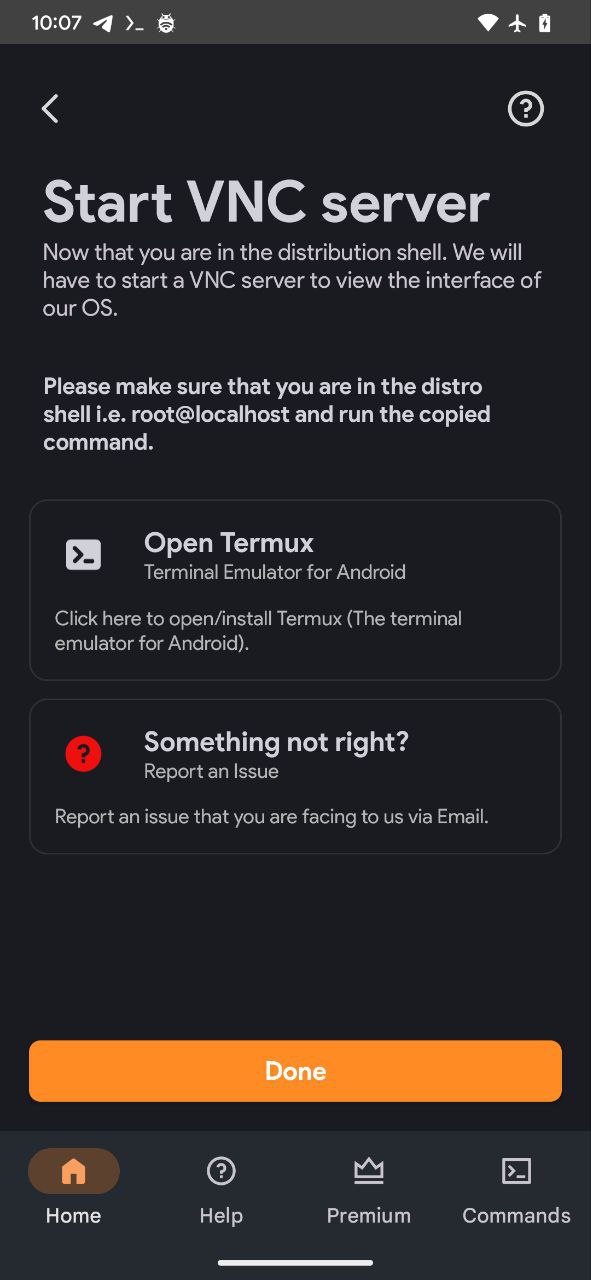
VNC Server
In order for you to actually interact with the installed distribution's GUI, we will need to set up a VNC server.
Follow this comprehensive guide to set up a VNC server and use your distro.