


Installing Modded OS
Step-by-step guide to installing an Andronix Modded OS on Android, from purchase and the Termux install command to user setup and VNC.
Docs for Andronix app 8.x (Classic)
Installing a Modded OS is straightforward. This guide walks you through selecting and installing your distro, running the install command in Termux, setting up your user account, and connecting to the desktop. Prefer video? Watch the walkthrough below, then follow the steps.
With that out of the way, let's install the distro.
1. Preparation 🚀
Open the app
Open the Andronix app and tap the Modded OS button on the dashboard. The Modded OS section lists all the distros you can install.
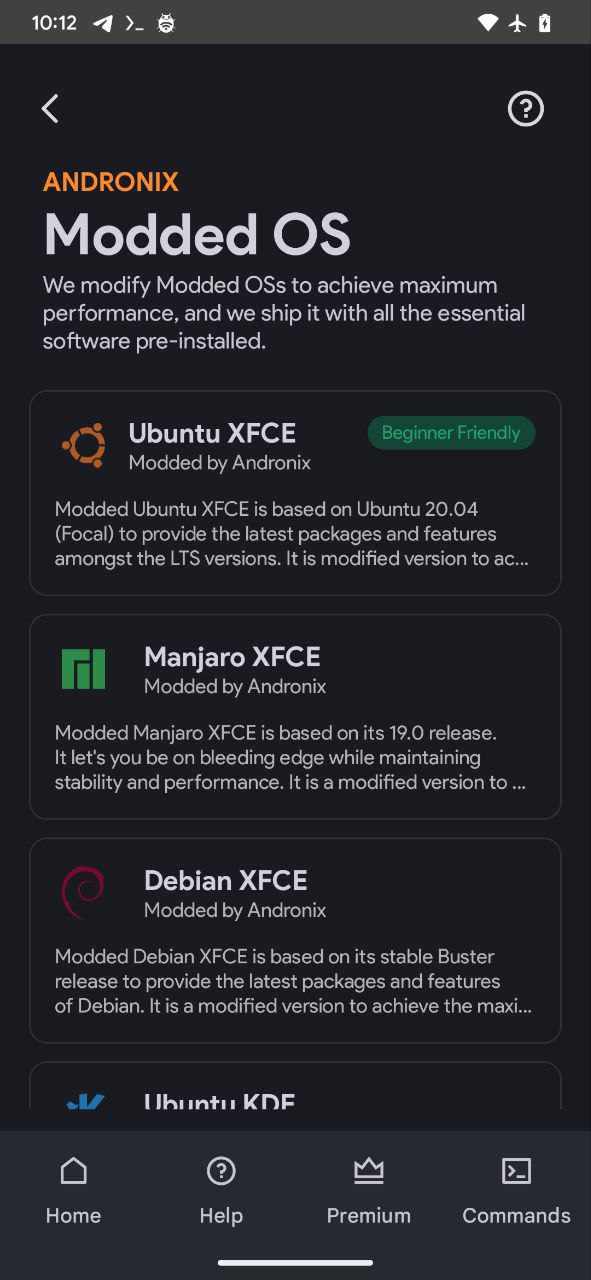
Select the distro
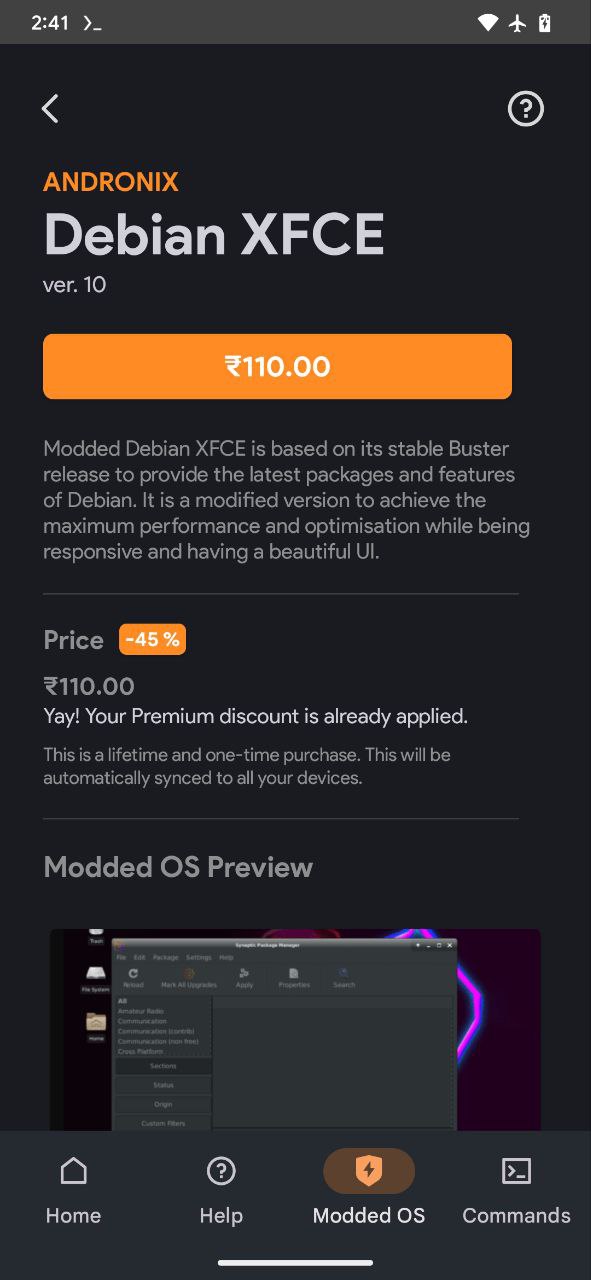
Tap the distro you already own or want to buy. If you haven't bought it before, the app shows its price and other details so you can complete the purchase. Once the purchase is done, continue with the next steps.
Unpaid Screen
Paid Screen
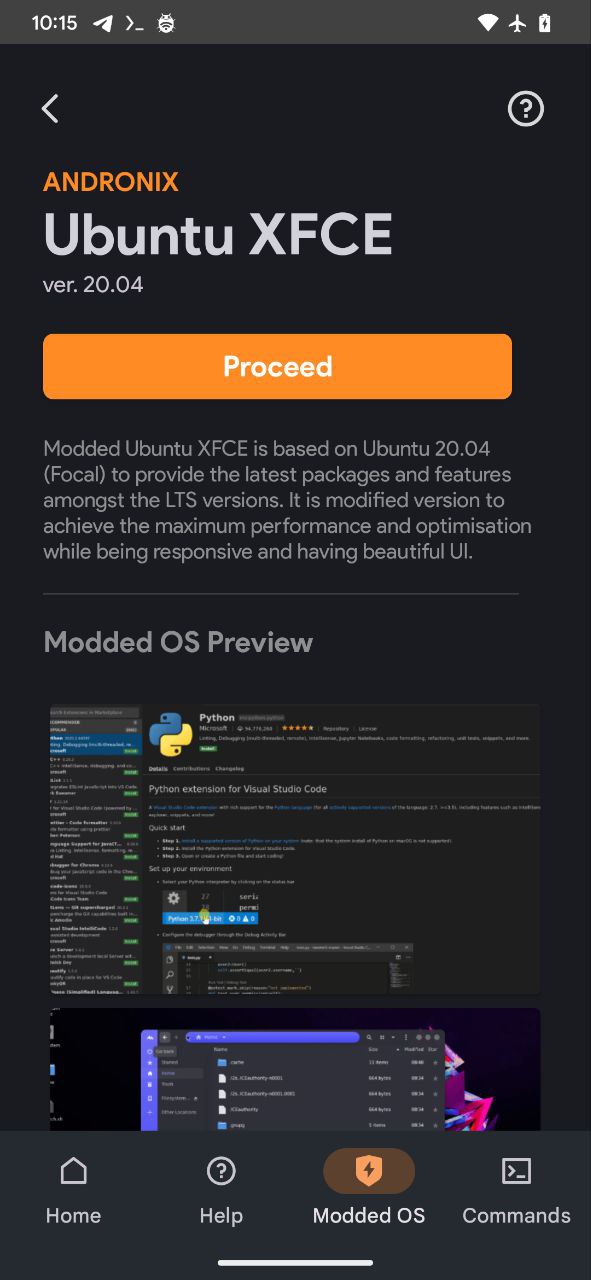
Continue
The distro is now linked to your profile, so you can move on to installing it.
2. Selection ⭐️
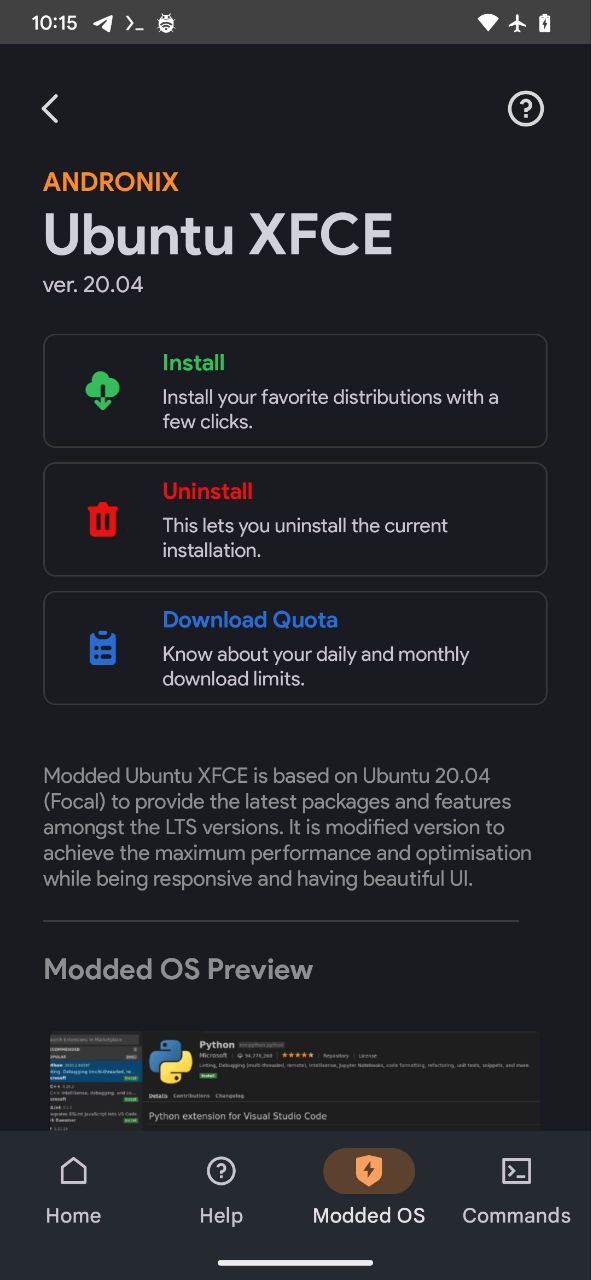
Finalize
Tap Install to start installing the distro.
3. Termux Execution 📥
This is where the actual installation of your Linux distribution happens.
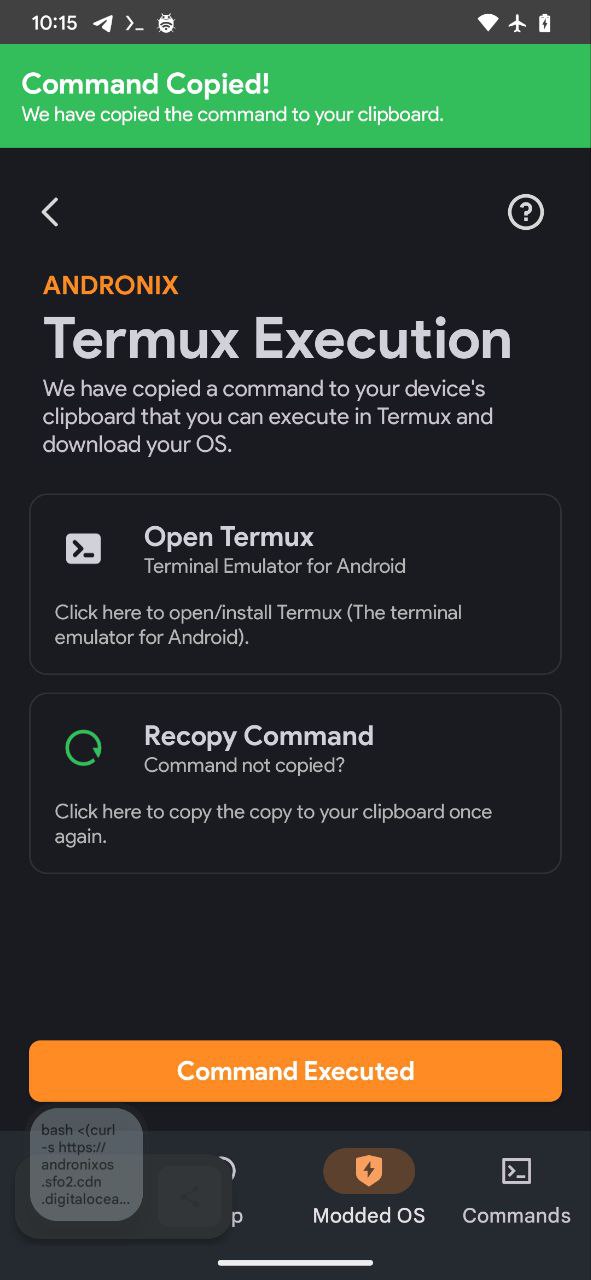
Termux
You'll run this command in Termux to download and set up the distro.
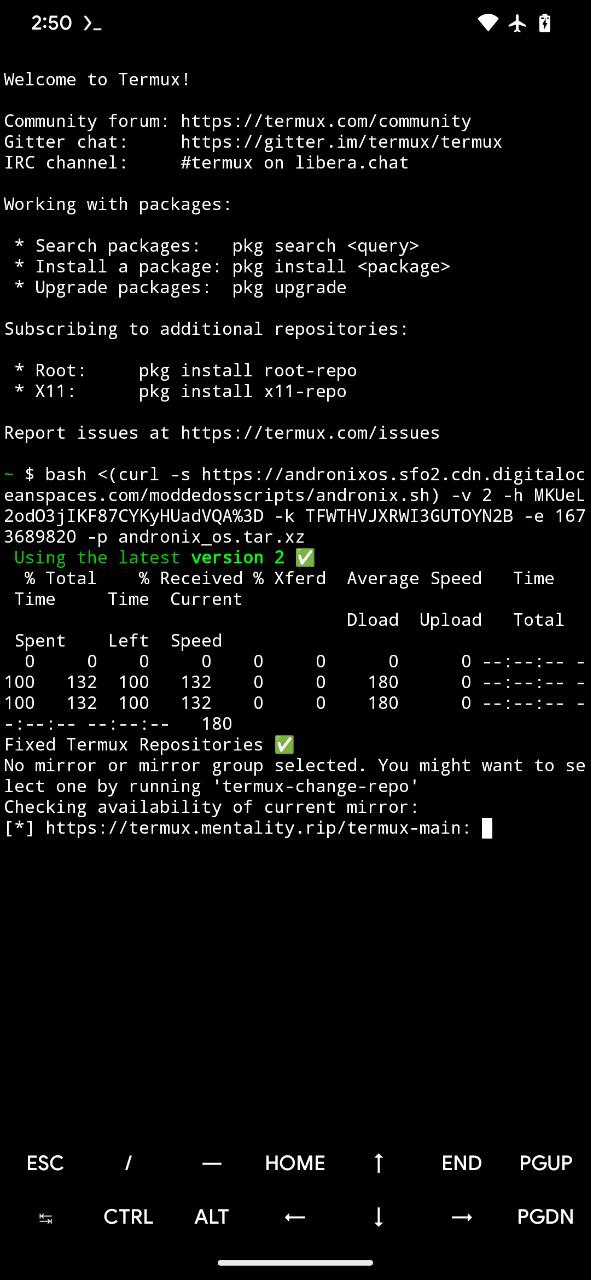
Wait
The download and installation will take a while. Keep the Termux app running until it finishes.
Command Executed
Back in Andronix, tap the Command Executed button at the bottom of the screen. This tells the app the command has been run.
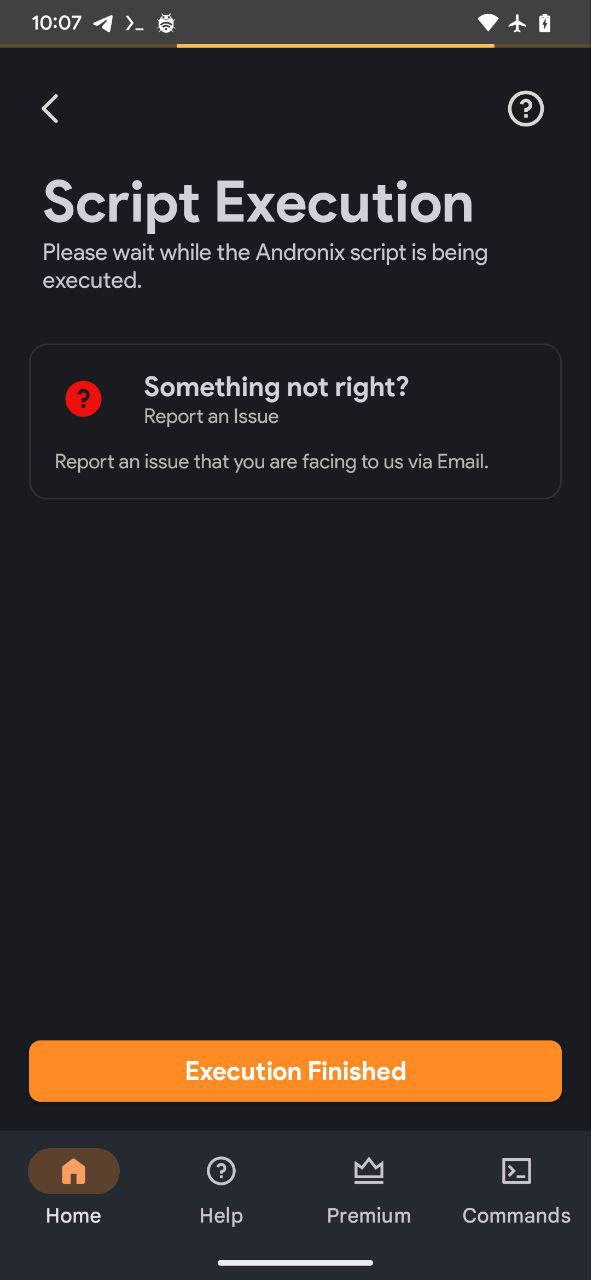
Finish
Once the script has finished successfully, tap the Execution Finished button at the bottom.
4. Starting Distribution ⚡️
If the installation completed without any errors at the end, you've reached the last part: configuring your installed distro. First, you need to start the distro.
Start Command
Start the distro by running the command for your distro in Termux:
- Ubuntu XFCE
./start-andronix.sh- Ubuntu KDE
./start-androkde.sh- Debian XFCE
./start-androdebian.sh- Manjaro XFCE
./start-androjaro.shThis starts the post-installation process, which sets up the essential packages. Wait until it finishes.
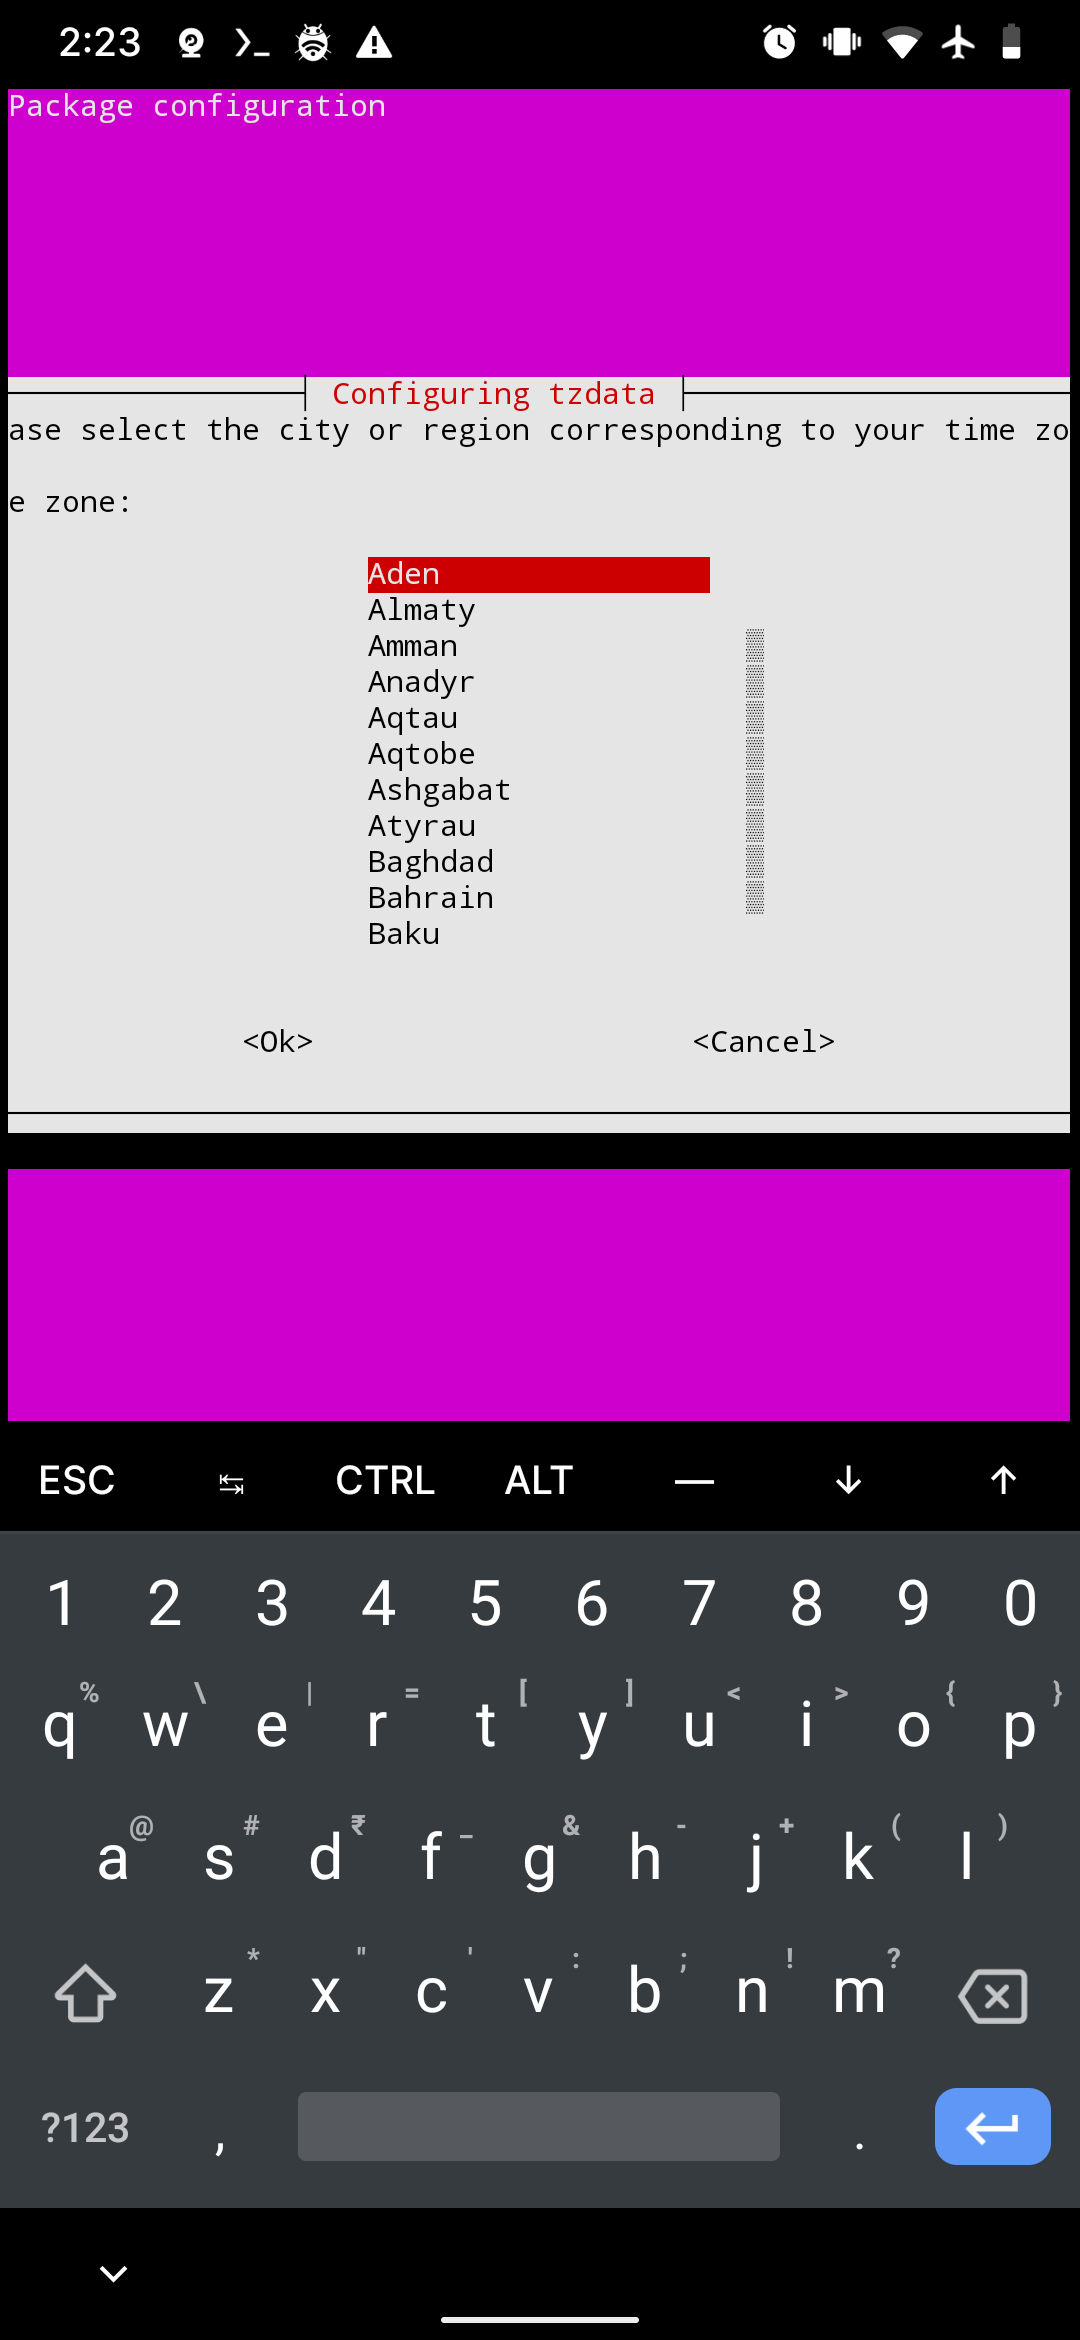
Select Region
If the post-installation setup succeeds, you'll see a menu for selecting your region. Use the arrow keys, as shown in the screenshot below, to move the selection, then press Enter to continue.

Select Keyboard
Select your keyboard layout if you use something other than the default English layout. In this example we keep the English layout, so press Enter to continue.

Username
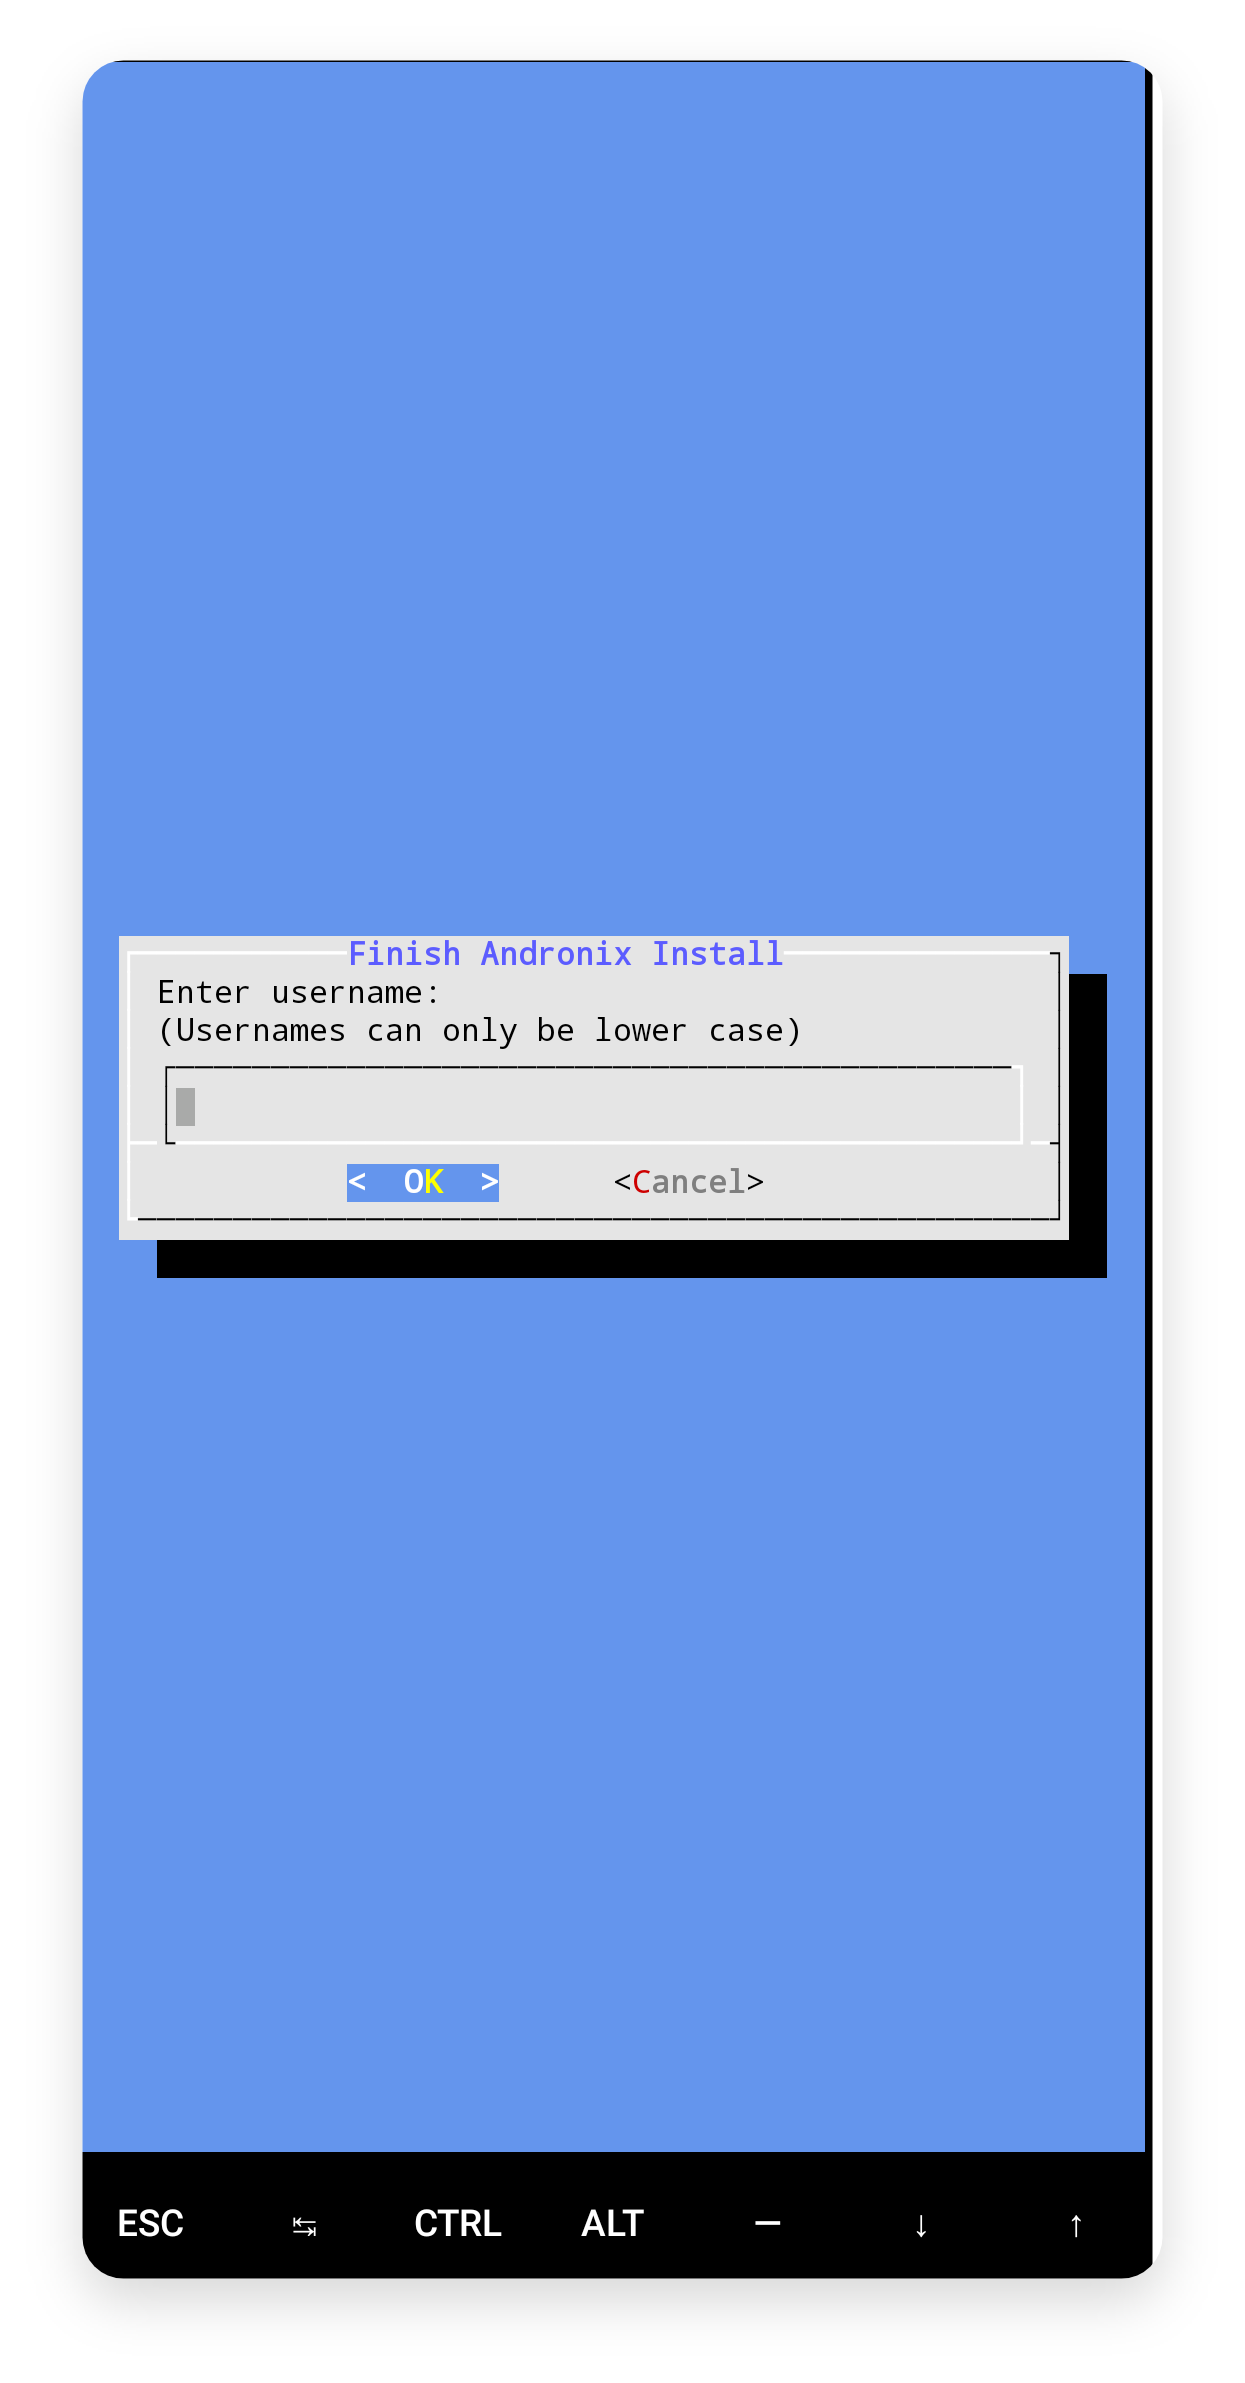
If everything went well, you'll see a blue screen asking for a username. Enter any username that isn't a reserved keyword like admin, root, etc. (your name works fine), then press Enter to continue.
Password
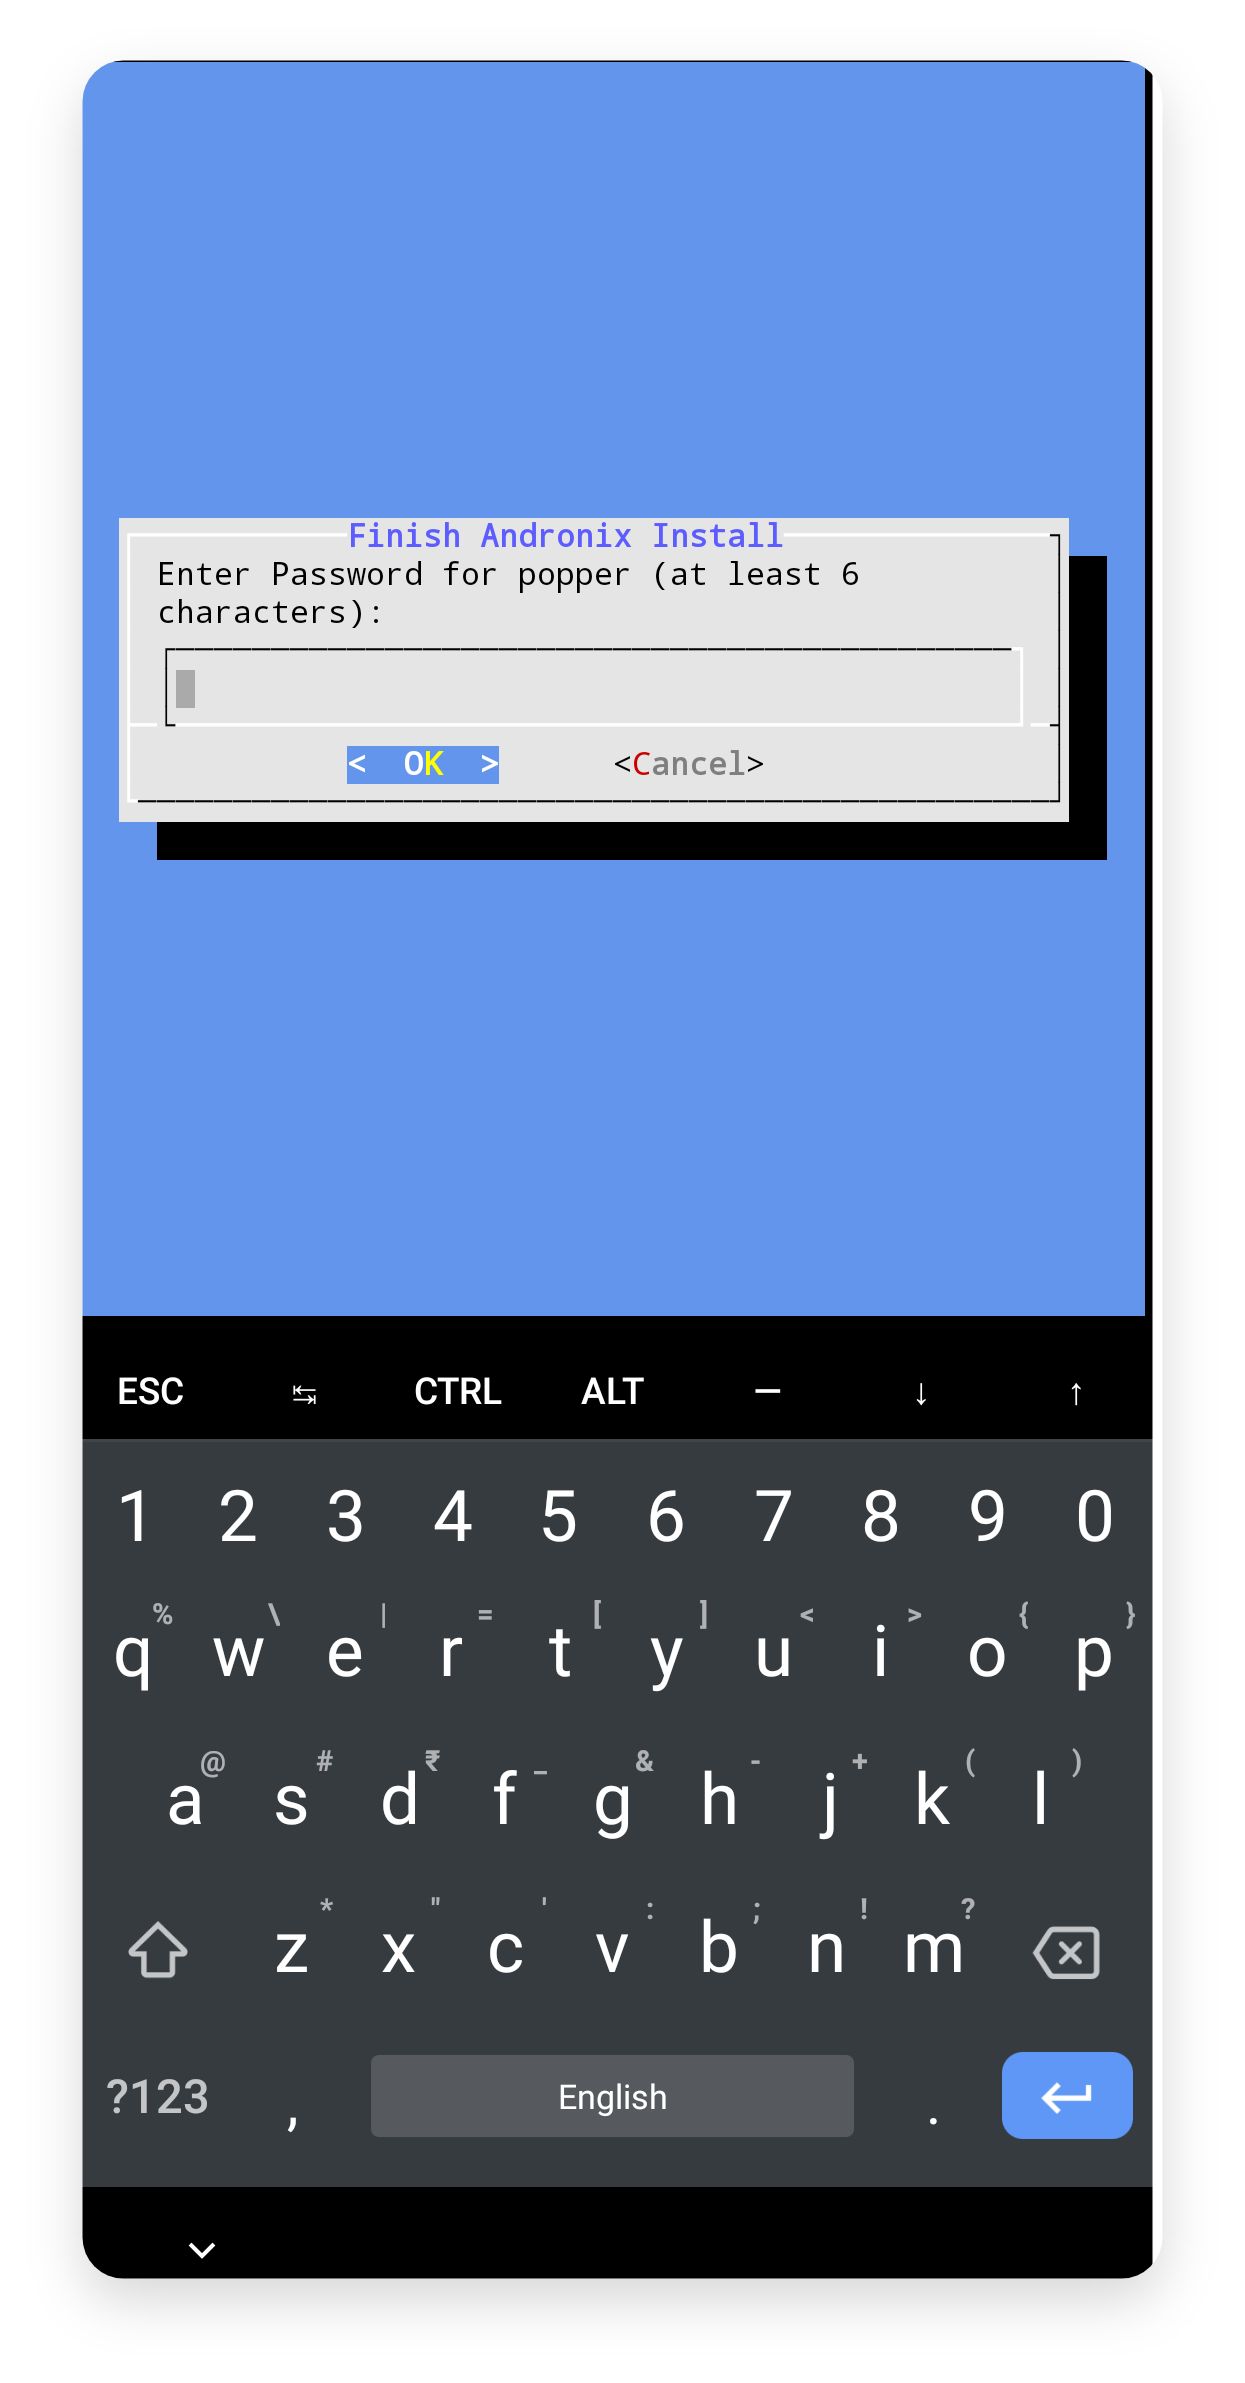
Next, set a password for your user. It can be anything longer than six characters. Press Enter, re-enter the password to confirm it, and press Enter again to continue.
Root Password
Now set a root password. It can be anything longer than six characters. Press Enter, re-enter the root password to confirm it, and press Enter again to continue.
Confirm
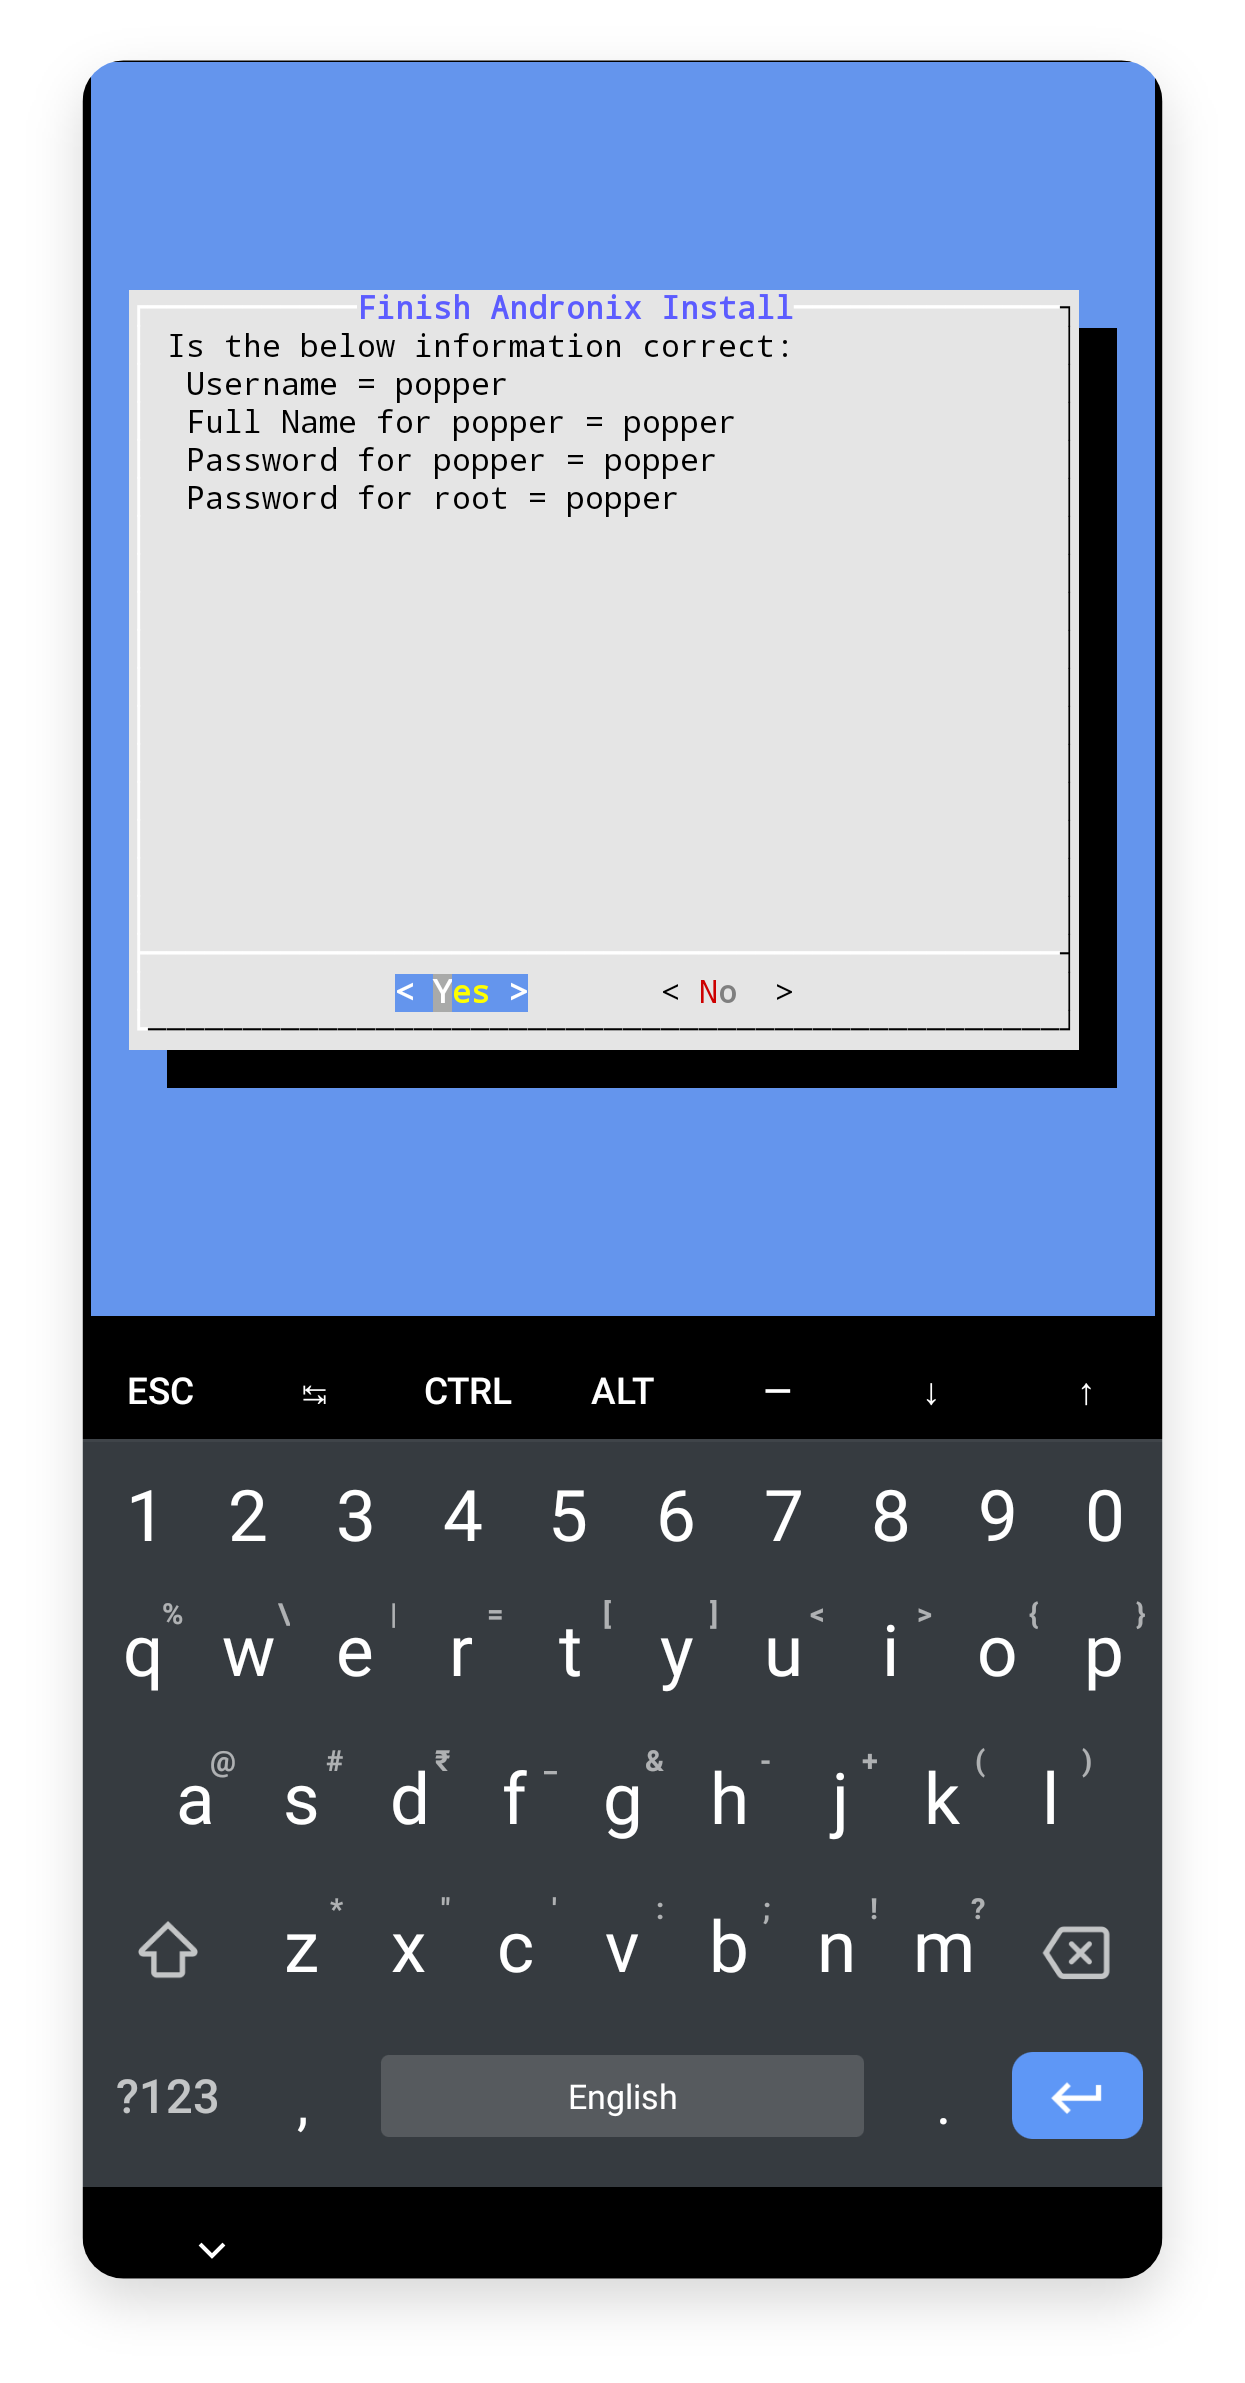
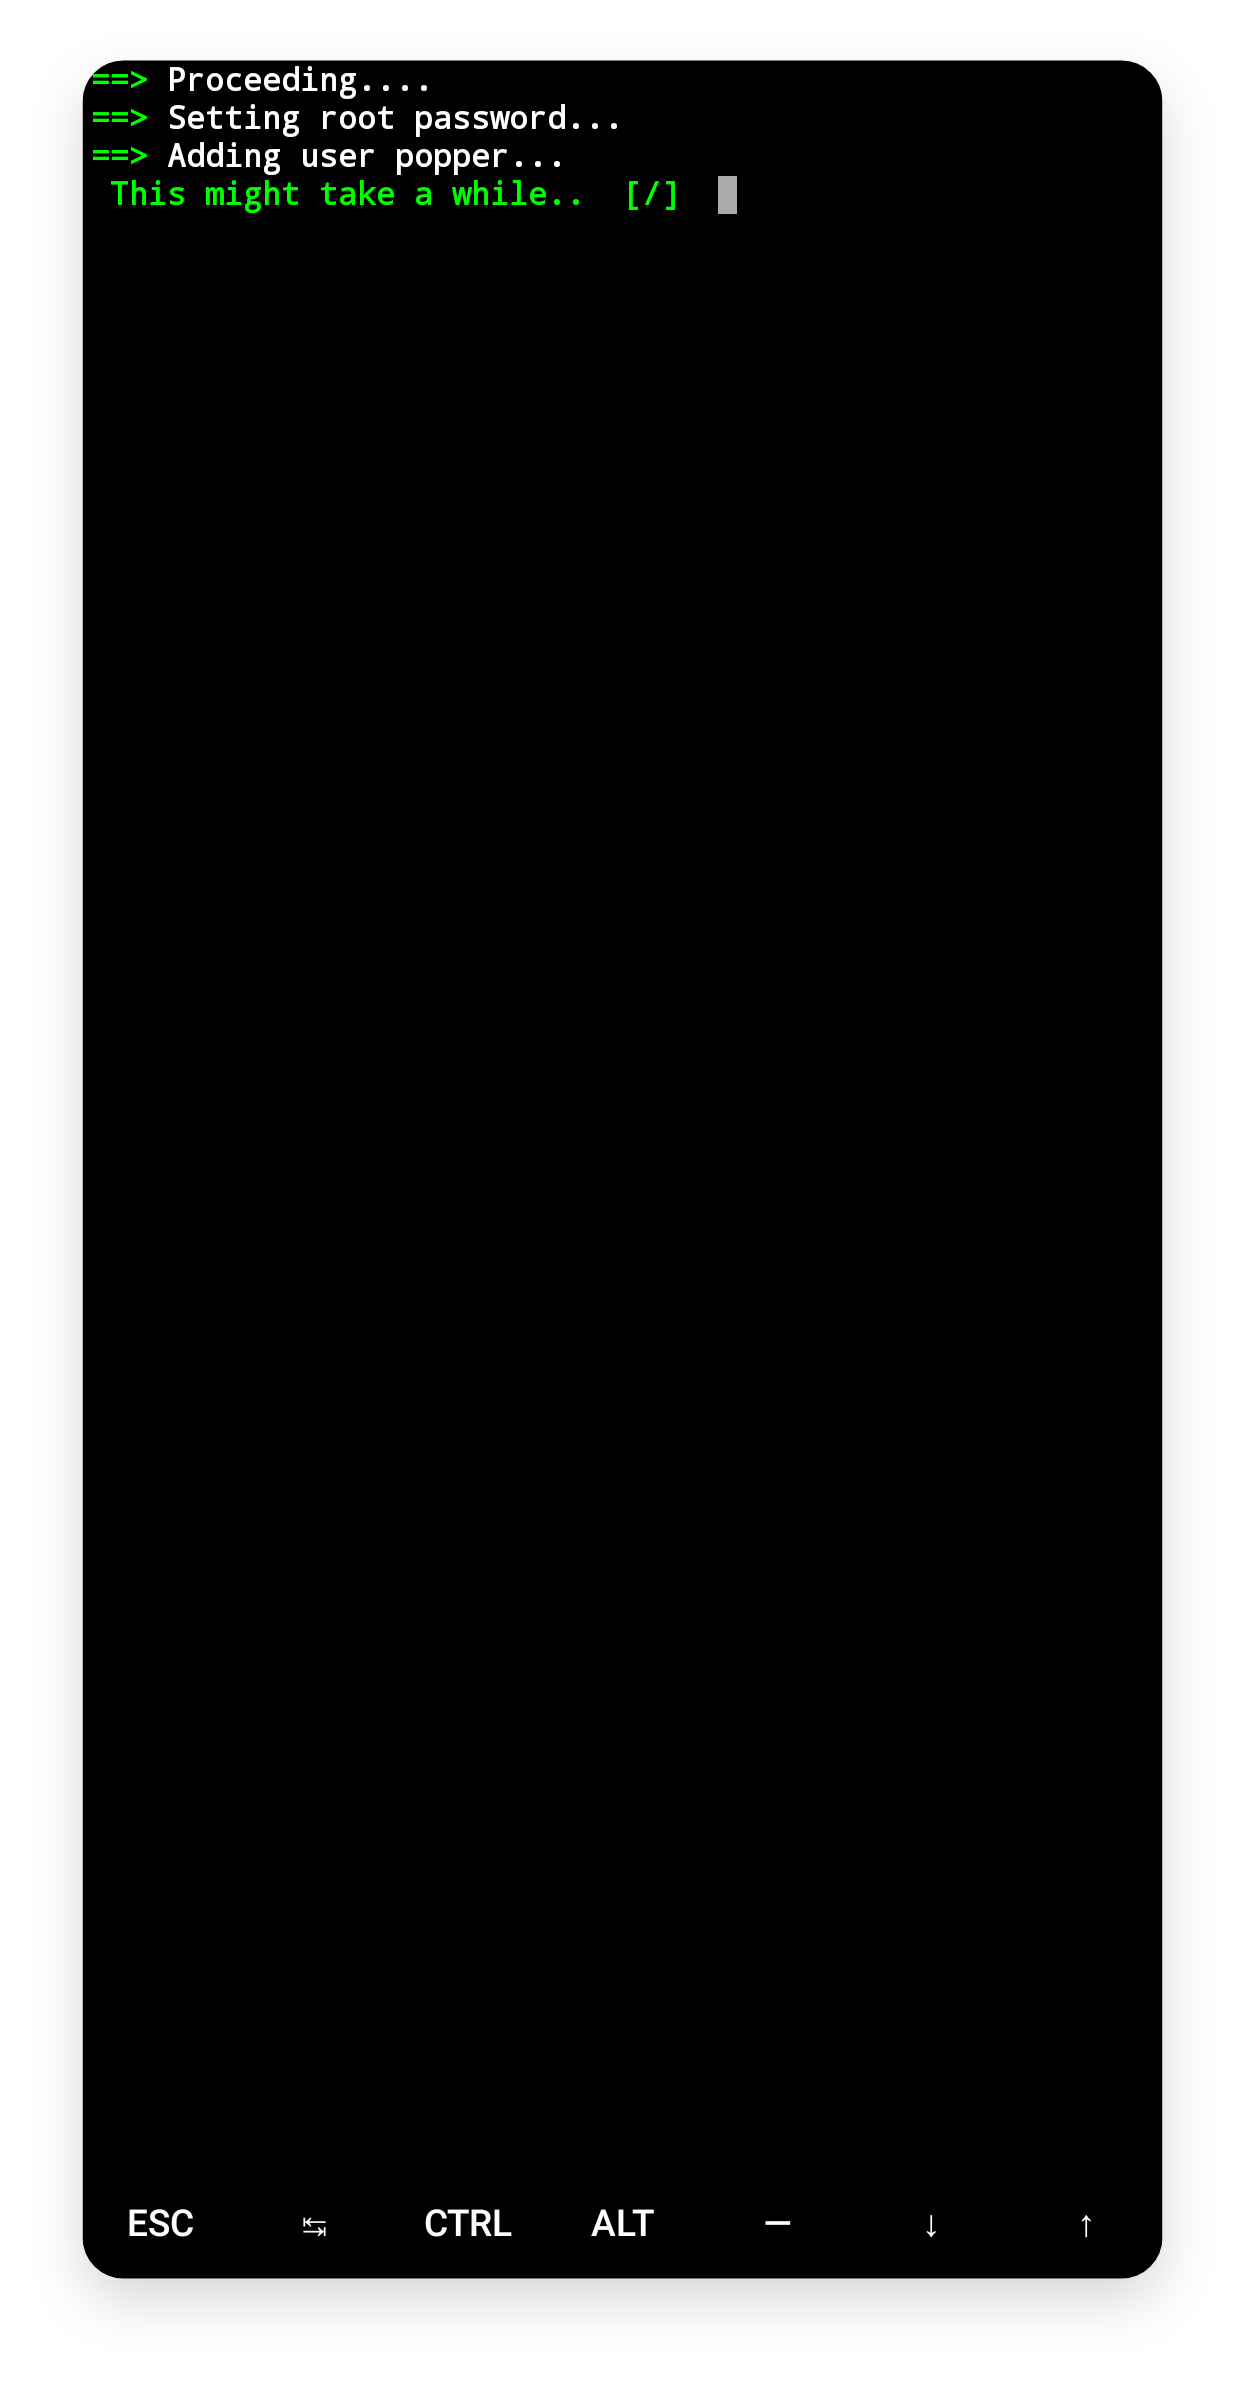
The next screen shows everything you entered. Check that the username and passwords are correct (if not, press ESC or the back button to restart the script), then press Enter to continue.
5. VNC Configuration 📺
{your_username}@localhost:~$.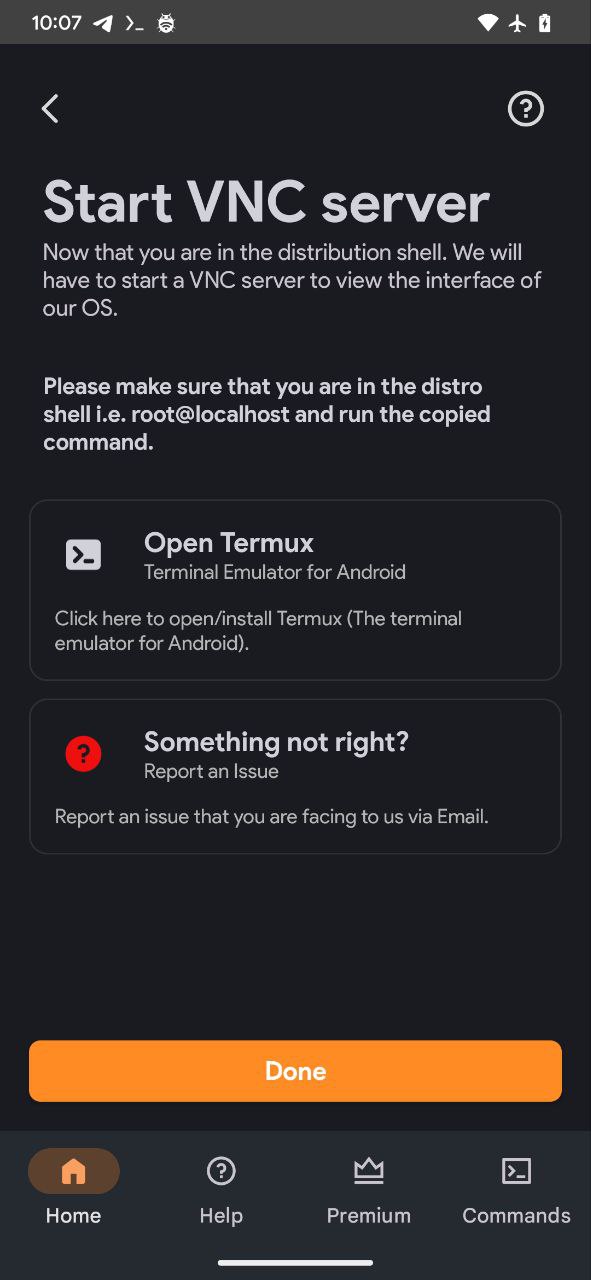
VNC Server
To interact with your distro's graphical interface, set up a VNC server. Follow the VNC Basics guide to set one up and connect to your distro.
Next steps
- VNC Basics: connect to your Modded OS desktop with a VNC viewer.
- XSDL Basics: use an X11 server as a faster alternative to VNC.
- Fixing Sound: get audio working in your distro.
- Accessing Internal Storage: reach your phone's files from Linux.
- FAQ: answers to common questions and errors.
Modded OS
Andronix Modded OS are paid, performance-tuned Linux distros with themes and essential software preinstalled, so you can skip setup and start working.
Desktop Environments
Learn what a desktop environment is, which ones Andronix offers for each distro, and which one to pick if you're just getting started.