


Installing a Distro
Step-by-step guide to installing a Linux distro like Ubuntu, Debian or Manjaro on Android with the Andronix app and Termux, no root required.
Docs for Andronix app 8.x (Classic)
Installing your favorite Linux distro with Andronix only takes a few minutes. This guide walks you through the whole process: picking a distro, choosing an interface, running the install command in Termux, and starting your new system. Prefer video? Watch the walkthrough below, then follow the steps.
1. Preparation 🚀
Linux Distributions
Open the Andronix app and tap the Linux Distribution card on the dashboard. This takes you to the list of distros you can install.
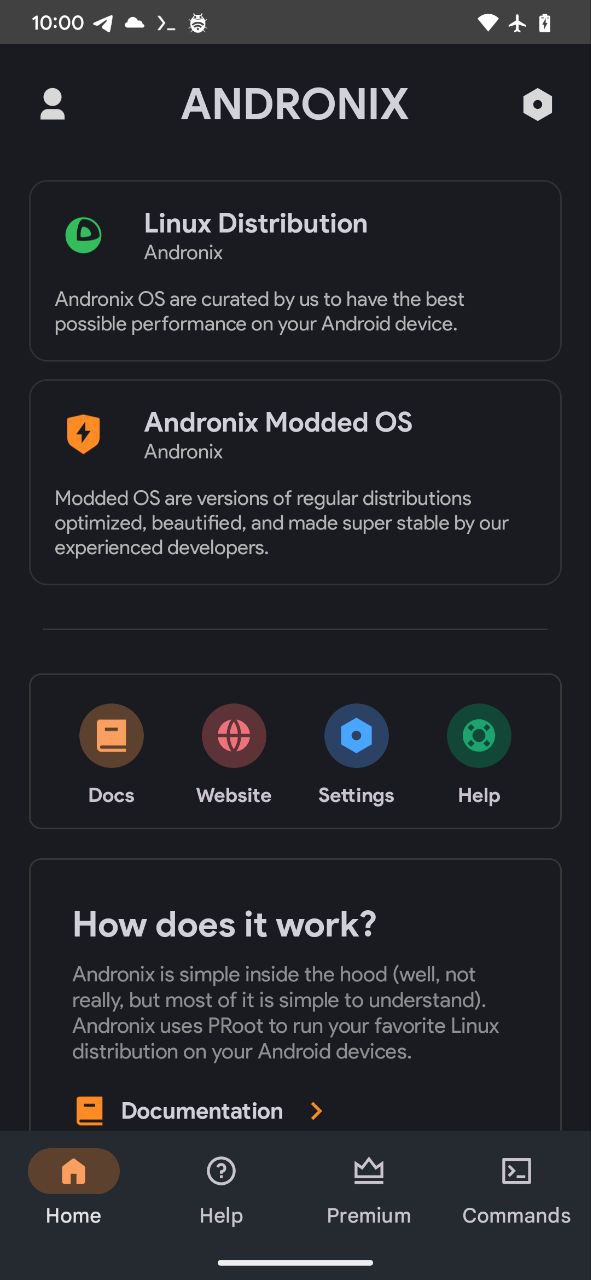
Selection
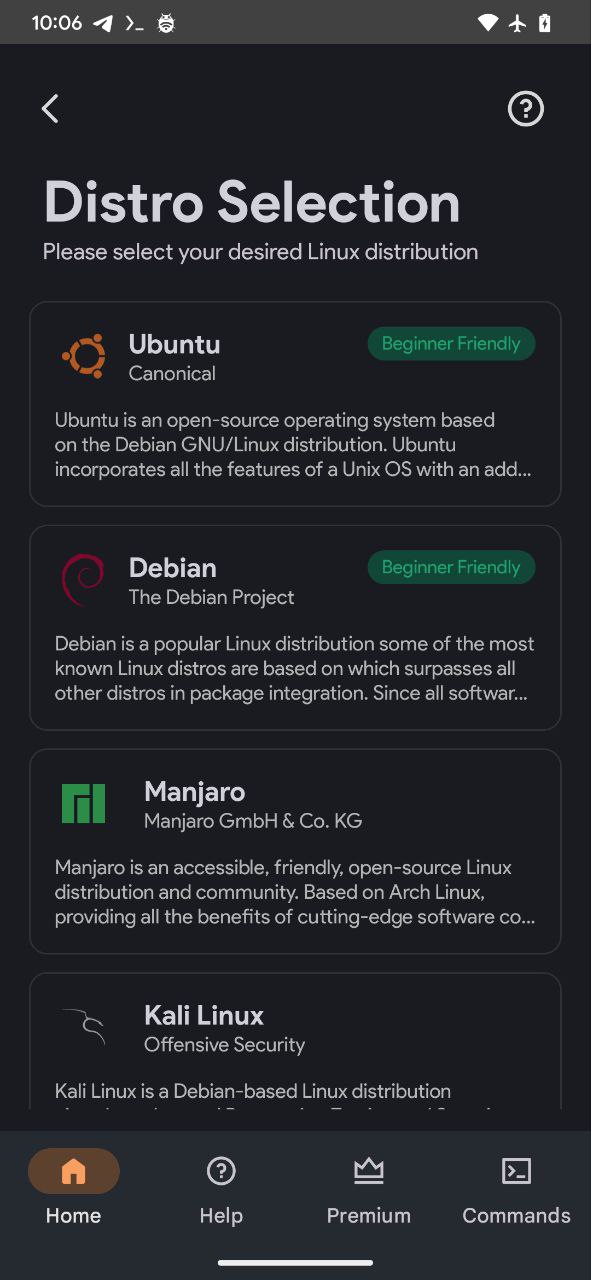
You'll now see every distribution that can be installed on your Android device.
2. UI Selection ⭐️
Select
Tap the distro you'd like to install.
Select the UI
Next, choose the kind of interface you want. This decides how you'll interact with your distro once it's running.
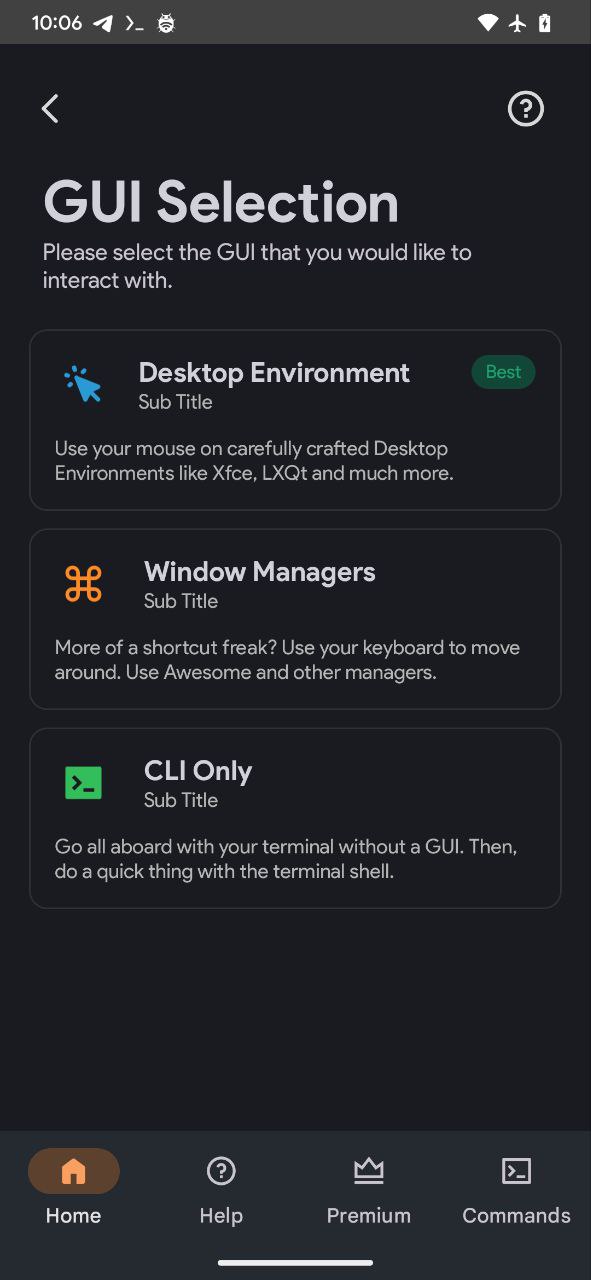
Desktop Environment GUI
Choose a Desktop Environment if you want to use your mouse as well as your keyboard, or if you have little or no experience with Linux. Learn more about Desktop Environments.
Window Manager GUI
Choose a Window Manager if you want to manage windows and other OS-level tasks mostly with your keyboard. Window Managers are light and fast, but they take some practice before you're productive. Learn more about Window Managers.
Command Line Interface CLI
Choose the Command Line Interface if you don't need a graphical interface. You'll get a terminal, which is all you need if you know your way around Linux.
Continue
Follow the instructions below that match the option you picked.
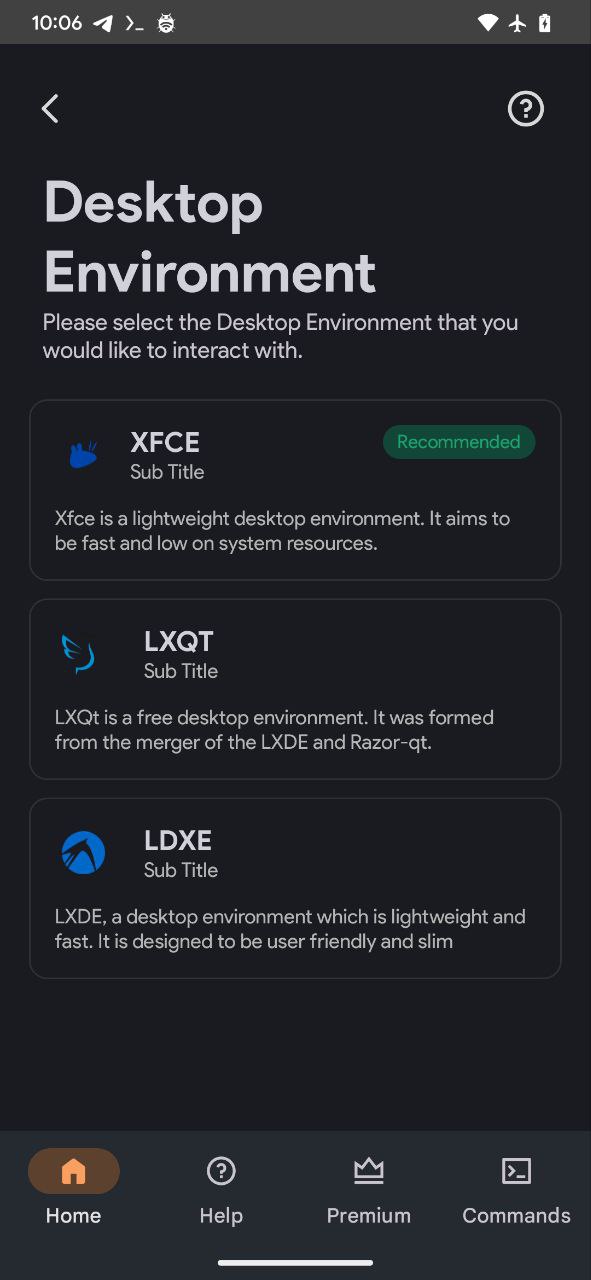
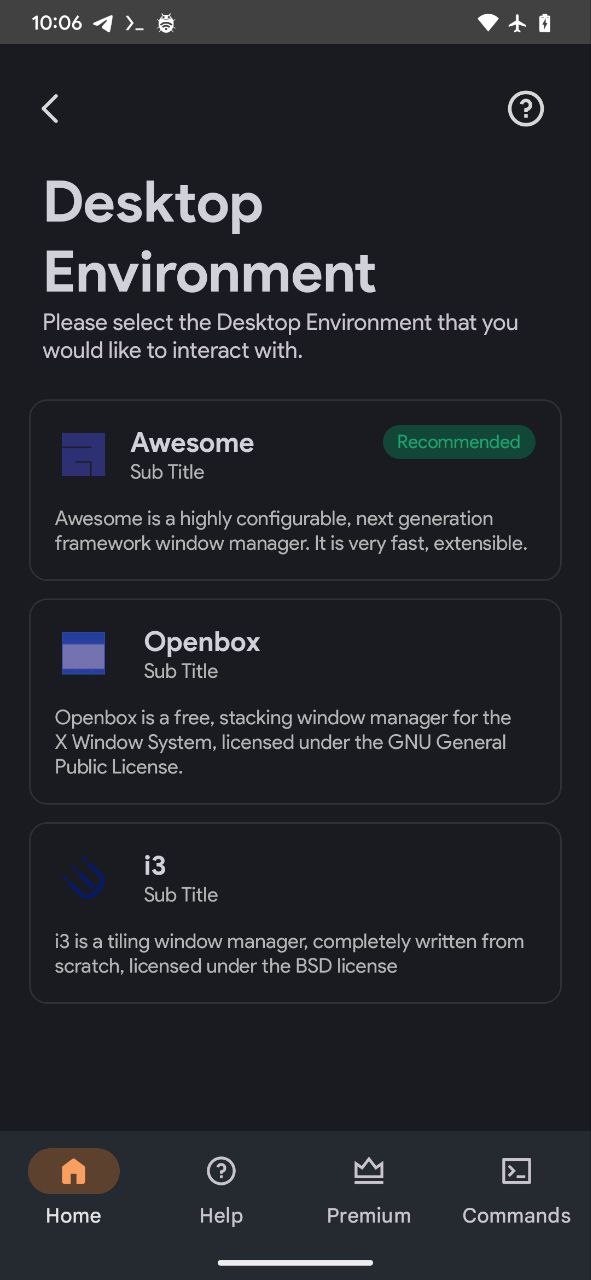
Desktop Environment
Select the Desktop Environment (DE) you'd like to install. If you want to compare them first, read the Desktop Environments page, then tap the one you want.
Window Manager
Select the Window Manager you'd like to install. For details on each option, see the Window Managers page.
CLI
No extra configuration is needed for the Command Line Interface. Continue to the next section.
3. Termux Execution 💻
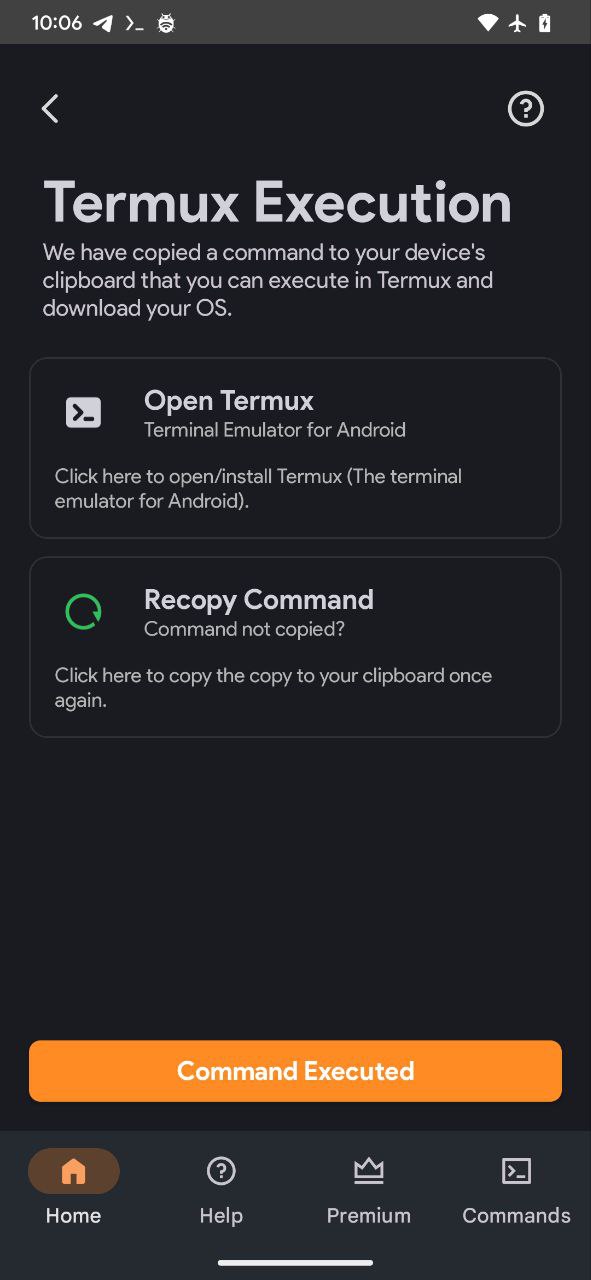
This is where the actual installation of your Linux distribution happens.
Execute
You'll run this command in Termux to download and set up the distro.
Paste
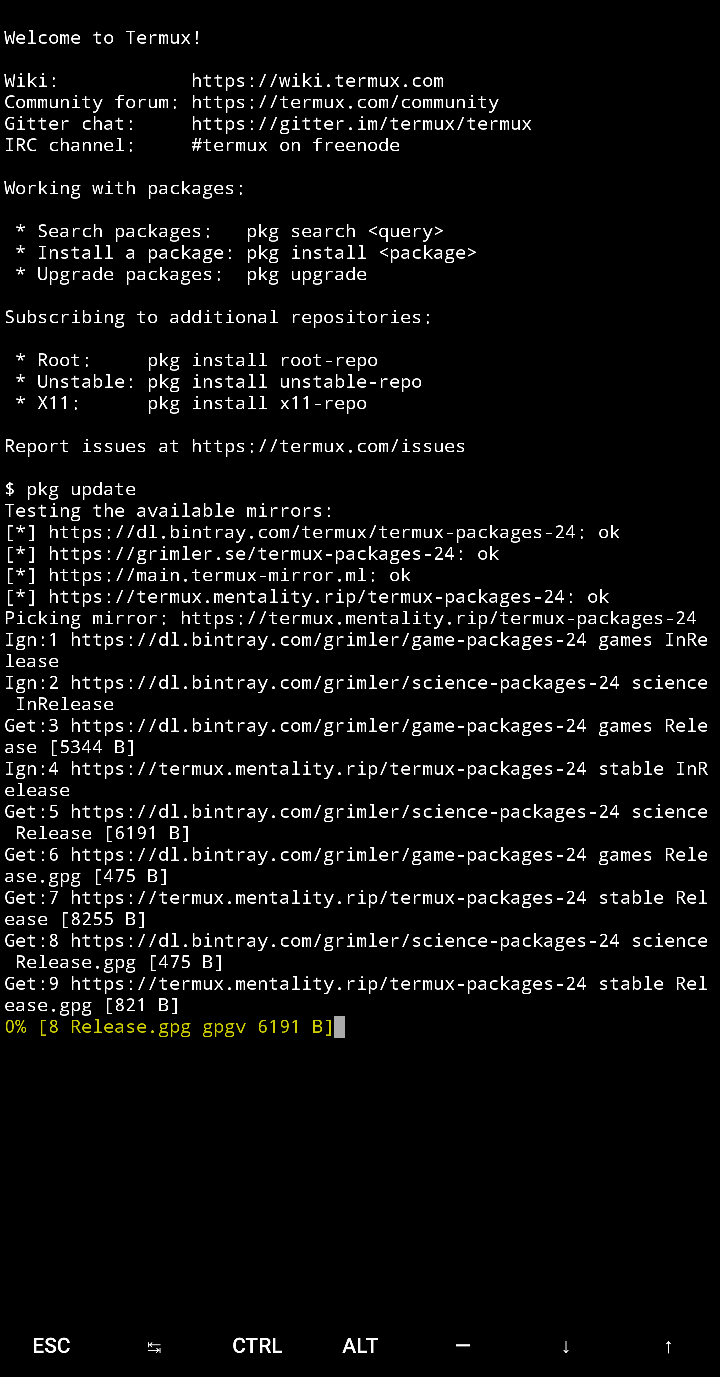
Open the Termux app, long press to paste the copied command, then press Enter to run it.
Wait
The download and installation will take a while. Keep the Termux app running until it finishes.
Update the Andronix app
Back in Andronix, tap the Command Executed button at the bottom of the screen. This tells the app the command has been run.
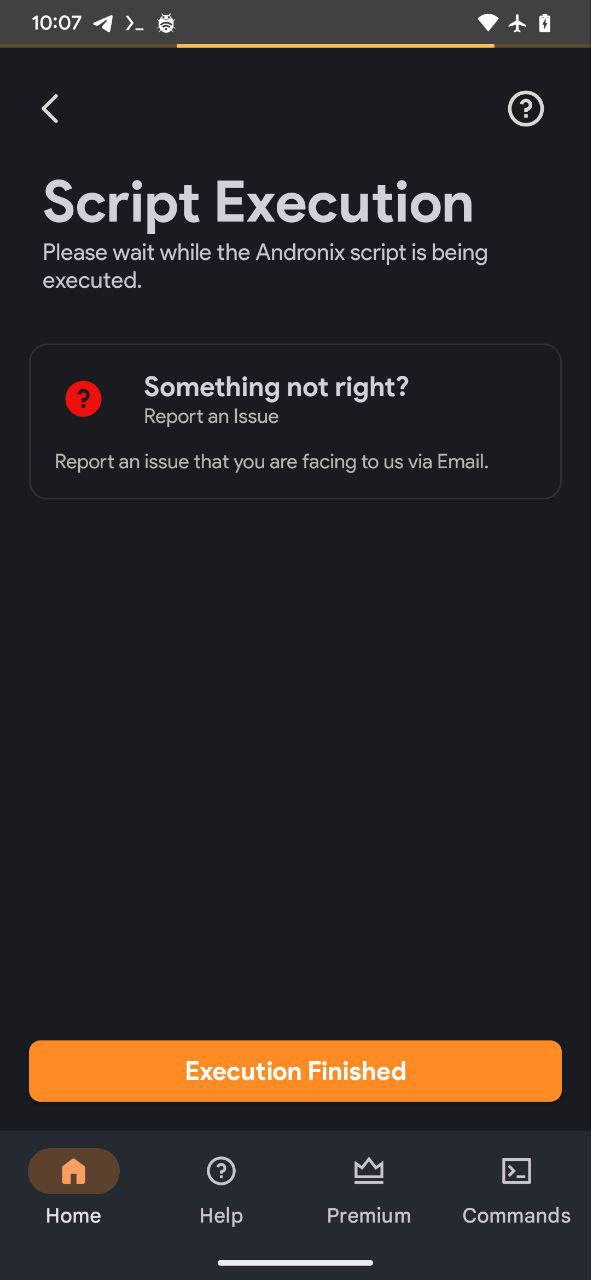
Finish the Process
Once the script has finished successfully, tap the Execution Finished button at the bottom.
4. Starting Distribution ⚡️
root@localhost in Termux), skip the next section.Start the Distro
Start the distro by running the command for your distro in Termux:
- Ubuntu 18
./start-ubuntu.sh - Ubuntu 20
./start-ubuntu20.sh - Debian
./start-debian.sh - Manjaro
./start-manjaro.sh - Arch Linux
./start-arch.sh - Fedora
./start-fedora.sh - Void
./start-void.sh - Alpine
./start-alpine.sh - Kali Linux
./start-kali.sh
Verify
If you see root@localhost in the shell, your distro is up and running.
5. VNC Configuration 📺
If you chose a Desktop Environment or Window Manager, you'll need a VNC server to see and use it.
VNC Start
The Start VNC server page should now be open in the Andronix app.
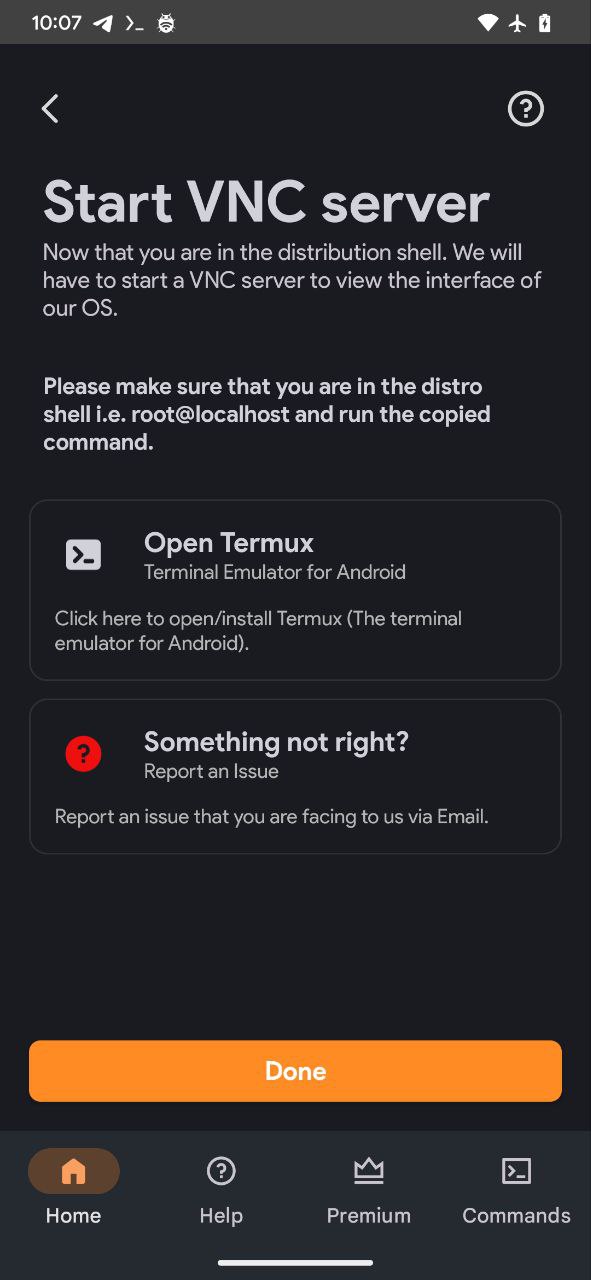
VNC Server
To interact with your distro's graphical interface, set up a VNC server. Follow the VNC Basics guide to set one up and connect to your distro.
Next steps
- VNC Basics: connect to your distro's desktop with a VNC viewer.
- XSDL Basics: use an X11 server as a faster alternative to VNC.
- Desktop Environments and Window Managers: learn more about the interface you installed.
- Fixing Sound: get audio working in your distro.
- Uninstalling a Distro: remove a distro you no longer need.
- FAQ: answers to common questions and errors.