
VNC Basics
Learn how to start, stop and configure a VNC server in your Andronix distro, connect with a VNC client, and access it from other devices.
Docs for Andronix app 8.x (Classic)
VNC lets you see and use your distro's graphical desktop from a VNC client app. This page shows you how to start and stop the VNC server, connect to it, tweak its resolution and picture quality, and access it from other devices on your network.
Operating the VNC Server
Let's learn how to operate the VNC server, including starting, stopping and debugging it.
root@localhost in Termux.Starting a VNC server
Start VNC Server
If you are on the VNC server page in Andronix, the app has already copied the necessary command to your clipboard. Just paste it in Termux (in the distro shell, [root@localhost]) and run it.
vncserver-start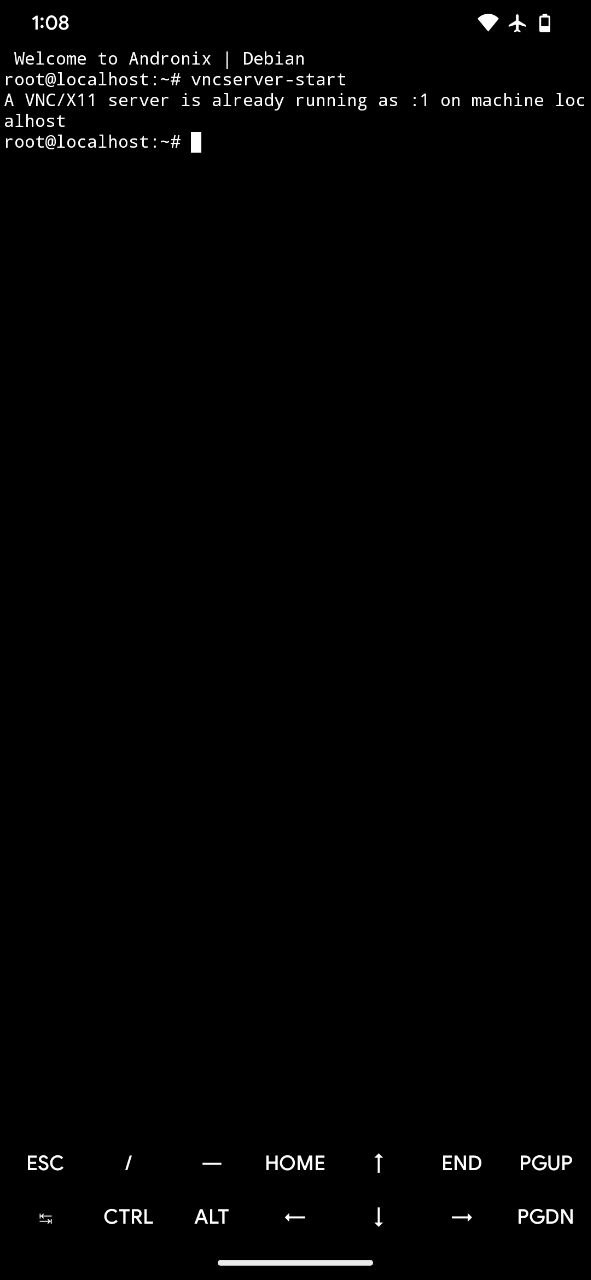
Select Resolution
If you're prompted to select a resolution, just press Enter to have it selected dynamically.
Install a VNC Client
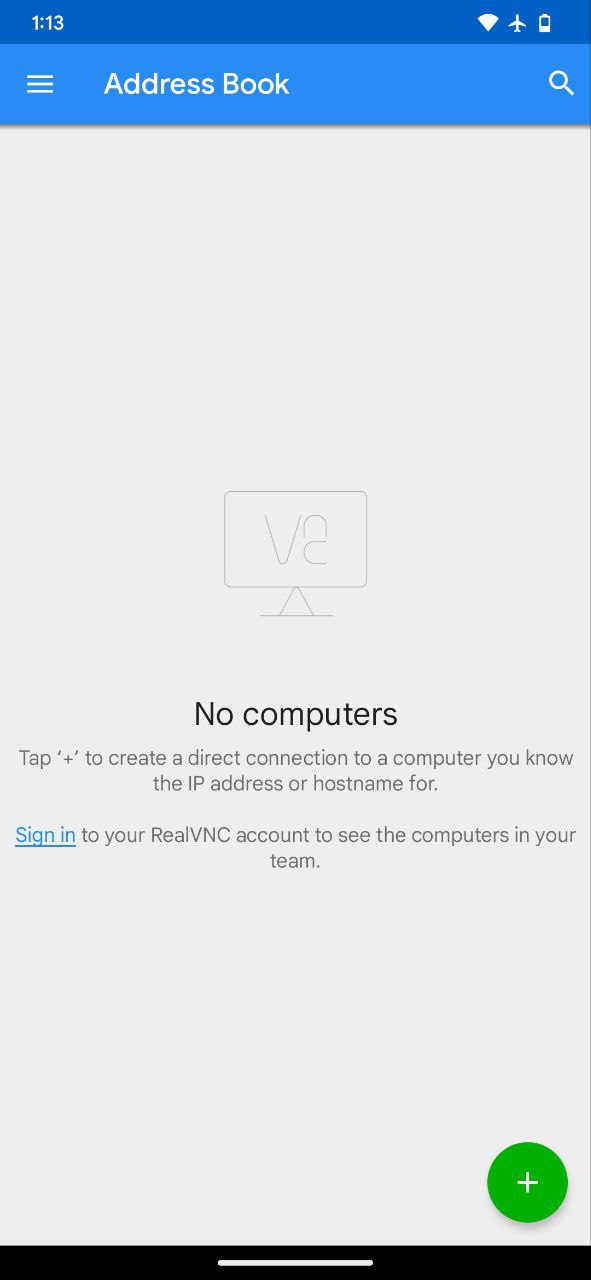
Next, install the RealVNC app from the Google Play Store (or any other VNC client).
Add VNC Server
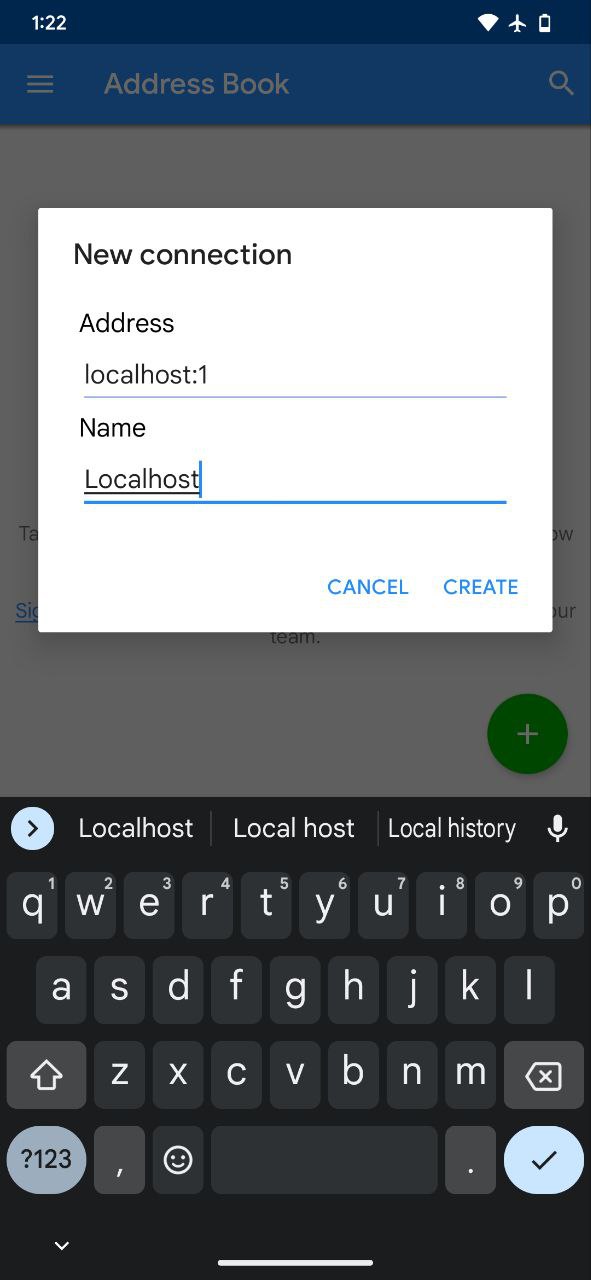
Press the Add (+) button to add a VNC connection. Enter localhost:1 as the address, give it a name and save it.
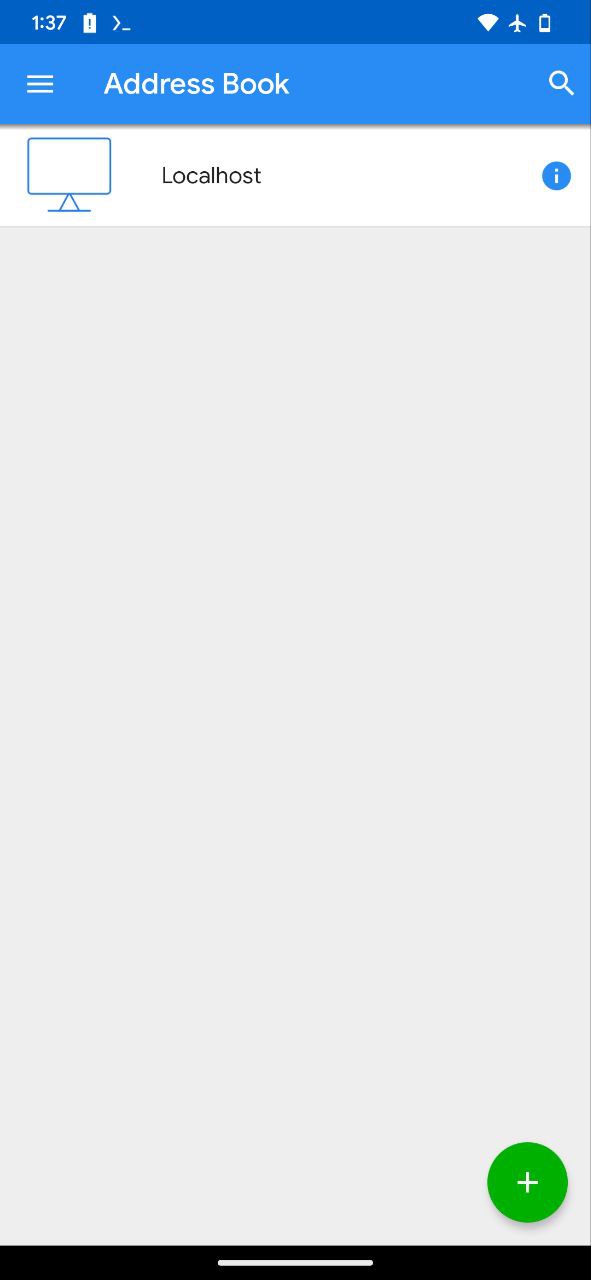
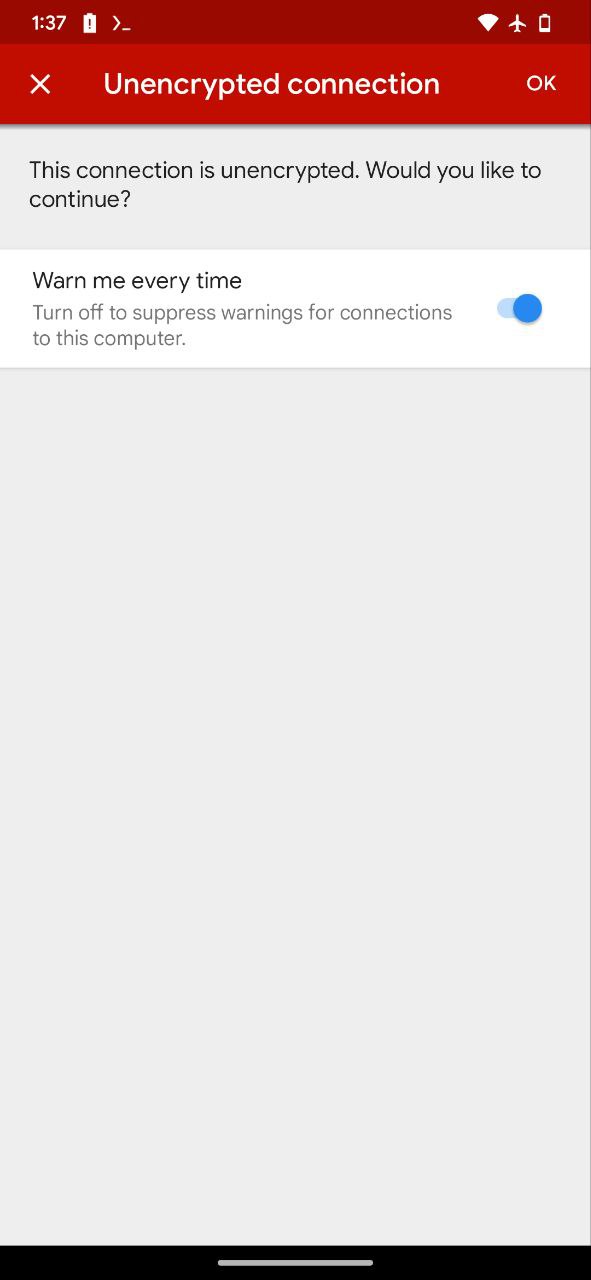
Enter your VNC password
When prompted, enter the password you set while installing the distro and tap Continue.
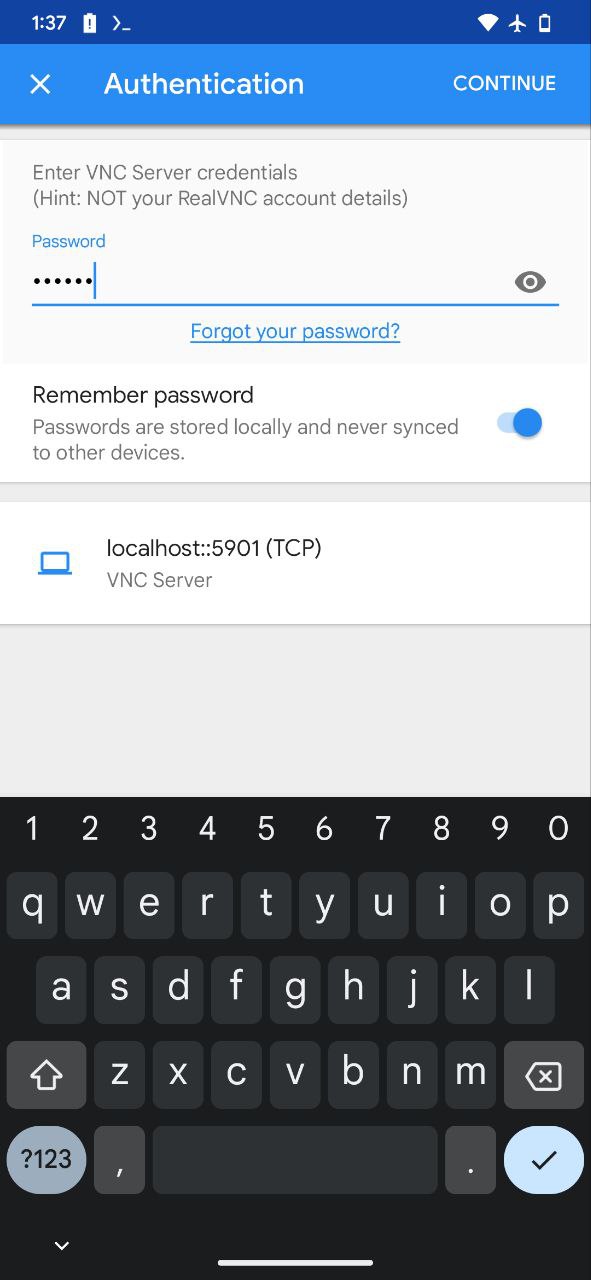
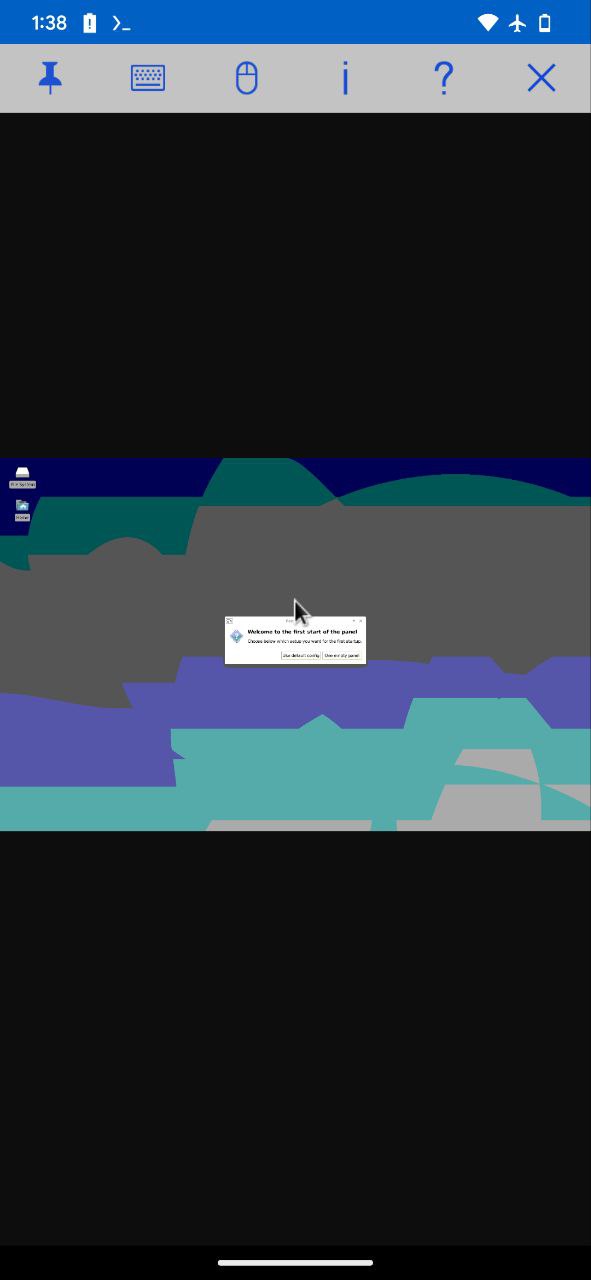
Let's Improve the Quality
You might notice the picture quality is poor. Don't worry, we'll fix that in the next step.
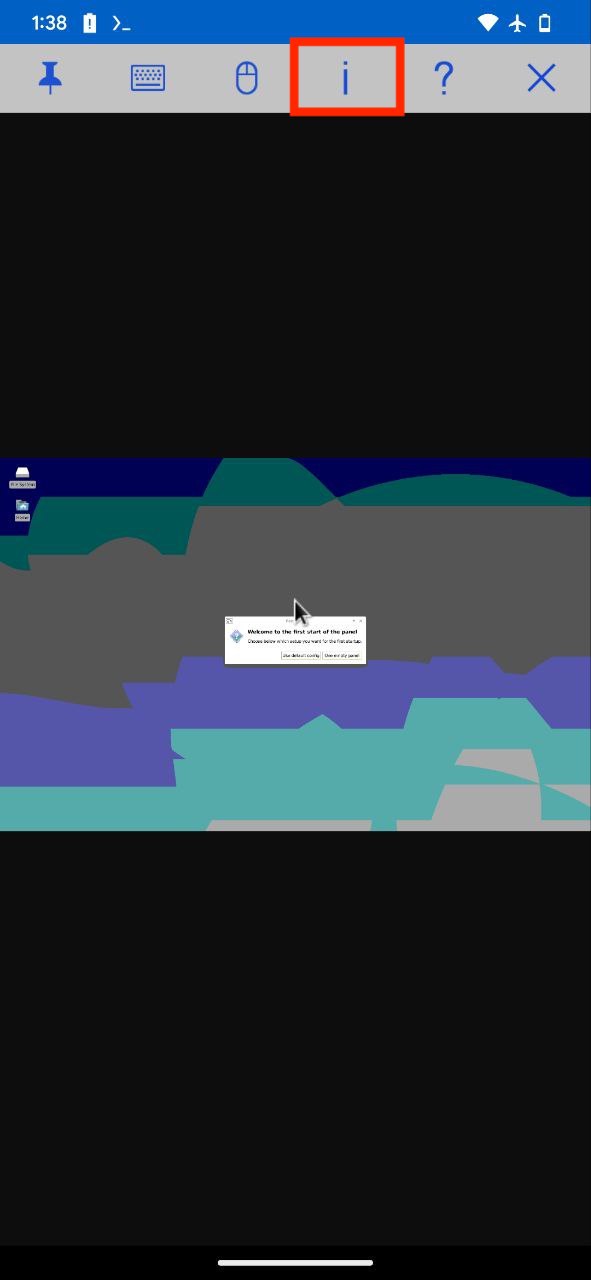
Select High Picture Quality
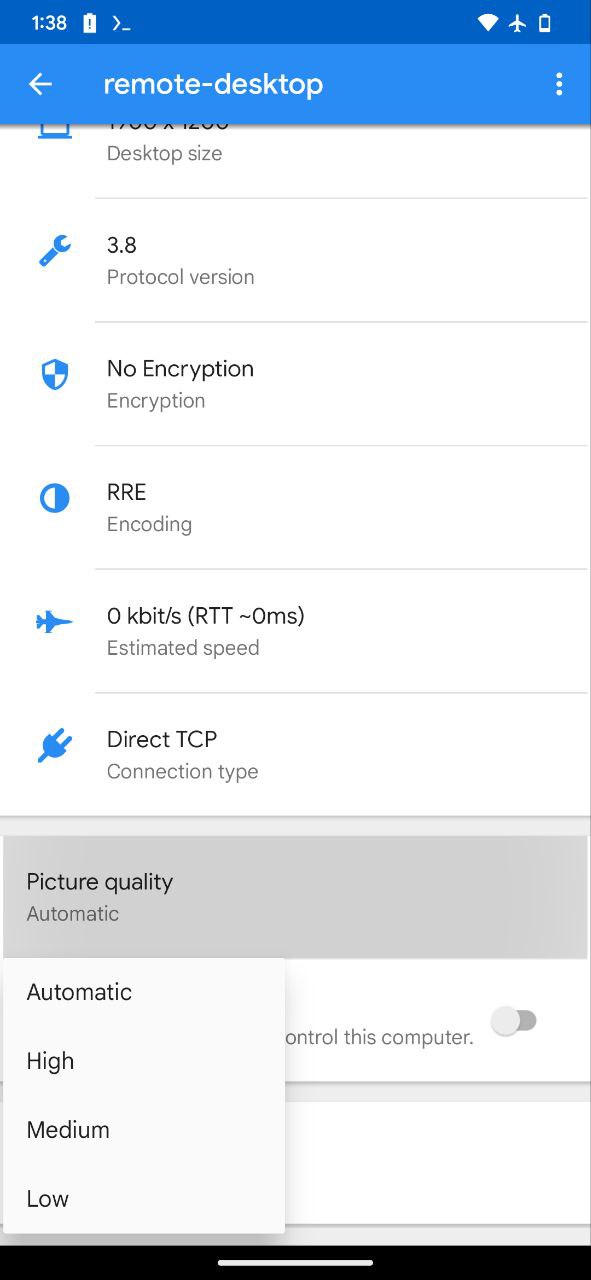
In the VNC app's settings, scroll down to the Picture Quality section and select High.

vncserver-stop before exiting the distro.Stopping a VNC server
Stop the VNC server whenever you're done using your distro or are about to exit it. To do so, run the following command in the distro shell:
vncserver-stopThe terminal will then ask you for a port number. Enter 1 and press Enter.
VNC Settings
Setting a desired resolution
To set your preferred resolution, open the VNC start script by running:
nano /usr/local/bin/vncserver-startThen change the last line of the file to:
vncserver -name remote-desktop -geometry 1920x1080 :1Save the file by pressing ctrl + x, then y, and finally Enter.
How to change resolution permanently in Modded OS /Ubuntu 19
To change the resolution permanently, run the following command in the distro's shell:
nano /usr/local/bin/vncThen replace the second line with:
LD_PRELOAD=/lib/aarch64-linux-gnu/libgcc_s.so.1 vncserver -localhost no -depth 24 -name remote-desktop -geometry 1920x1080 :$PORTWhen you're done, press Ctrl+X, type Y and press Enter. The next time you start the VNC server, choose the first option, Start vnc-server with autodetect/dynamic resolution.
How to change the picture quality in VNC
If you're using bVNC, you don't need to change anything; it adjusts the quality automatically.
If you're using RealVNC Viewer, connect to the VNC server and tap the (i) button at the top. Then change Picture Quality to High, or to whatever quality you prefer.
VNC on other devices
First, make sure both devices are on the same network. If you don't have access to Wi-Fi, turn on the hotspot on the device running Linux and connect the other device to it. Once both devices are on the same network, run the following command inside the distro's shell:
nano /usr/local/bin/vncserver-startNow change the last line to:
vncserver -name remote-desktop -geometry 1920x1080 -localhost no :1vncserver -name remote-desktop -geometry 1920x1080 -localhost :1When you're done, open a new Termux session (swipe in from the left edge to open the sidebar for more options) and type:
ip aCopy the WLAN IP address (e.g. 192.168.xx.xx). On the other device, connect to this IP address with port number 1 (e.g. 192.168.xx.xx:1).
Next steps
- Prefer XSDL over VNC? See XSDL Basics.
- Want terminal access from another device instead? See SSH Basics.
- No sound in your desktop? See Fixing Sound.
Window Managers
Learn what a window manager is, which window managers Andronix offers for each distro, and whether you should use one instead of a desktop environment.
XSDL Basics
Use XSDL, an X11 server for Android, to display your Andronix distro's desktop, a faster alternative to VNC with a simpler interface.