


Install in Termux, with the App
Step-by-step guide to installing a Linux distro like Ubuntu, Debian or Manjaro on Android with the Andronix app and Termux, no root required.
This page is for Andronix with Termux, on phones that can't run Linux in the app (Android 7, or no 64-bit ARM processor), or if you use the command-line installer. For Linux in the app, see Install in the app.
Installing your favorite Linux distro with Andronix only takes a few minutes. This guide walks you through the whole process: picking a distro, choosing an interface, running the install command in Termux, creating your user, and starting your new system.
Older video (Andronix 7)
This walkthrough shows the Andronix 7 app and the pre-2.0 installer (root login, window managers). The steps on this page are current.
1. Preparation 🚀
Linux Distributions
Open the Andronix app and tap the Linux distros card on Home. This takes you to the list of distros you can install.
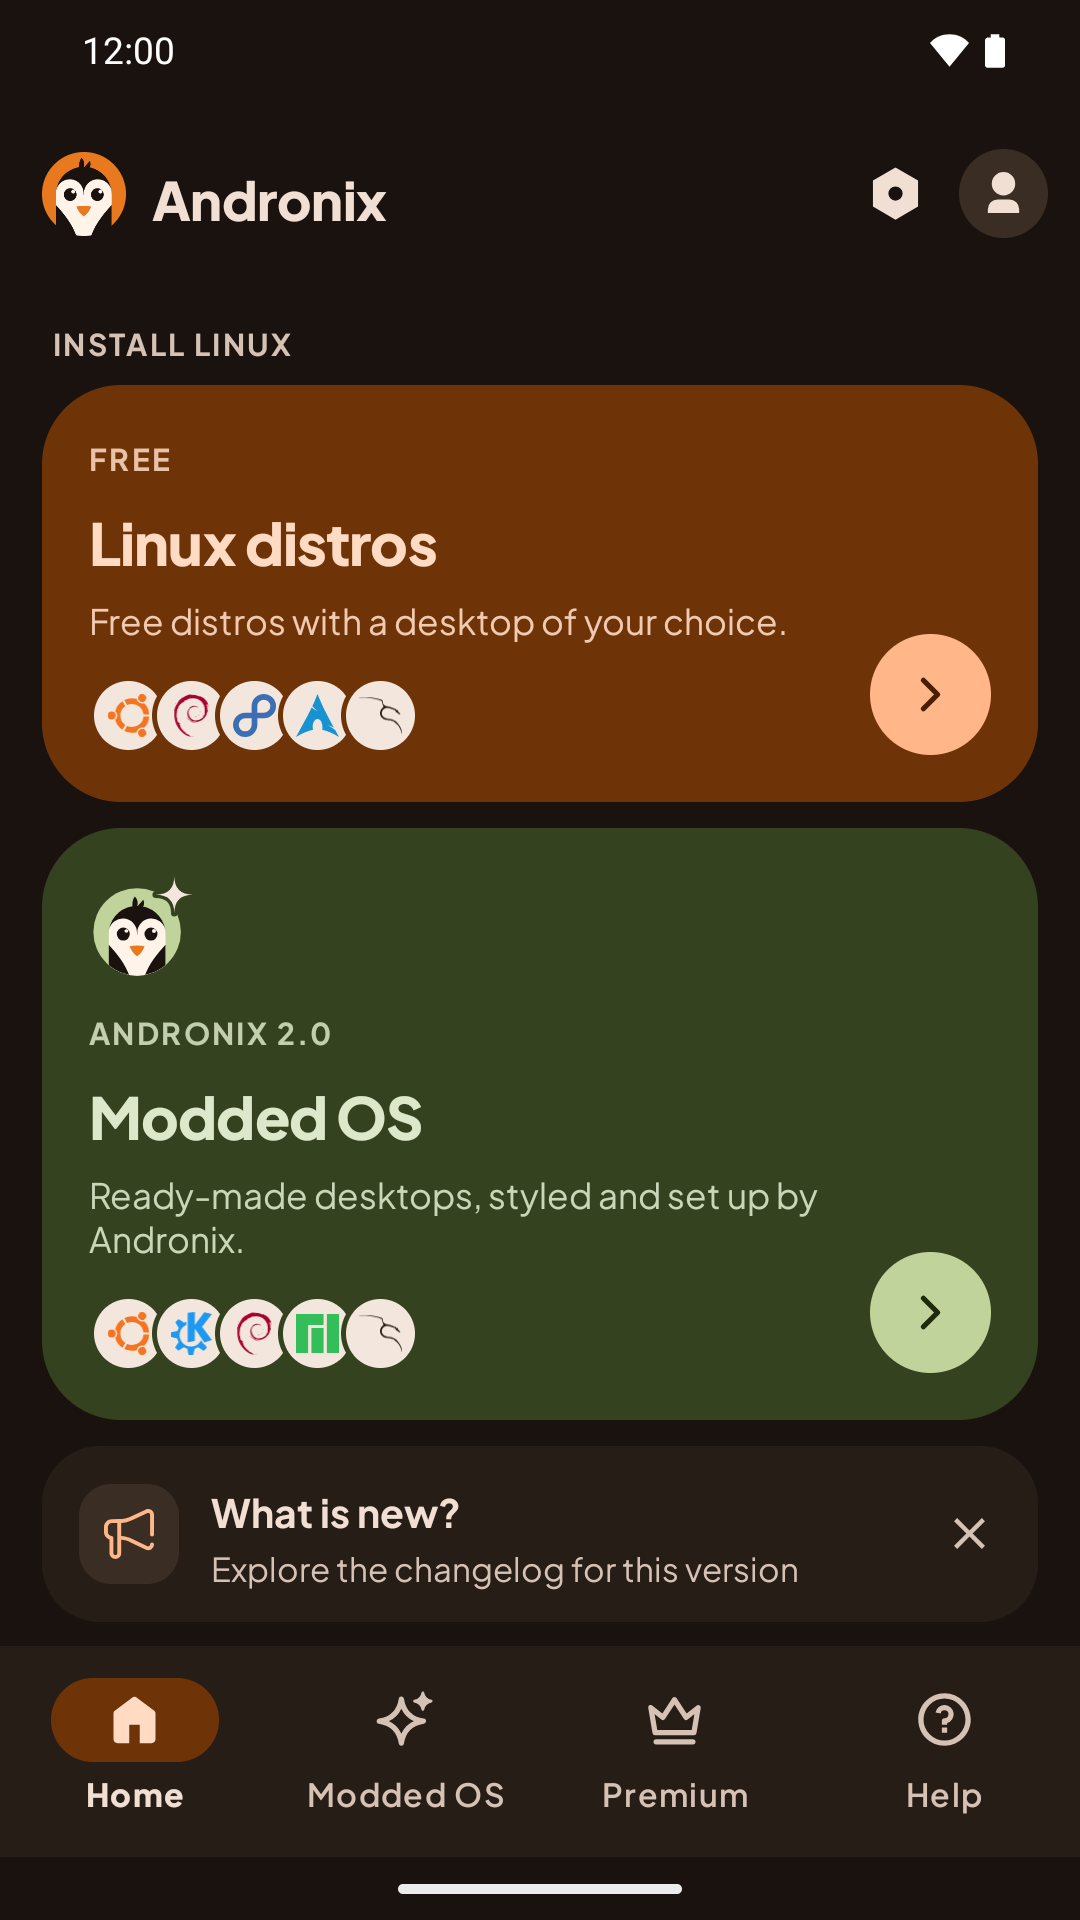
Selection
You'll now see every distribution that can be installed on your Android device.
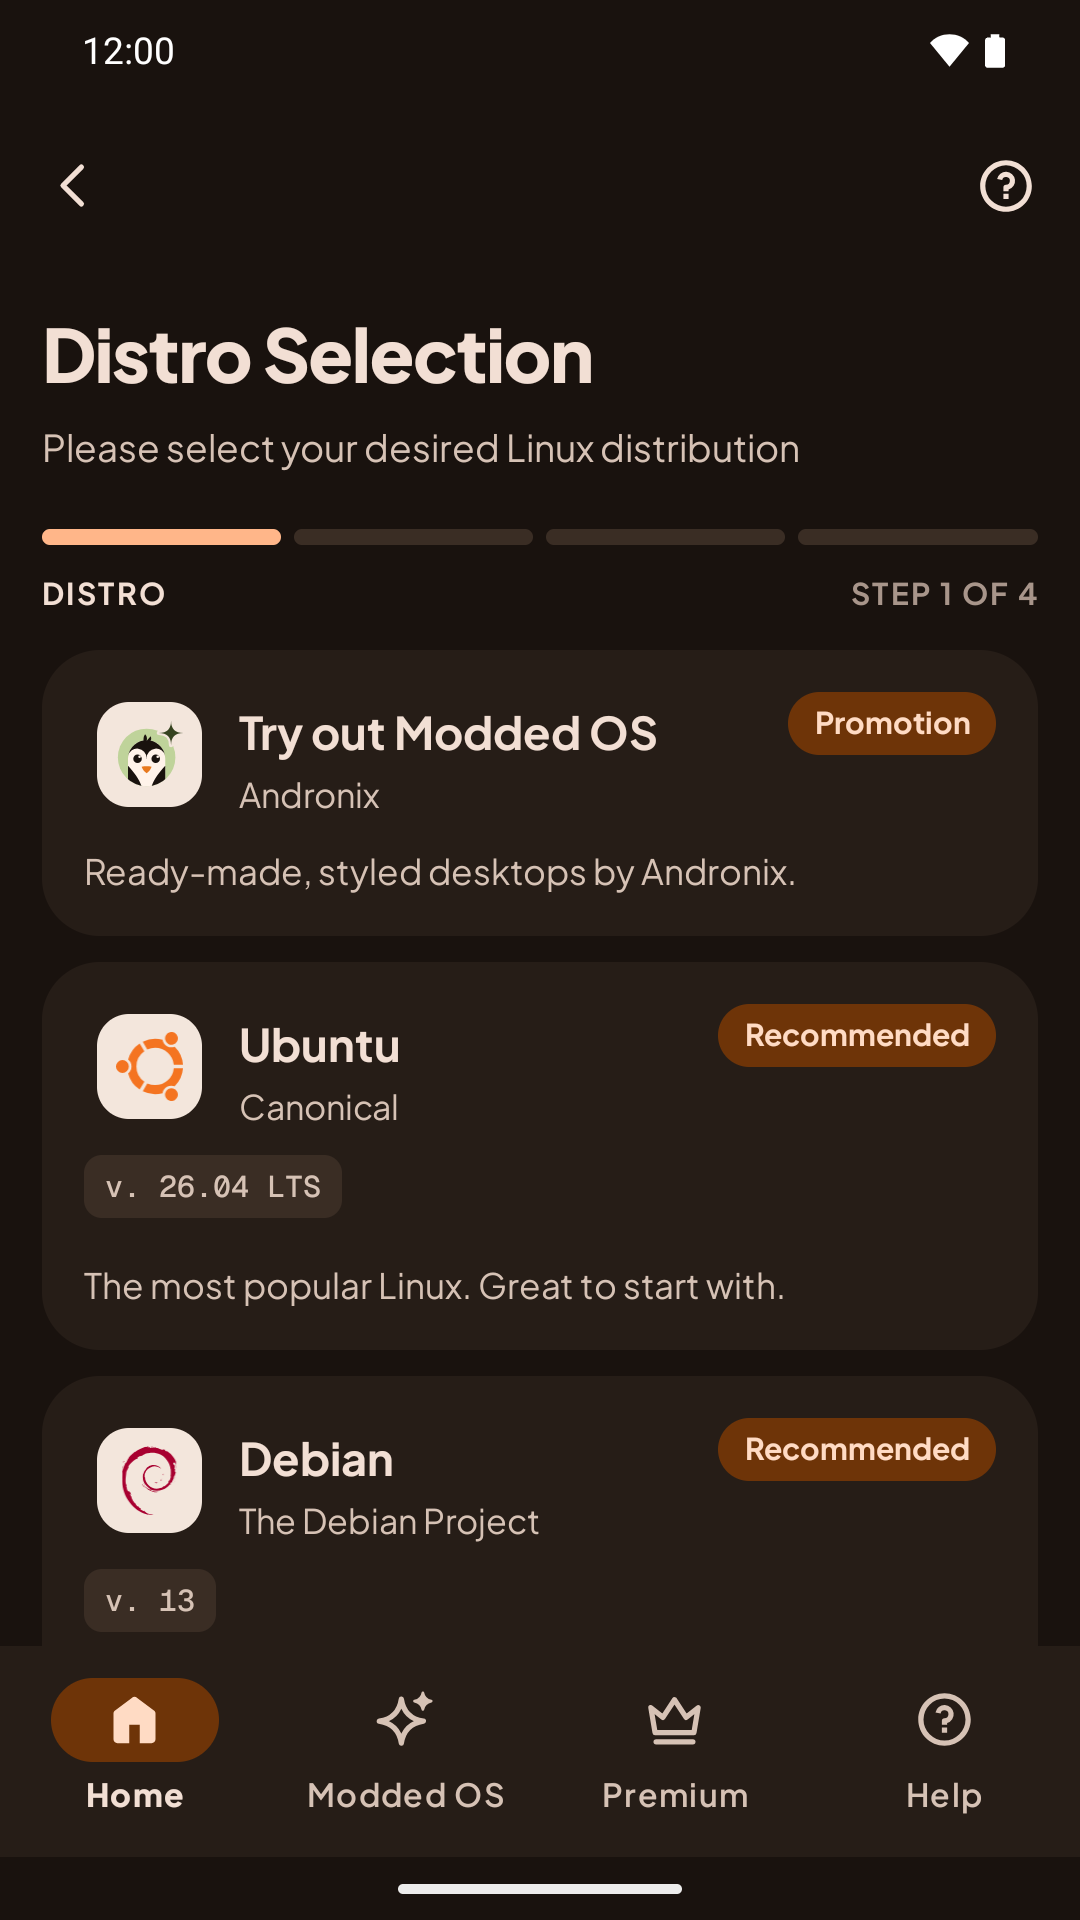
2. UI Selection ⭐️
Select
Tap the distro you'd like to install.
Select the UI
Next, choose the kind of interface you want. This decides how you'll interact with your distro once it's running.
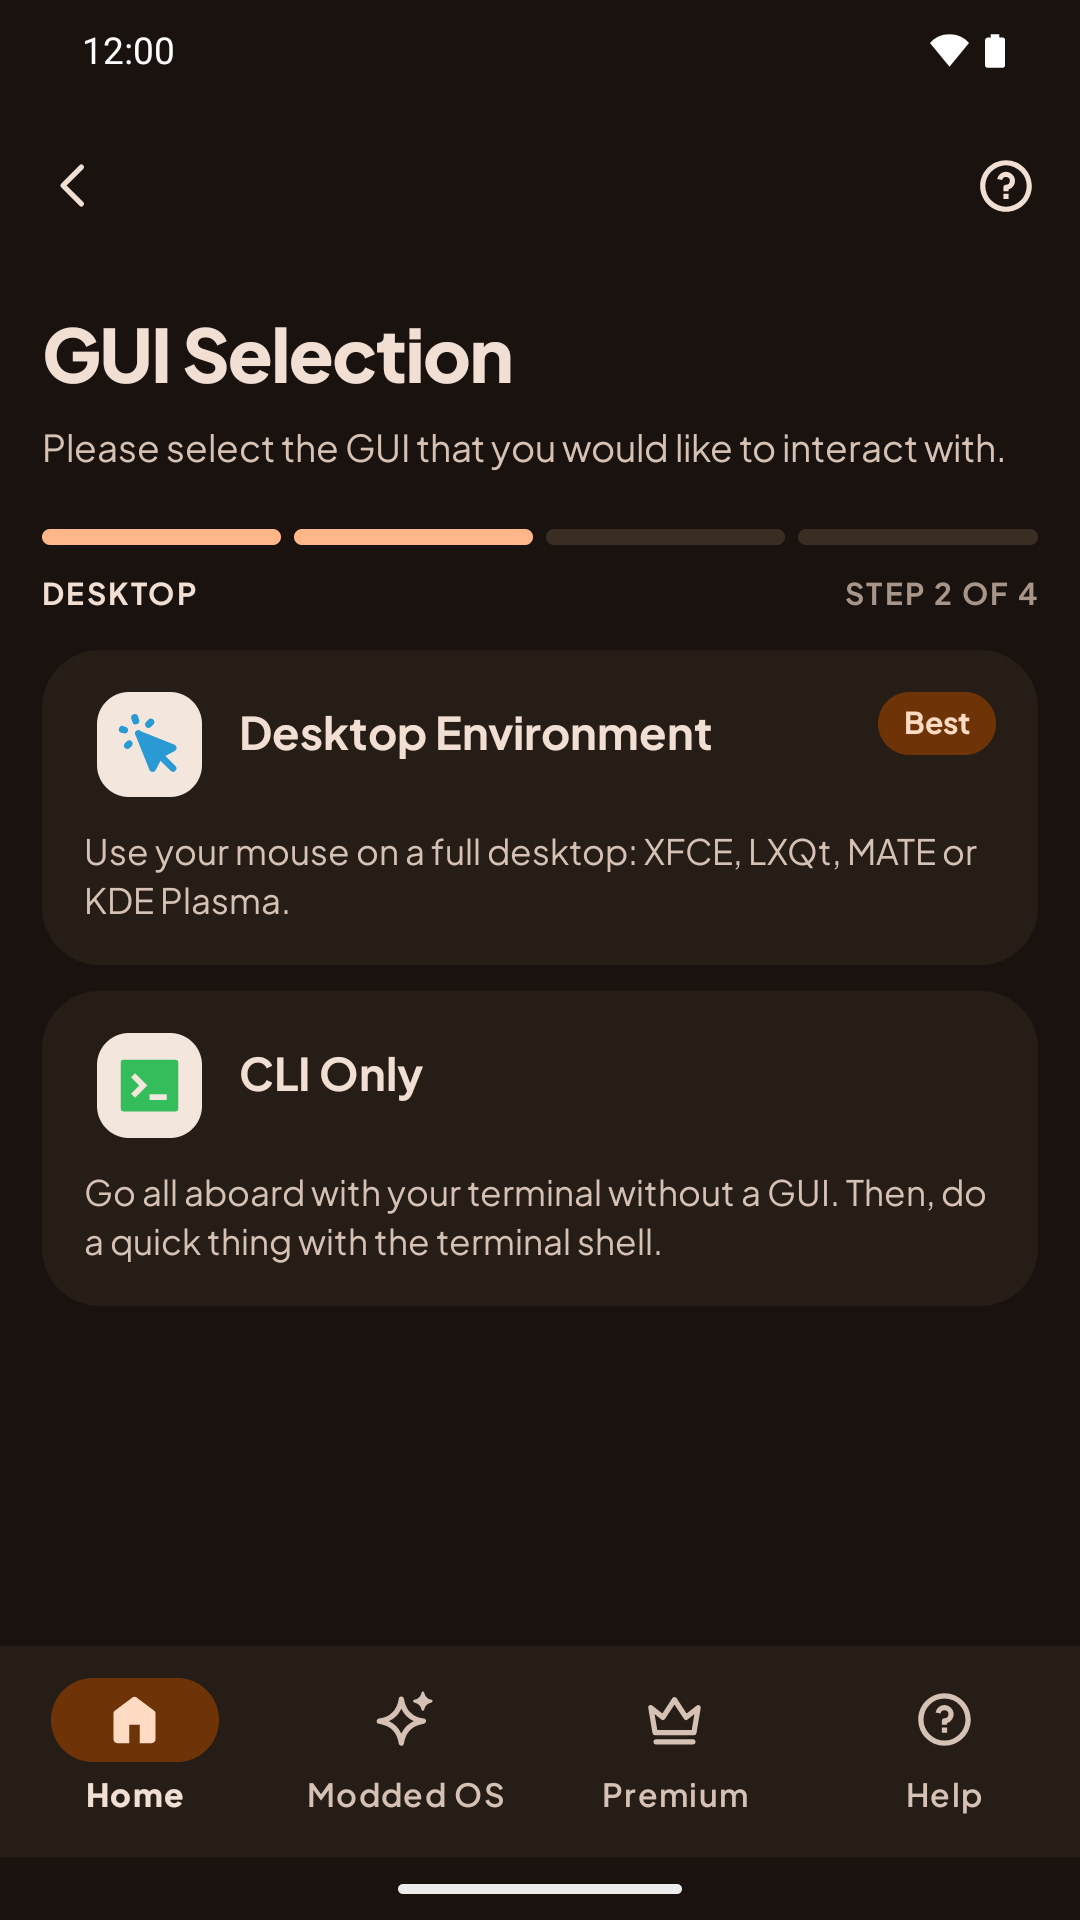
Desktop Environment GUI
Choose a Desktop Environment if you want to use your mouse as well as your keyboard, or if you have little or no experience with Linux. Learn more about Desktop Environments.
Command Line Interface CLI
Choose the Command Line Interface if you don't need a graphical interface. You'll get a terminal, which is all you need if you know your way around Linux. You can add a desktop later with andronix install.
Continue
Follow the instructions below that match the option you picked.
Desktop Environment
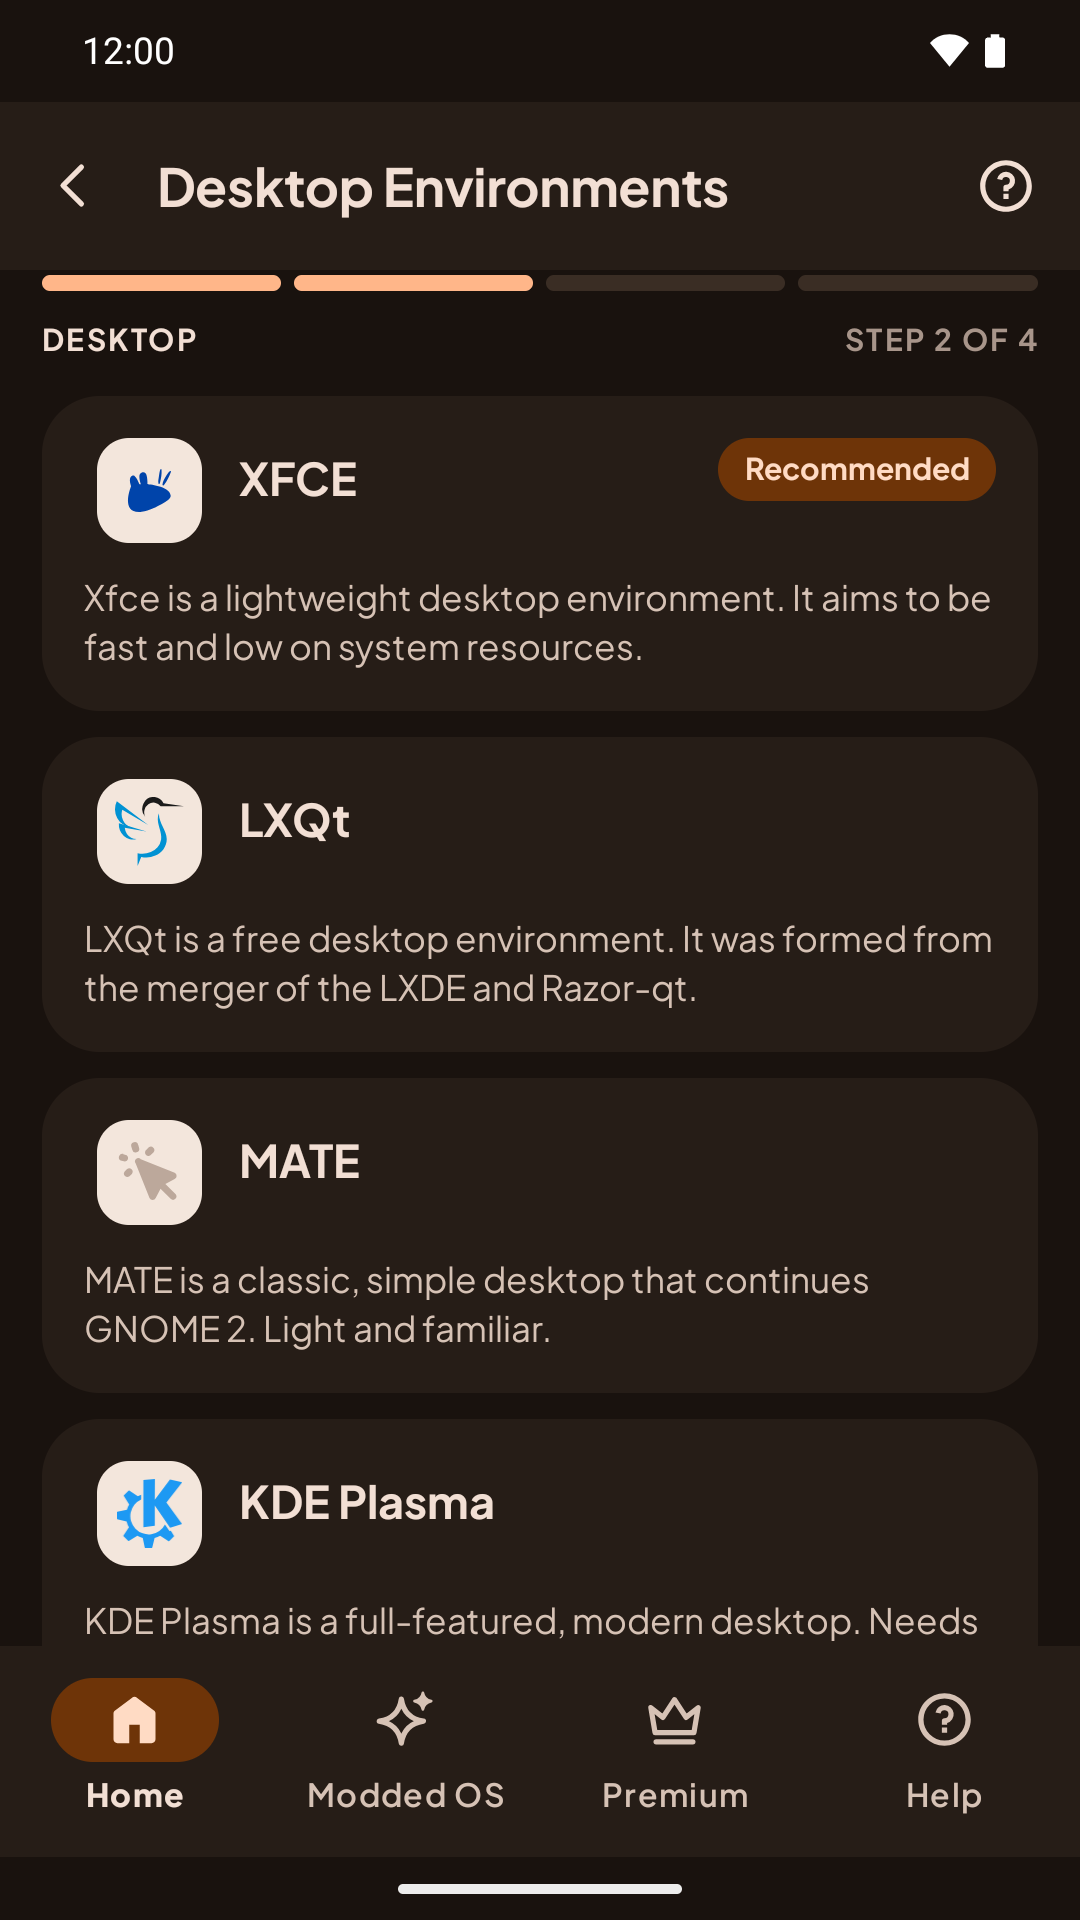
Select the Desktop Environment (DE) you'd like to install: XFCE, LXQt, MATE, or KDE Plasma (Debian, Ubuntu 26.04 and Kali only). If you want to compare them first, read the Desktop Environments page. If you're not sure, pick XFCE.
CLI
No extra configuration is needed for the Command Line Interface. Continue to the next section.
3. Termux Execution 💻
This is where the actual installation of your Linux distribution happens.
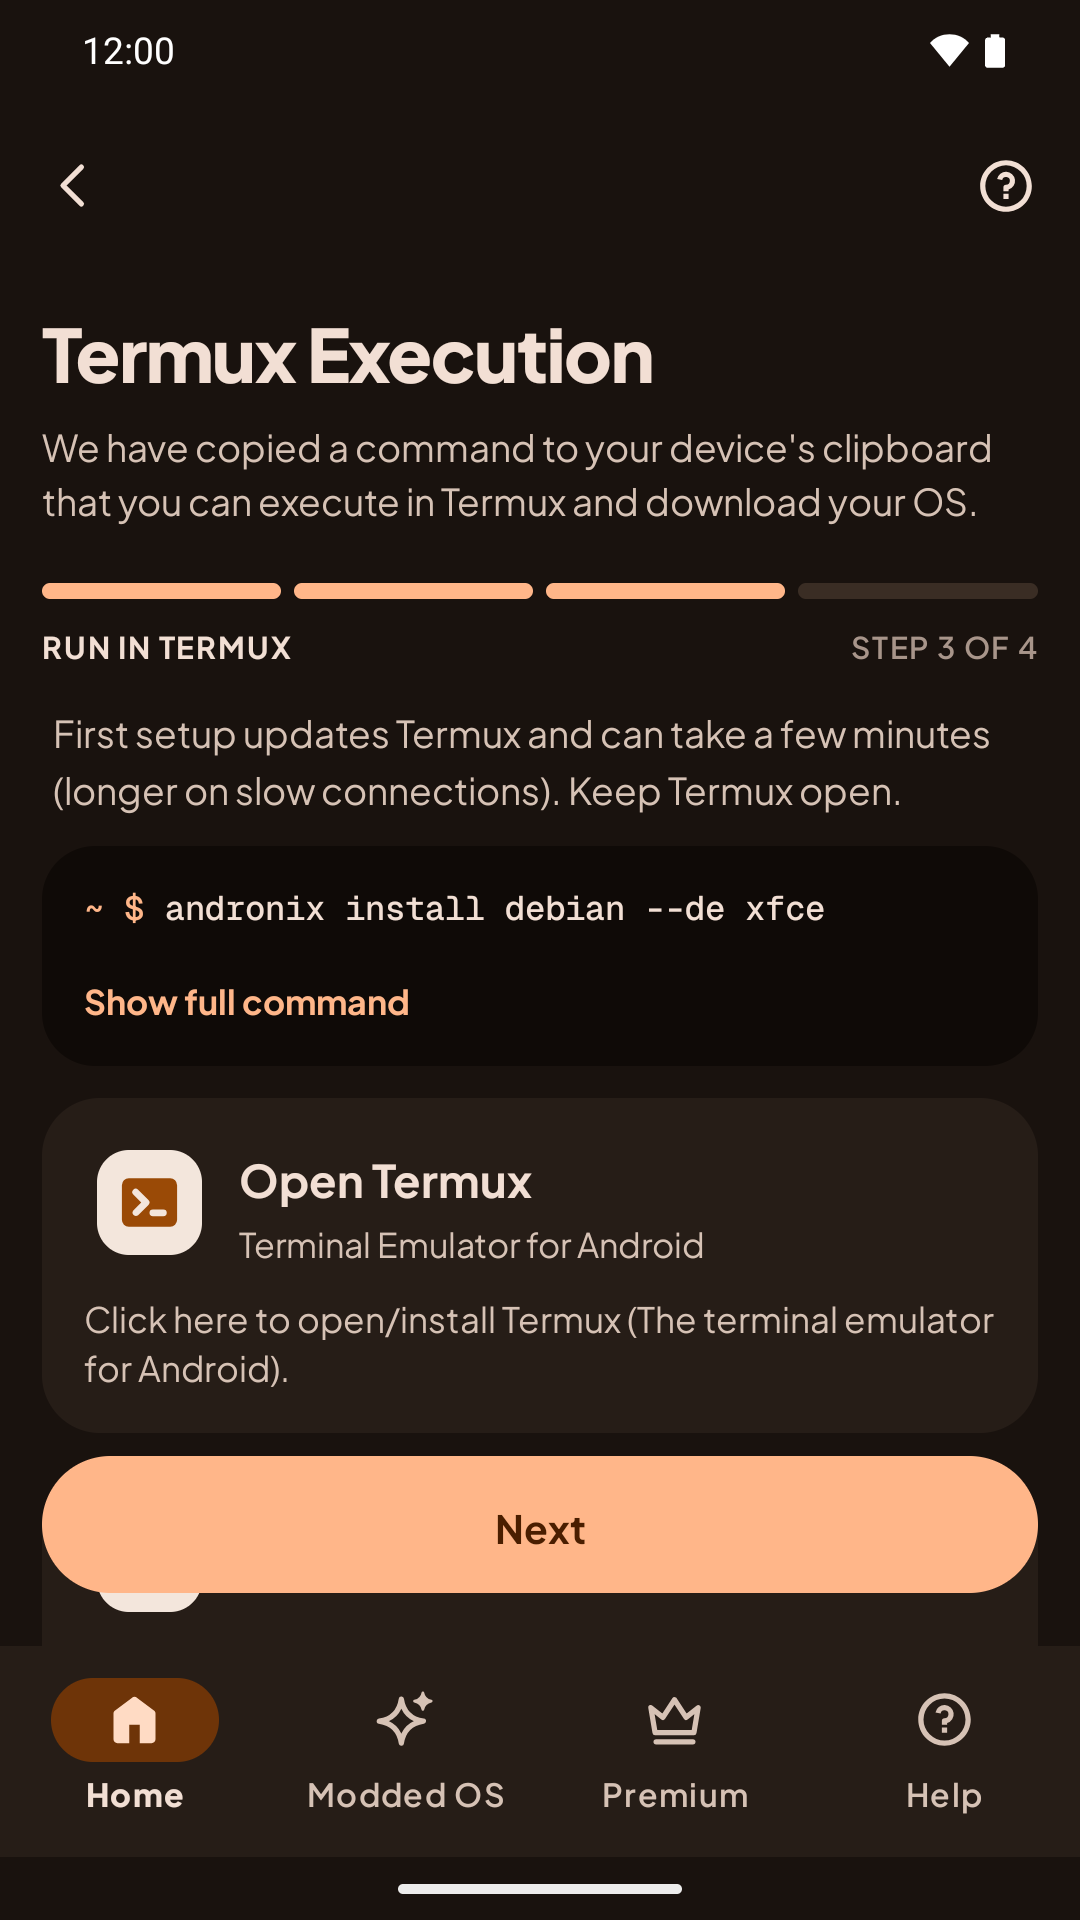
Execute
You'll run this command in Termux to download and set up the distro.
Paste
Tap Copy and open Termux. The app copies the command again (in case you copied something else in the meantime), shows Copied. Paste it in Termux., and opens Termux a second later. In Termux, long-press, tap Paste, then press Enter.
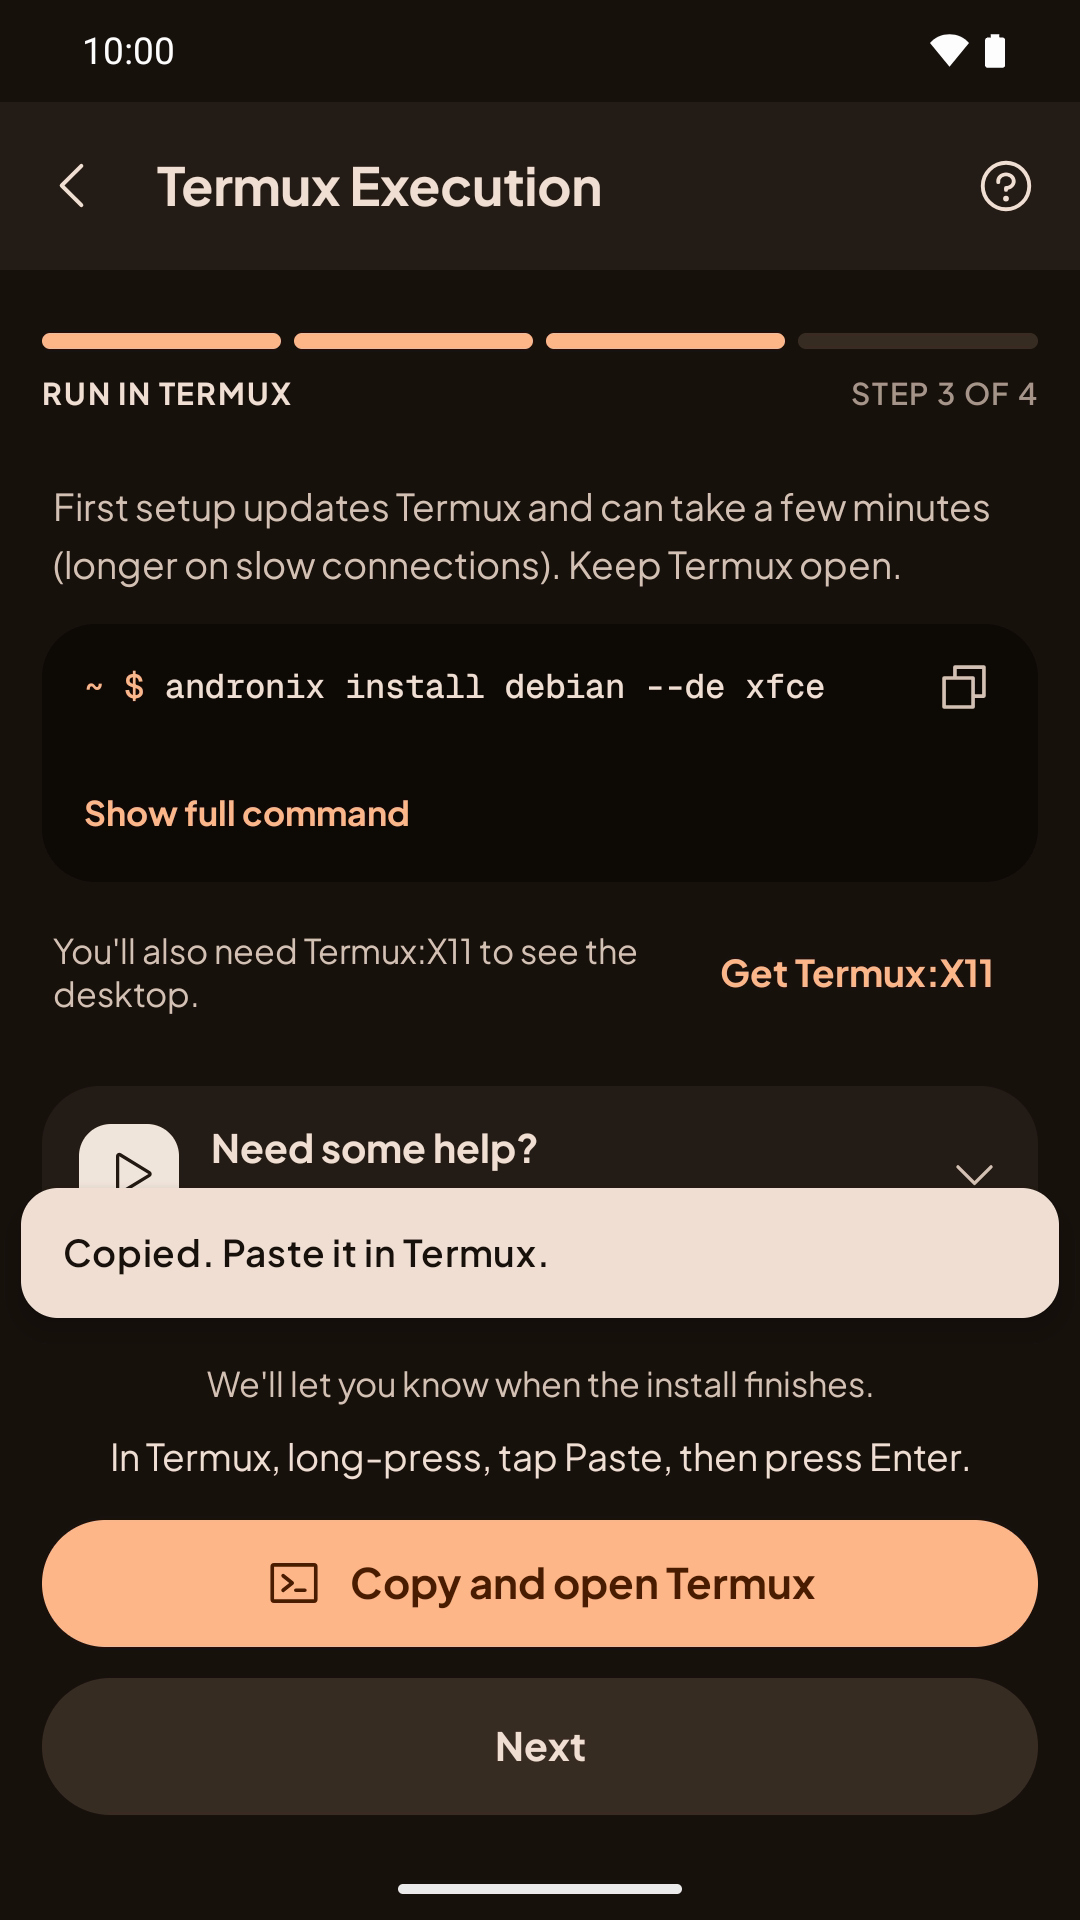
The copy icon in the corner of the command copies it again too. Show full command shows the whole command as it's pasted.
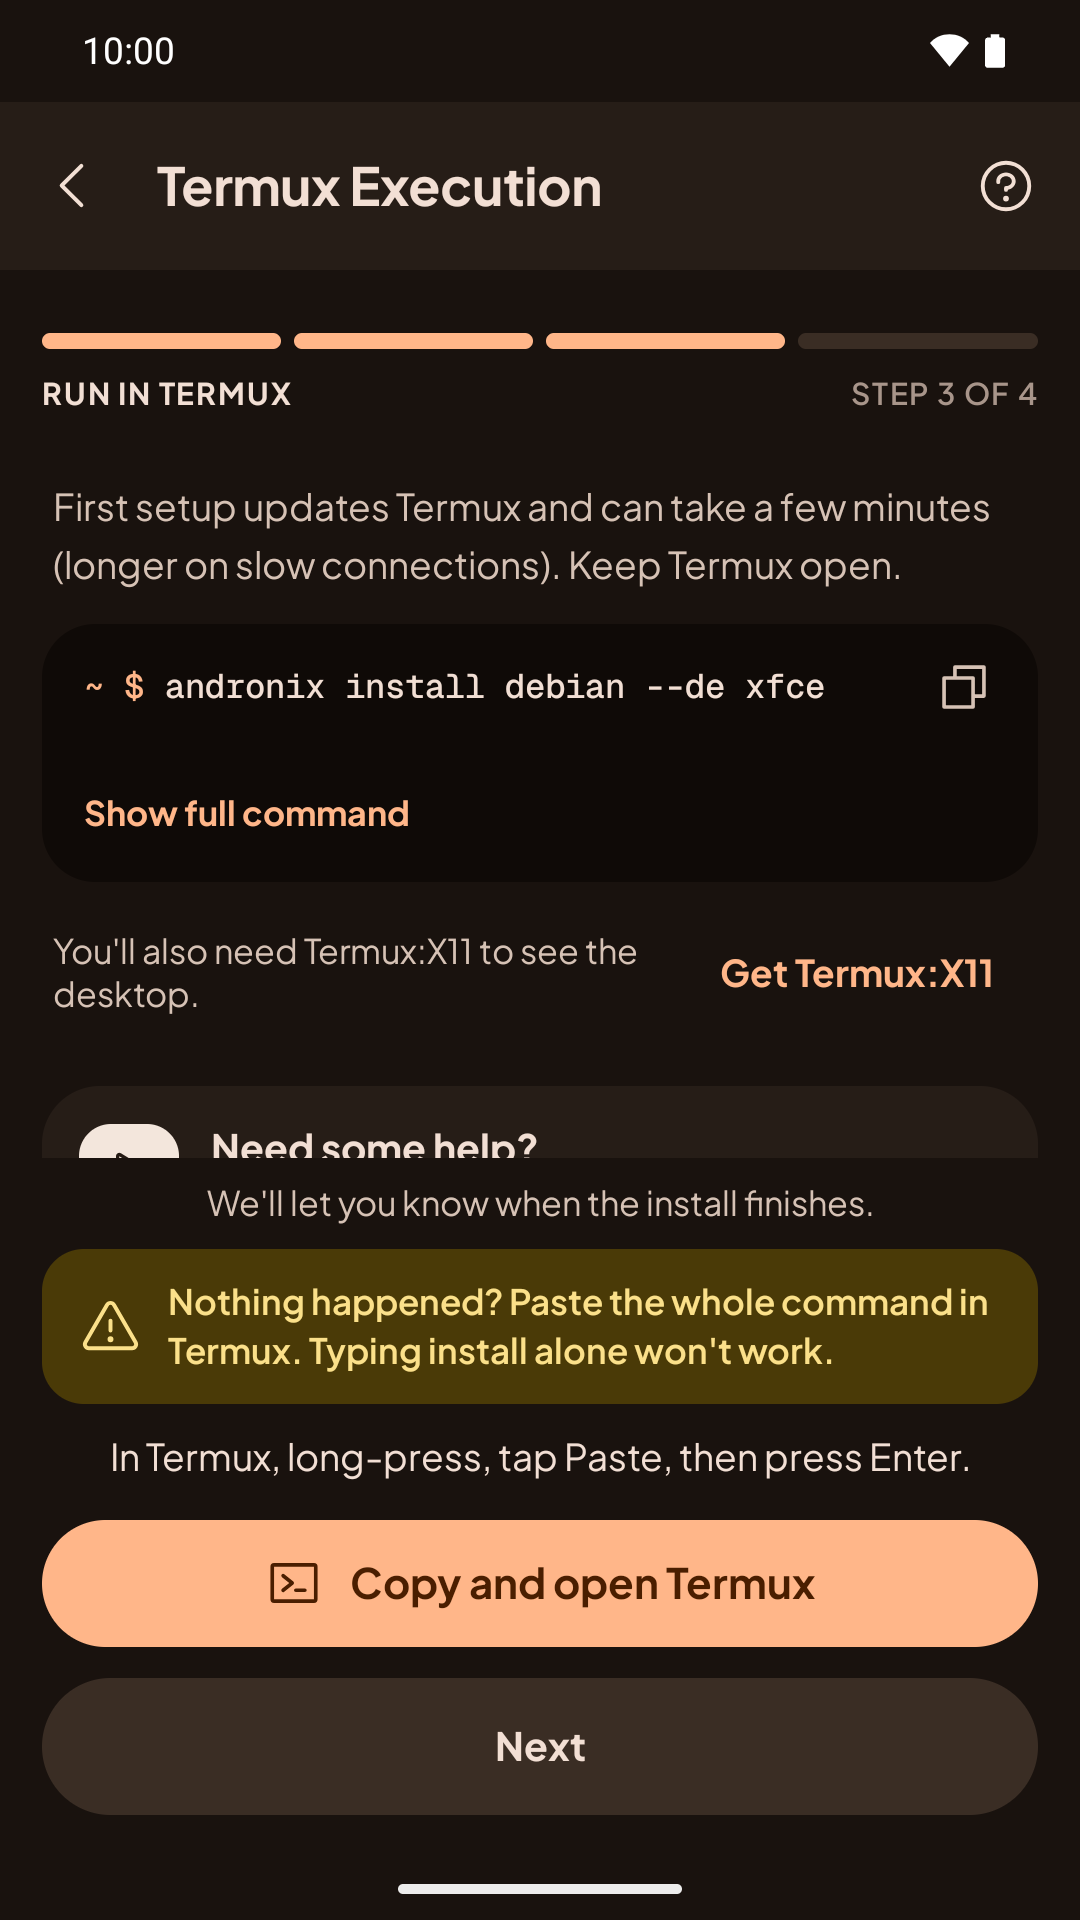
If nothing happens
If you come back to the app and the install still hasn't started after 30 seconds, the app shows Nothing happened? Paste the whole command in Termux. Typing install alone won't work. Go back to Termux and paste the whole command; typing install on its own doesn't run anything.
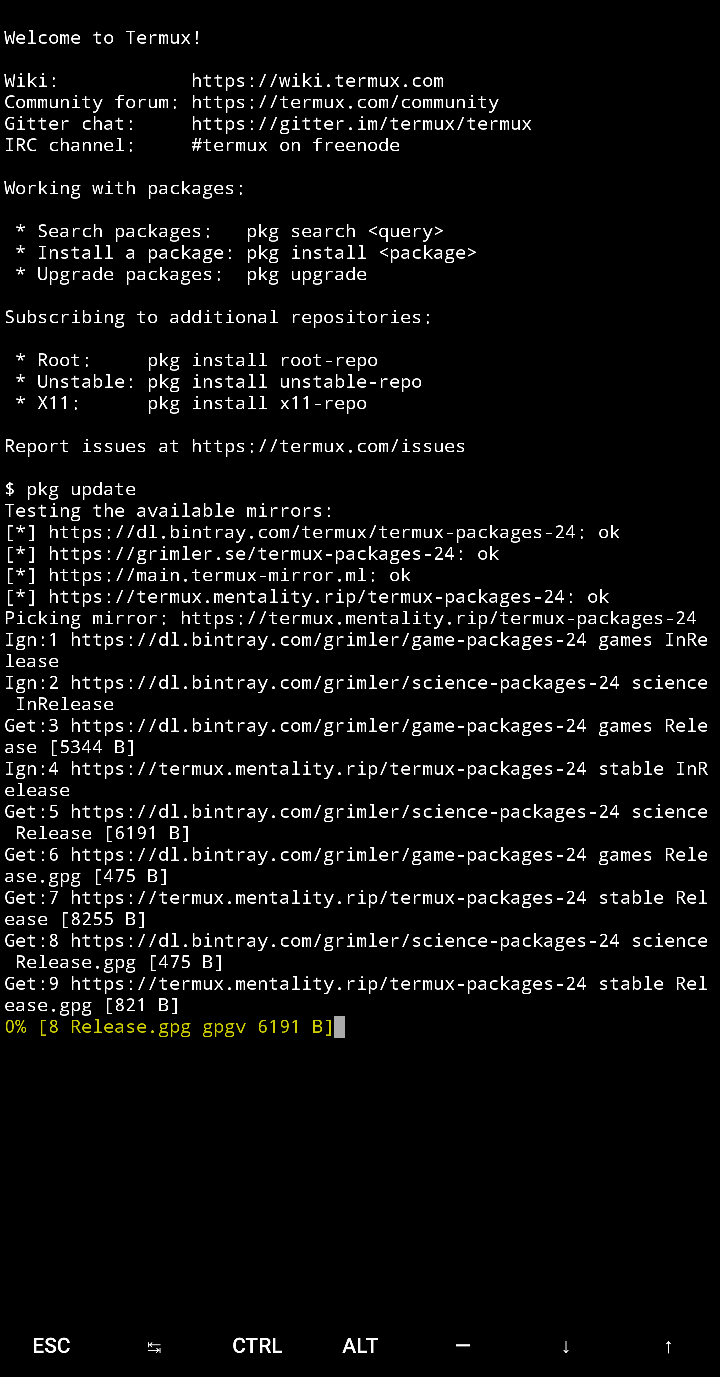
Wait
The command sets up the andronix installer and runs it. You'll see a list of steps, each ticked off with a ✓ as it finishes, with a progress bar for the long ones:
✓ Installing proot          (only if Termux doesn't have it yet)
✓ Checking your phone
✓ Finding the best download
✓ Downloading Debian 13
✓ Unpacking files
✓ Setting up Debian 13
✓ Refreshing package lists
✓ Updating Debian 13
✓ Installing XFCE desktop · 250 packages
✓ Installing Firefox
✓ Setting up the desktop
✓ Writing start-debian.sh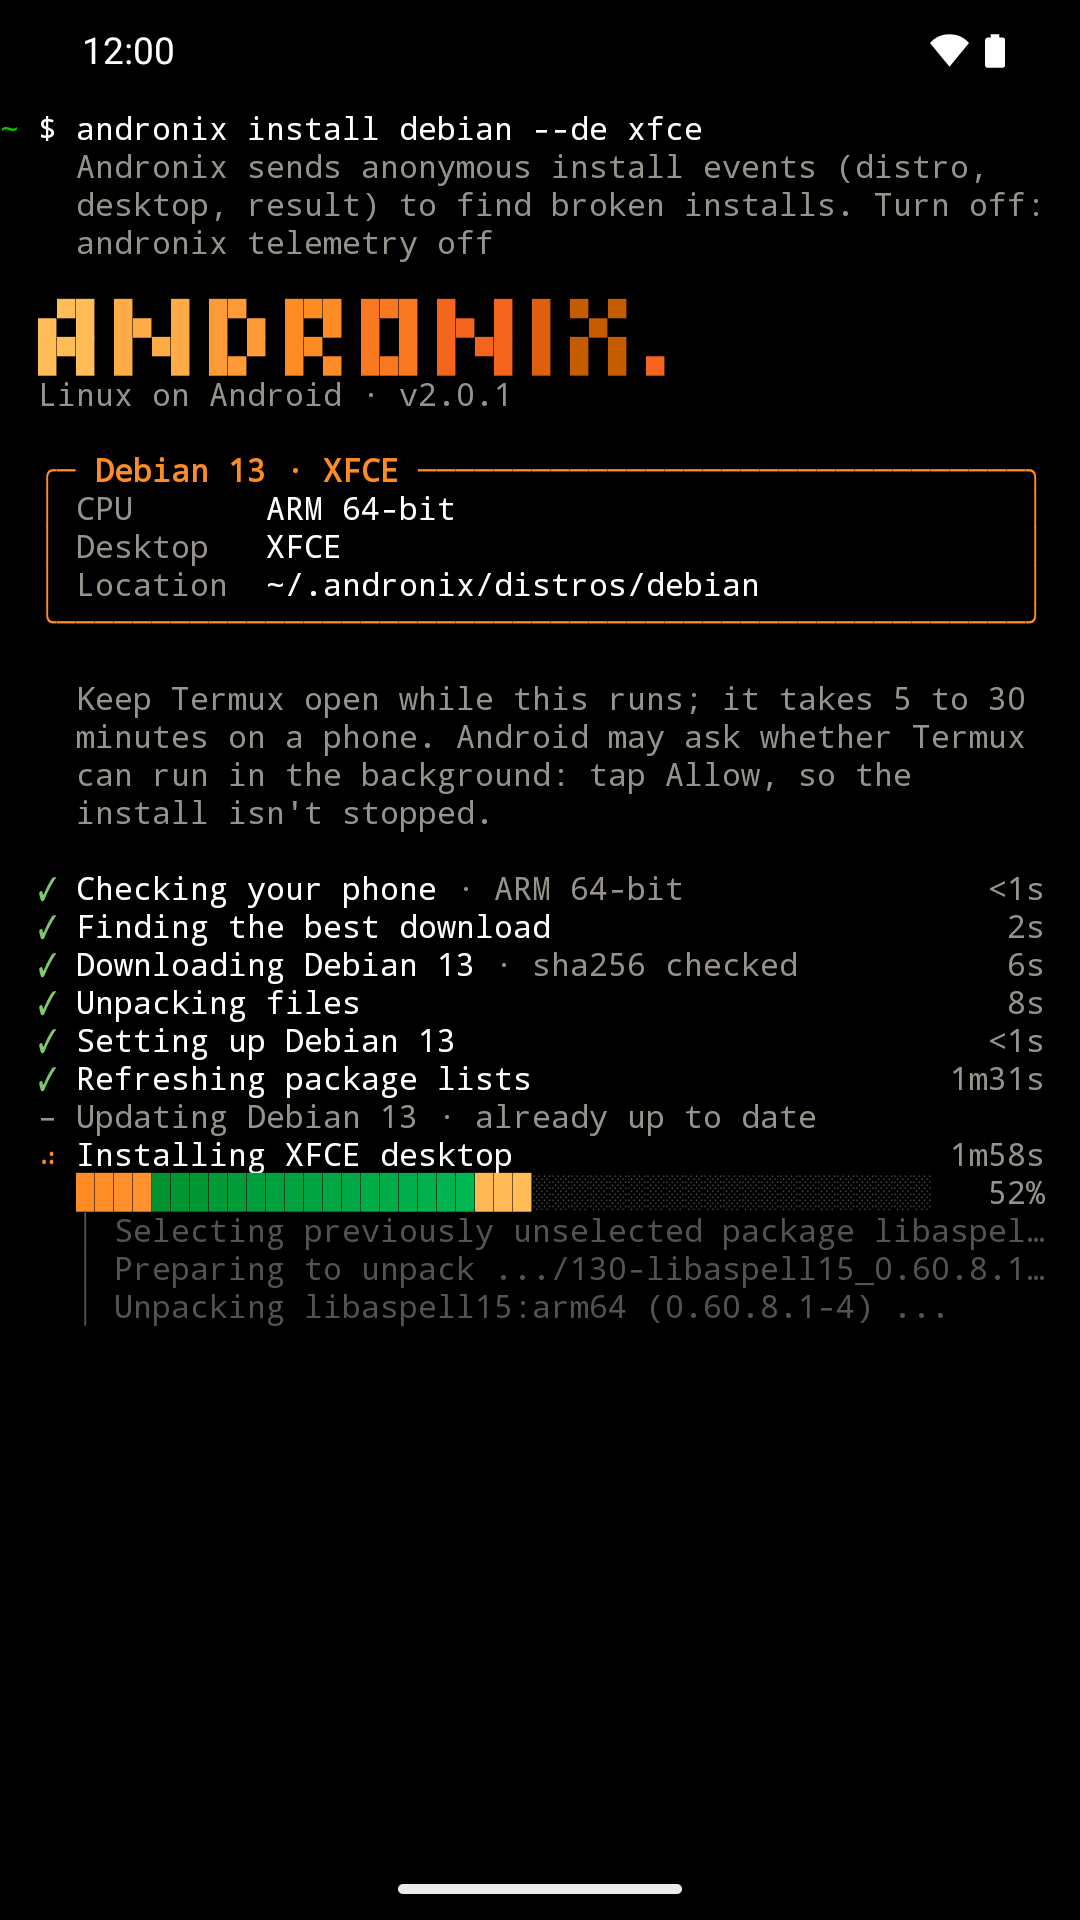
A desktop install usually takes a few minutes, depending on your phone and connection. Keep Termux open until it finishes.
Create your user
When the install finishes, it asks you to set up your user:
- Username: lower-case letters and numbers, for example
alex. - Password: used to log in and for
sudo. - Desktop (VNC) password: 6 to 8 characters. If your password is 6 to 8 characters long, you can reuse it.
root. Your user can run any command as root with sudo, for example sudo apt install nano. On Manjaro, where sudo doesn't work yet, use andronix start manjaro --root from Termux instead.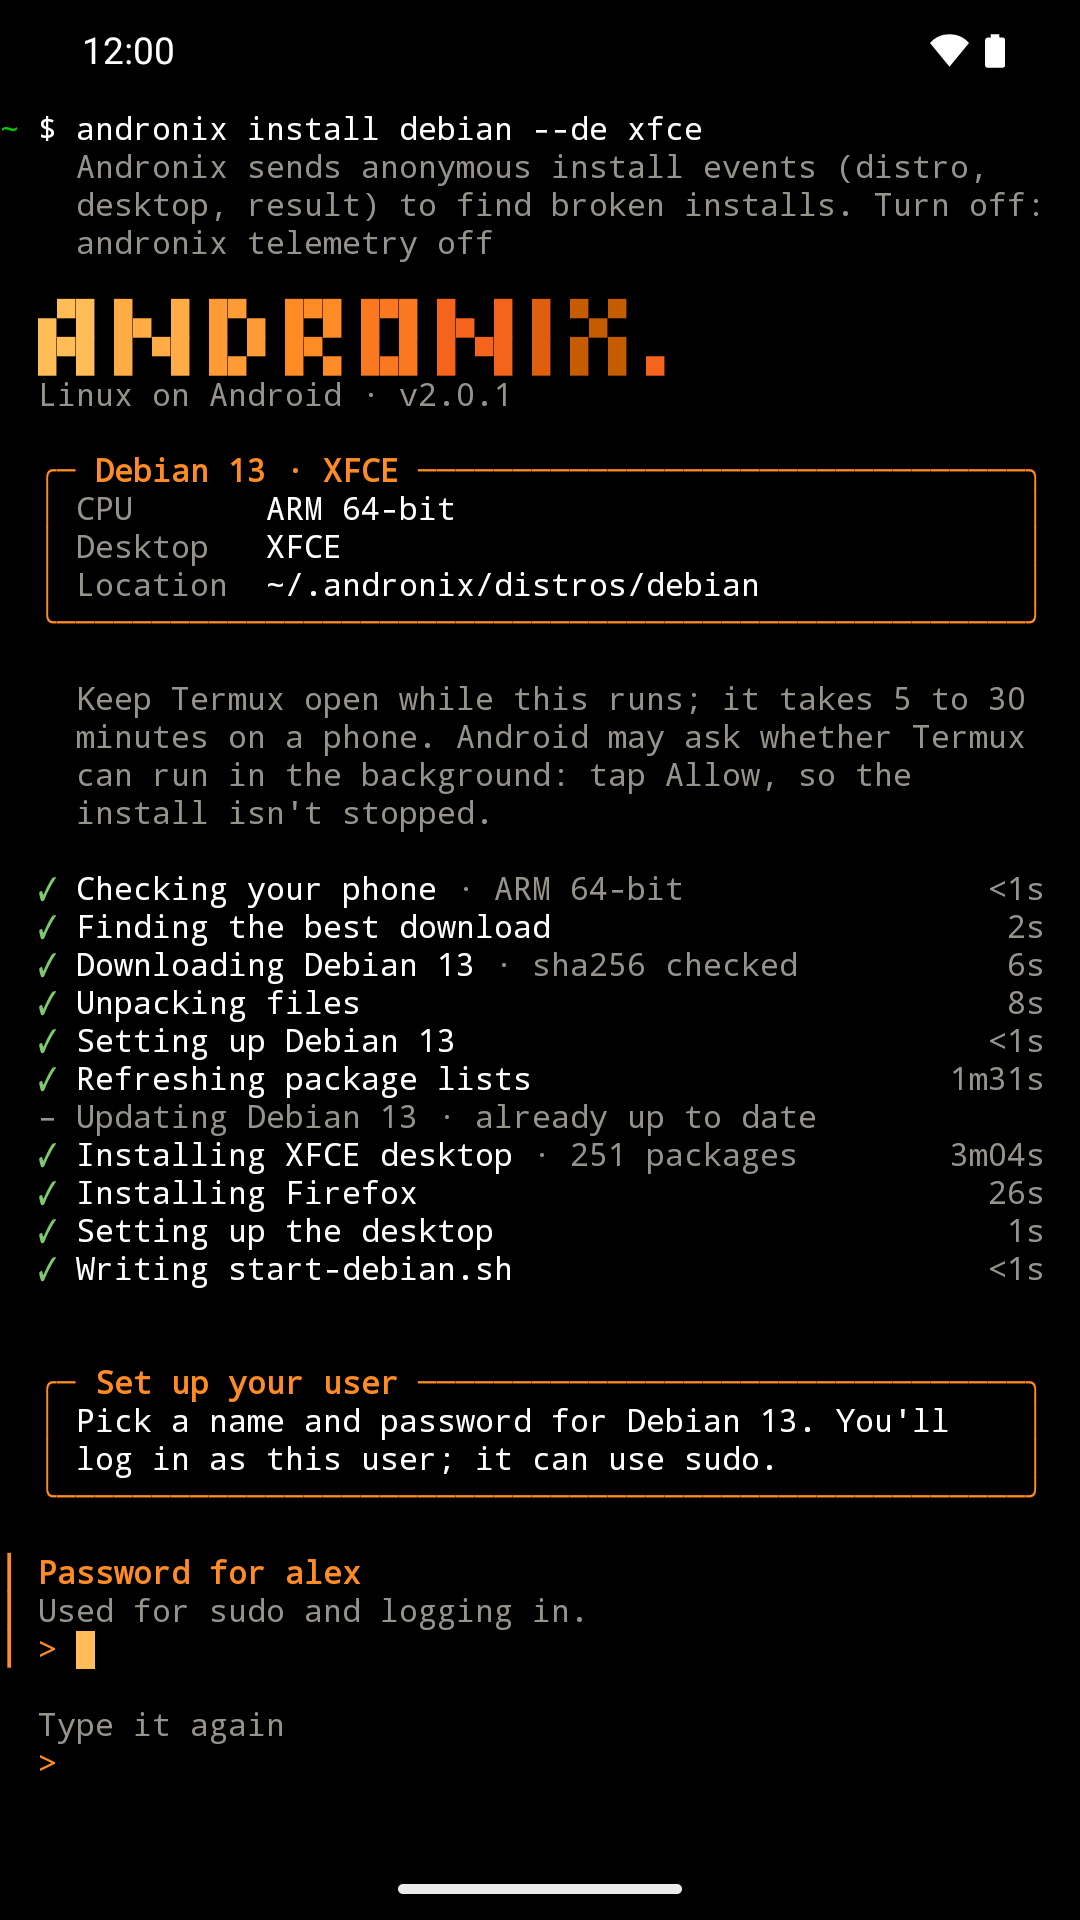
When it's done, the installer takes you straight into your new distro.
Back in the app
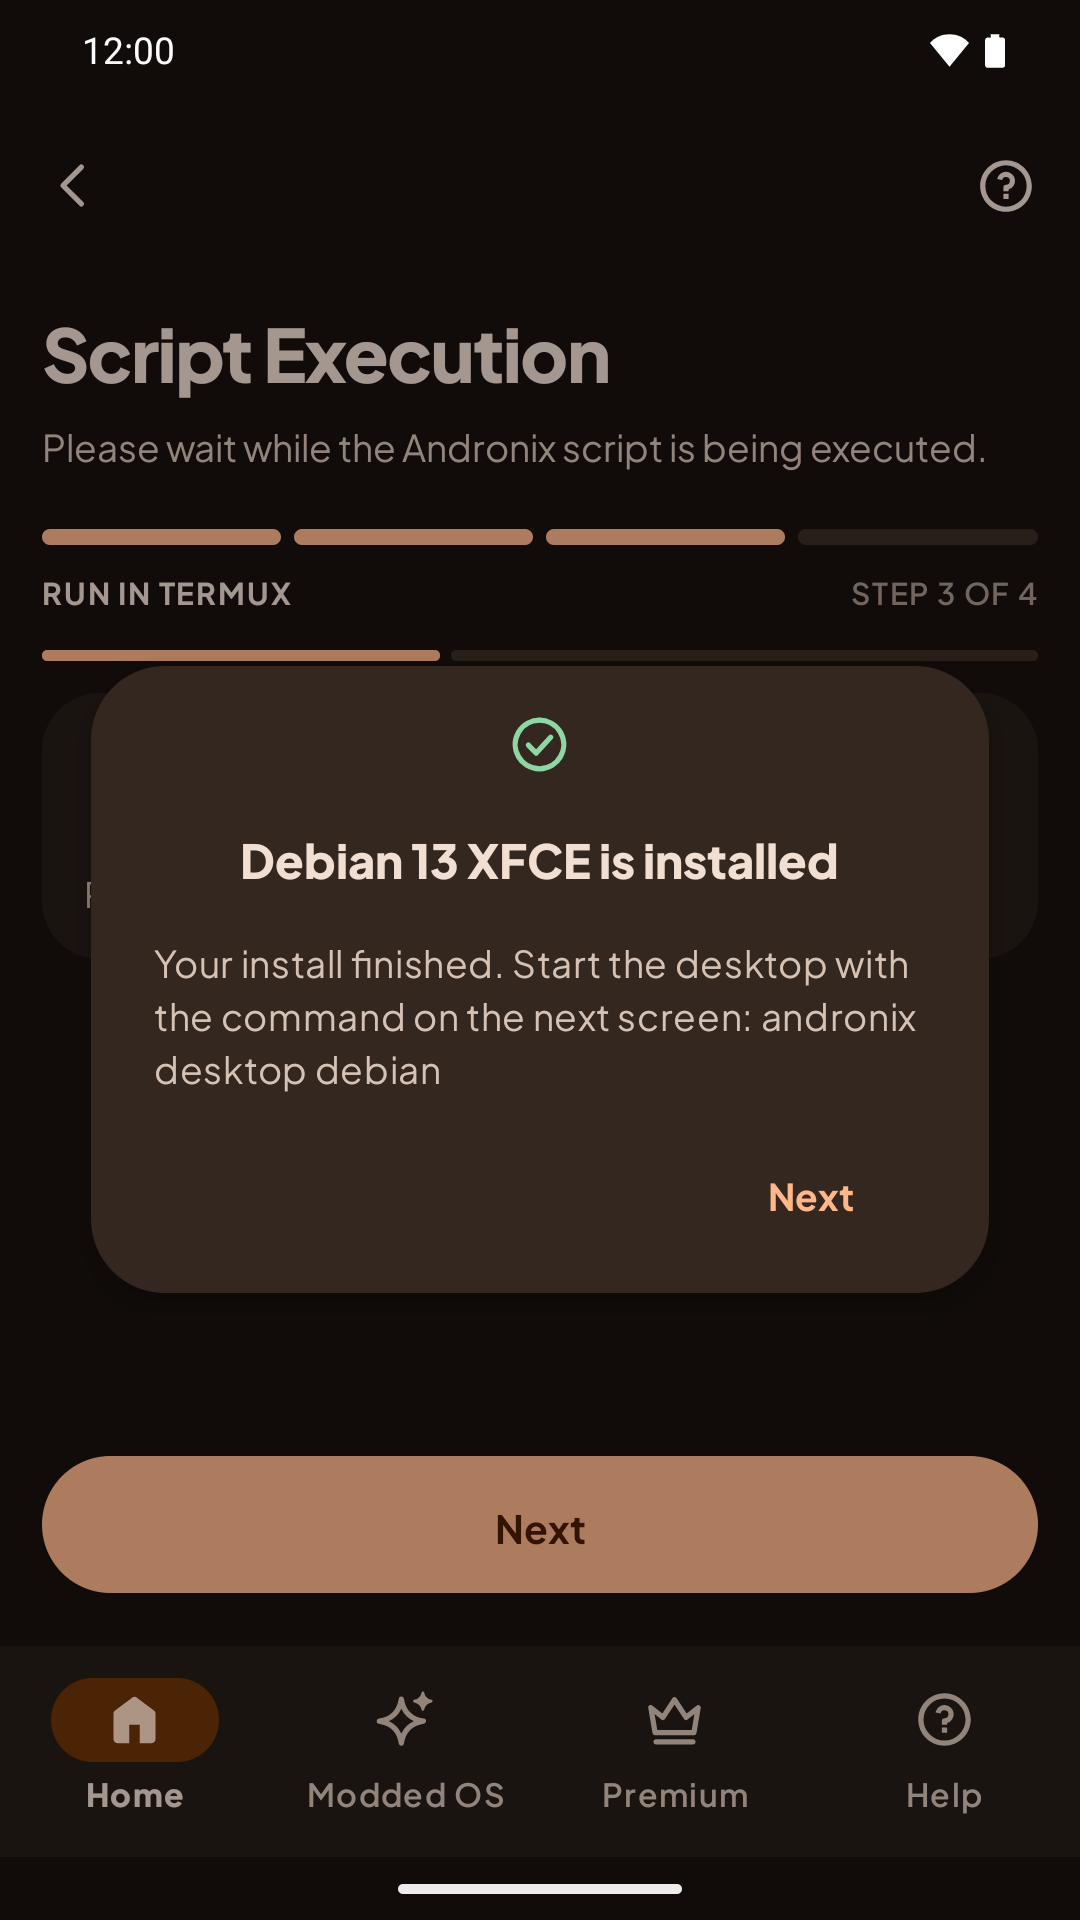
Back in Andronix, tap Next. The app waits while the install runs in Termux, then shows the result:
4. Starting Distribution ⚡️
alex@localhost, in Termux), skip the next section.Start the Distro
Next time, start the distro by running the command for your distro in Termux:
| Distro | Command |
|---|---|
| Debian 13 | ./start-debian.sh |
| Ubuntu 26.04 LTS (the app's Ubuntu 22 button) | ./start-ubuntu26.sh or ./start-ubuntu22.sh |
| Ubuntu 24.04 LTS (the app's Ubuntu 18 and Ubuntu 20 buttons) | ./start-ubuntu.sh or ./start-ubuntu20.sh |
| Kali Linux | ./start-kali.sh |
| Fedora 44 | ./start-fedora.sh |
| Arch Linux | ./start-arch.sh |
| Manjaro ARM | ./start-manjaro.sh |
| Alpine 3.24 | ./start-alpine.sh |
| Void Linux | ./start-void.sh |
You can also use andronix start <distro>, for example andronix start debian. See Supported Distros for details on each one.
Verify
If you see your username followed by @localhost in the shell, your distro is up and running. Type exit to go back to Termux.
5. Start the desktop 📺
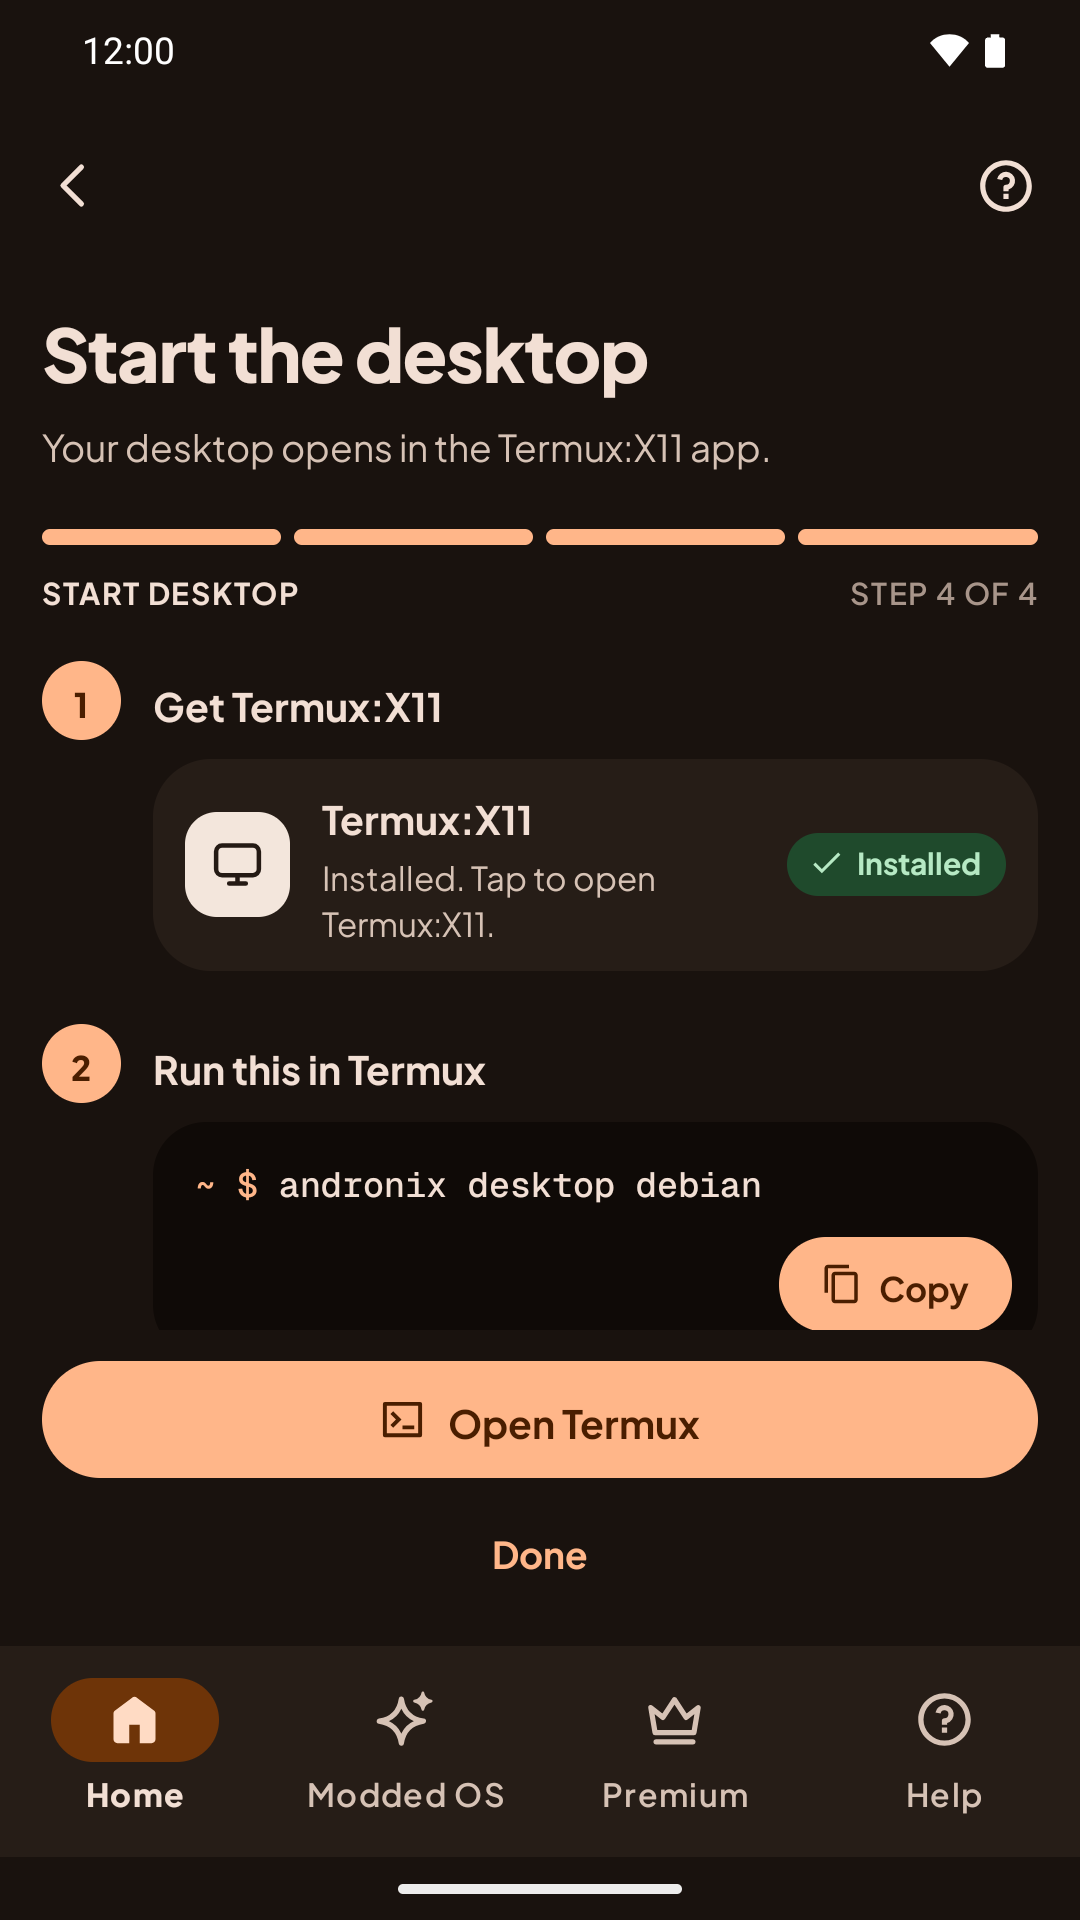
If you chose a Desktop Environment, open it next.
VNC Start
The Start VNC server page should now be open in the Andronix app.
VNC Server
Open it full screen on the phone with the Termux:X11 app. In Termux, run:
andronix desktop debianReplace debian with your distro. Step 3 covers getting the Termux:X11 app and everything else. To use the desktop from another device, see Other ways to connect (VNC).
exit, stops the desktop too.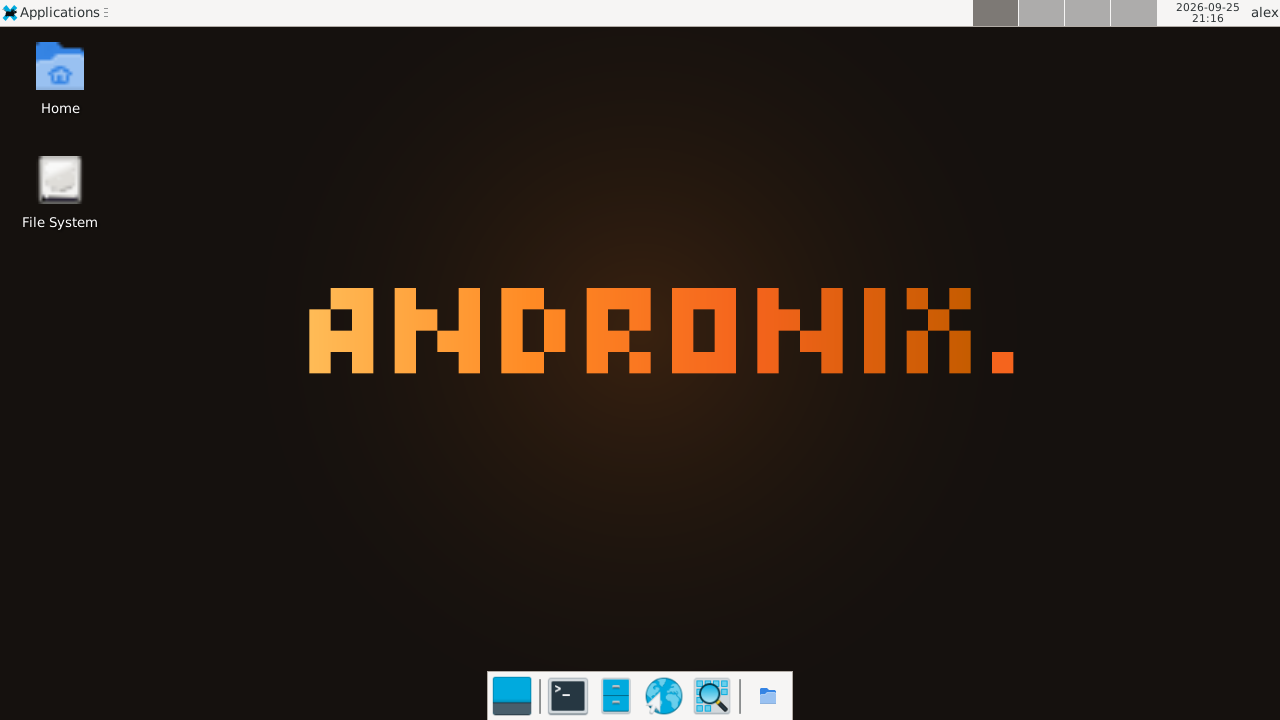
Install Termux
Which Termux works with Andronix (F-Droid, GitHub or the new Play Store build), how to check the one you have, and how to replace the old Play Store version.
Install in Termux, without the App
Install any free Andronix distro straight from Termux with one command, without the Andronix app.